Hello! Centers are one of my favorite topics for special education, because they can make a world of difference. It does not matter what type of special education classroom you are in, centers are possible. Personally, I have done centers with an early childhood special education classroom and a severe Autism classroom. I have also seen it done in many different types of life skills and resource classrooms by other teachers. It will look different in every room based on the needs of the students. Here I will help you out with some of my favorite tips and tricks to run centers in any classroom. My hope is that you can gain some insight on how to make centers fit into your classroom!
1. Visual Schedules are Key!
I know we have all heard of visual schedules for the classroom if we have been in special education for any amount of time. What I am referring to here is a mini visual schedule that the students use for their center time, not necessarily for the whole day. First, you need some sort of labeling system for your centers. This can be colors, shapes, numbers, or I like to use animal labels to make it more appealing to the students. Then, figure out a way that the students can see exactly where they go for each center without having to tell them. I would make something portable so they can carry it with them to the centers. This allows them to see exactly where they should be at what time.
For higher level students who can read or don’t need to see the visual in their hands, you could also put where each student should be on the board or on a powerpoint. This way the students can always see where their name is at the time of each center. This is typically seen in general education classrooms, but it can be utilized for special ed classrooms as well if it meets your students needs.
Examples
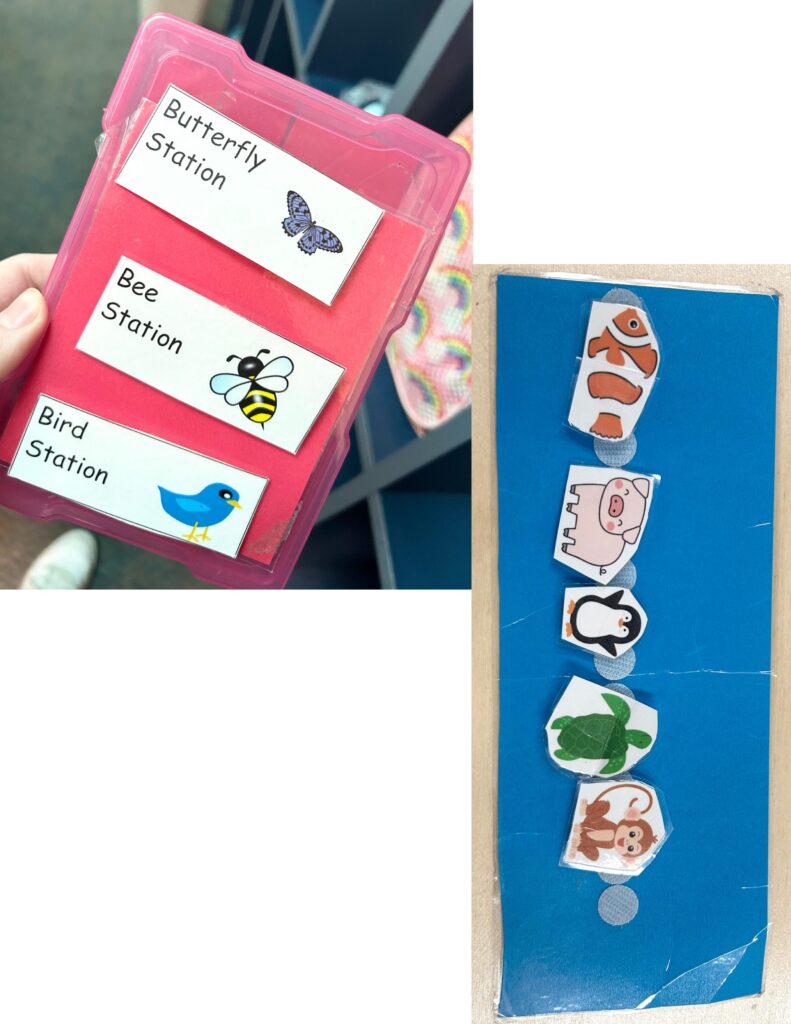
I have 2 pictures below of different ways I have made mini center rotation visual schedules in the past. The picture on the left shows a small photo storage box that was color coded per student. On the front, I put the order of stations that they are going to at the time. The inside has little pieces of each animal with their name on it that they place on the center label itself. On every center I put a large label on it that matches the visual schedule exactly. For example, I might have a giant butterfly on the butterfly station. When it is time for the student to go to the butterfly station, they open their box and find their mini butterfly and take it to the station to velcro in the label.
On the right side picture, I just laminated a piece of colored cardstock (also color coded per student), and I velcroed on it the order of stations that the student was going to. When it is time for the student to go to the station, they take off thier animal and put it on the animal label on the station.
2. Have a Clear Plan … and keep it consistent
This one may seem obvious, but it can be very easy to get overwhelmed with planning centers. It can also be easy to want to change it up often, but let your students get used to the routine and how things are run. Some parts of your plan that are important are what type of centers do you want in your room, where are the supplies kept for each center, what are your paras doing (will talk about later), how long will each center last, or how will your students know when to transition between centers.
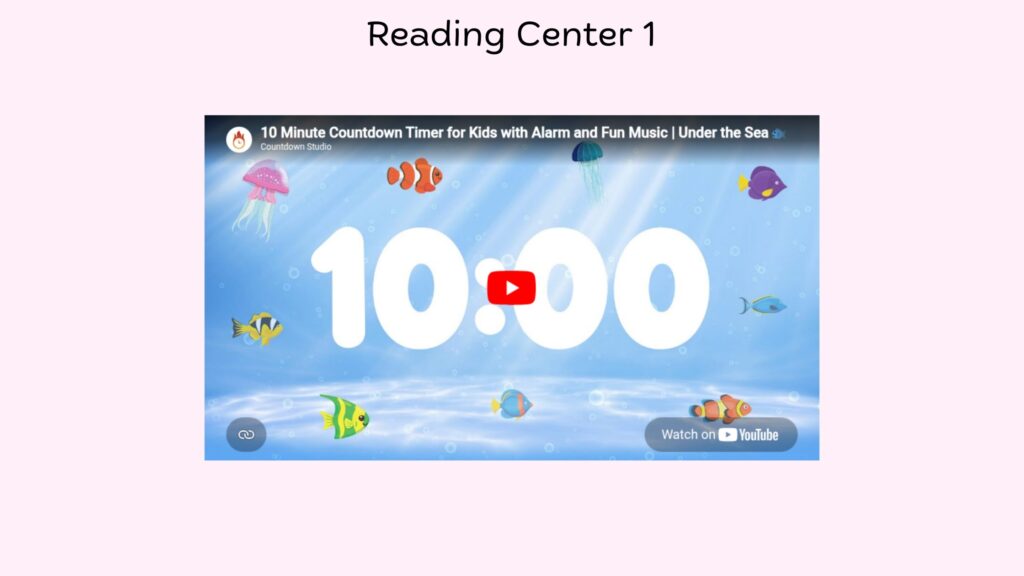
The hardest part is going to be getting started, because you have to consider all of these aspects. But, don’t worry! Start where you are, with what you have, and what is best for your students. I highly suggest not changing it up a lot just because it feels like it isn’t working right away. Give your students grace, time, and consistency to learn the routines and expectations. Below is an example of a slide from the daily slideshow I do. I put on a visual timer for each station, so the students know to transition when the timer goes off. For more information on how to set up a clear centers routine, check out the SSE Simple Centers System course!
3. Have Behavior Supports Ready
Before I start off this paragraph, I want to point you to another blog I did about Behavior Friendly Center Activities for Special Education. Challenging behaviors is a huge reason why centers may seem impossible or daunting for some teachers. I am here to tell you that centers can still be done with many challenging behaviors in the classroom. I will give you one tip here that is essential for centers, but give that blog above a read for more information.
Now, one of my favorite center tricks for challenging behaviors is to always have any behavior supports on hand at all times. For starters, have any visuals, communication boards, break cards, fidgets, etc. available at each station for all students to use if needed. If a student needs a break or they need to say something that they use the communication board to ask for, don’t have them get up and walk across the room to the one you may have posted on the wall. Have many of them printed out at each center available for immediate use. This in itself will decrease some challenging behaviors. Also, make sure you are always direct teaching and modeling how to use these, so your students know how to use them when they need to.
Examples
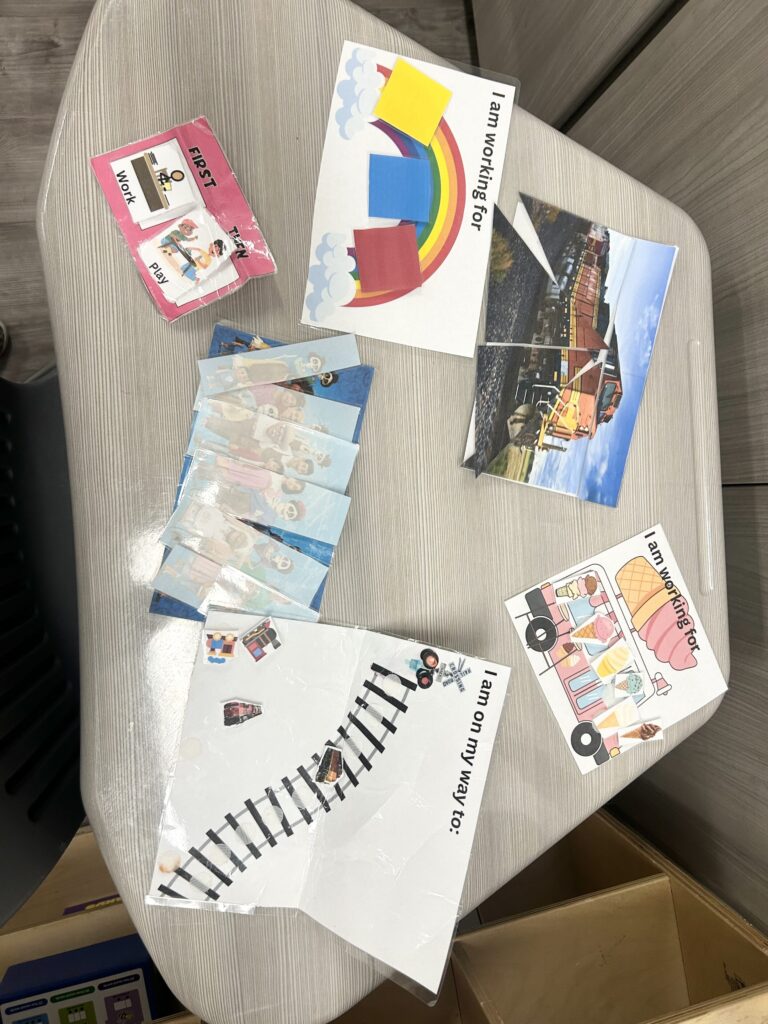
The real trick here is to have any individualized behavior supports with the student at all time. I am talking about individualized token boards, first then boards with a picture of a specific reinforcement, social stories about student specific behaviors, student specific behavior expectation visual, student specific AT, etc..
When my students transition between centers, they carry mini bags that match their color. In the bags are their visual schedules and any student specific behavior supports they may need. For example, I had a student who had special interests in Toy Story and Sesame Street. I made him a token board for each of those interests and kept them in his bag. Each time he arrived at a work center with an adult, they immediately took them out and asked which one he wanted to work with at that time. I have a picture below of some different student specific behavior supports I have created.
4. What are Your Paras Doing?
It is important to know and remember the strengths of your paras to appropriately place them at a center. I like to keep them at the same center all year long, so the students know who to expect at that center. When you are picking the centers you want, consider what your paras like to do as well! Sometimes our paras like to be given some autonomy, so you can give them a certain center and allow them to control that center. Now, it will still be set up by the teacher, but the para can have some autonomy on the specifics on where they want their supplies at that center, where the students sit, etc..
The most important thing is that you have a plan for where they will be at all times during centers and what they will be doing. Train them how to run the center before you just put them there as well.
Depending on your paras, you can name the areas where you need paras at for centers and let them decide who takes which. Or, you can assign them, train them, and make sure they know how to run that center well. I would also make sure both paras know how to run all centers, because you never know what could happen in a special education classroom and a para needs to switch where they are at the moment.
Examples
For example, one year I showed my paras the centers and let them pick which one they wanted according to their personalities and it worked great! Another year, I tried it that way and it did not work out so well… I ended up having to assign them to specific areas and really training them on their specific areas. Overall, make sure you have a plan for where your paras will be at all times during centers; they will be a huge help.

5. Expect the Unexpected
The reality of doing center rotations in a special education classroom, especially self contained, is that it will not always go exactly as planned. And that is okay! That does not mean to give up on centers completely. There is a lot that goes into setting up center rotations. I have listed out some of my favorite tips here, but you just have to try it out and don’t be afraid of any small fires that will arise. Make a plan as best as you can to support your paras, your students, and you during the rotations. Have a plan in place for behaviors, for subs, for being short staffed, etc..
At the end of the day, things will happen outside of your plan. It is best to remember to always stay calm, keep everyone safe, and debrief afterwards. Yes, things will happen out of your plan and your control. Find time to debrief about it later. This can be with your paras, with a specific student, with partner teachers, or with yourself. This will help you better be prepared for next time something out of your control happens.
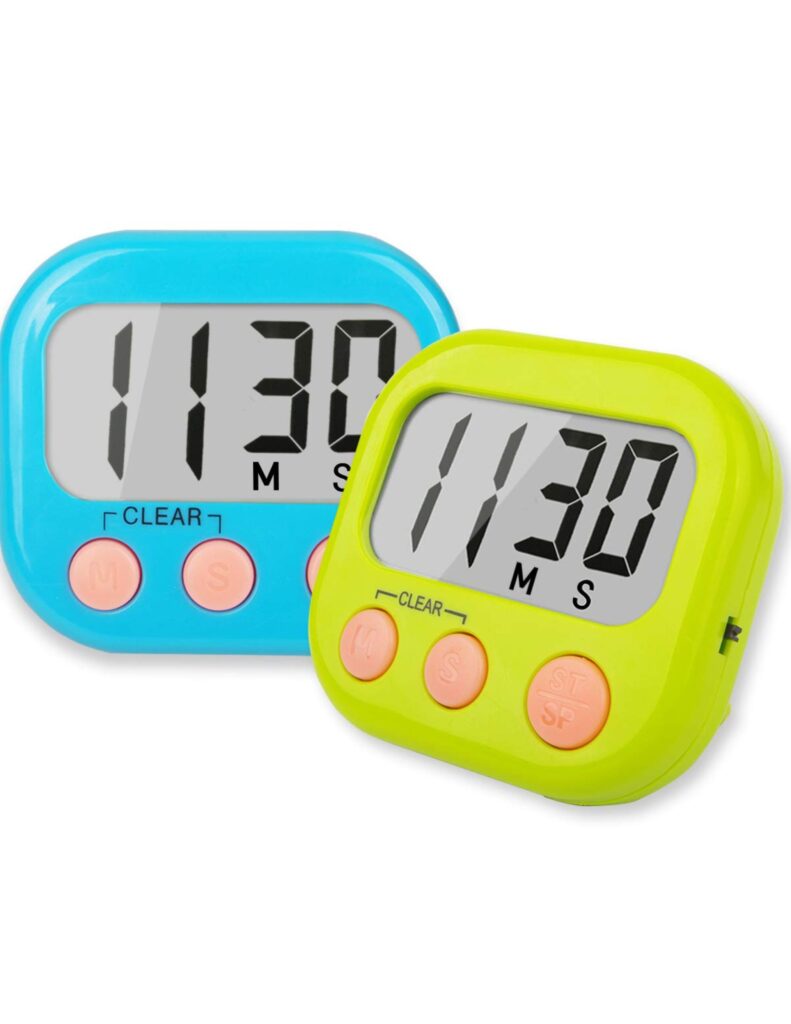
An example of this is when our smart board stopped working. I usually have all of our visual timers for each center rotation on a slideshow. Instead of spending 10 minutes to get up and try to restart the smart board, I always keep these timers on me, so I immediately put the time on for the amount that was left and continue centers like that. I gave mutliple reminders of the time left, since I was the one with the timer.
It’s Your Turn
I hope this post gave you a little confidence to start a centers routine in your classroom. For more in depth information on centers, you can join the Simple Centers Course here! Check out this blog for how to set up center rotations in a high school setting as well. Good luck; I know you too can set up center rotations in your classroom!