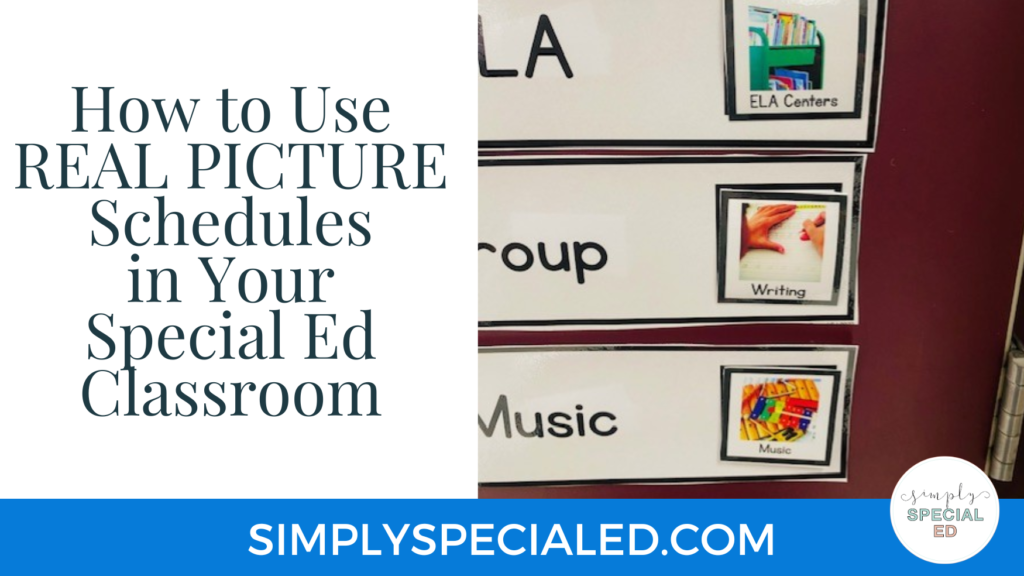
Schedules are a must-have visual tool in special education classrooms! Using real pictures schedules is one of the best ways to help your students understand the different subjects and activities of the school day. Read on to learn all about making and using real picture schedules in your classroom!
The Importance of Picture Schedules
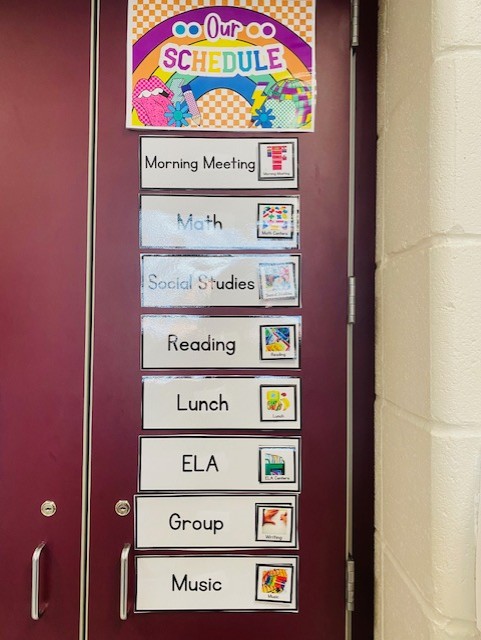
Visual schedules are important for EVERYONE! We all need to know what to anticipate throughout the day. Schedules help us make our students’ days more predictable, which in turn helps us to decrease behaviors and anxiety about the school day. At the very least, classrooms should have a whole-group schedule. The whole-group schedule is an outline of what your class will be doing throughout the school day.
Many of our special education students also benefit from having personal visual schedules. Personal schedules help students see what is planned for them throughout the day. This helps prepare students for transitions and encourage student independence! Because every student and every class is different, there are many types of schedule styles to choose from.
What are Real Picture Schedules?
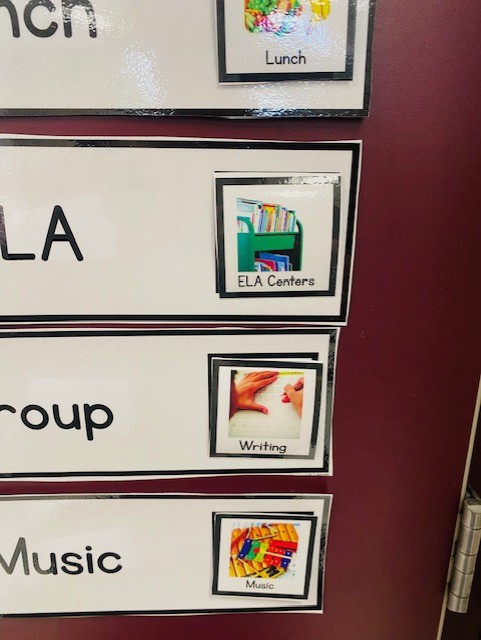
The key to creating visual schedules is that there will be some sort of symbol to represent each part of the timeline. There are lots of symbol options out there. I love using photographic symbols, like the ones found in the Real Picture Schedules resource, in my classroom. Boardmaker-style pictures certainly have a place in our students’ lives. But, using real pictures helps students generalize understanding of concepts and make real-world connections. Real pictures also help students learn to identify words as they make connections between the pictures and labels. Plus, as an upper-elementary teacher I find that these icons are a bit more age appropriate for my students, too.
The Simple Daily Visual Schedule Cards set contains everything needed to create whole-group, individual, and centers schedules. The resource contains:
- 147 different real picture schedule pieces
- centers schedules
- centers table labels
- mini student schedules
- 32 whole-group schedule labels (each with two font choices!)
In short, it’s everything you need to create the necessary schedules for your classroom!
Whole Class Schedules
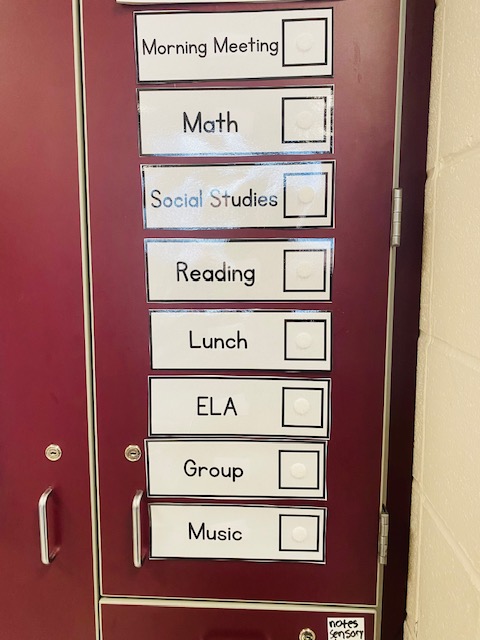
Whole class schedules are like an outline of your day. Arrange schedule labels in the order that you need, then pair each label card with a schedule picture. The cool thing about the schedule resource is that there are a ton of picture options so you can use the ones that work best for your class!
Now, your daily schedule is likely to change every so often. This could be due to classroom changes, schoolwide activities, or being short-staffed in your room. For that reason, it’s a good idea to make the labels movable. Instead of laminating the schedule to a board so it is fixed in one spot, I use Velcro to make it movable. Using magnets to display the schedule on the board is also a good strategy!
Individual Student Schedules
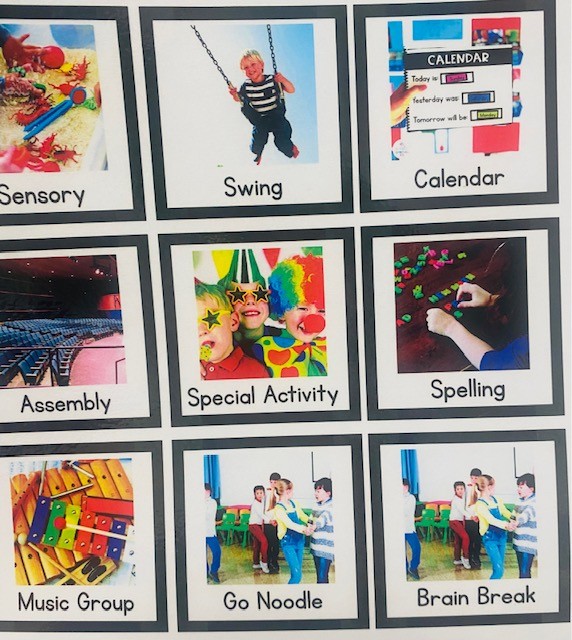
Students need to know what to anticipate during the school day in order to be successful. The more predictable the day is, the better chances we have of preventing behaviors. A whole class schedule helps with this, but many of our students go to different places throughout the day. Between therapies, specials, and inclusion, every student’s needs are unique! Individual schedules show students exactly what their day will bring, and provide the differentiation they need.
Center Rotations
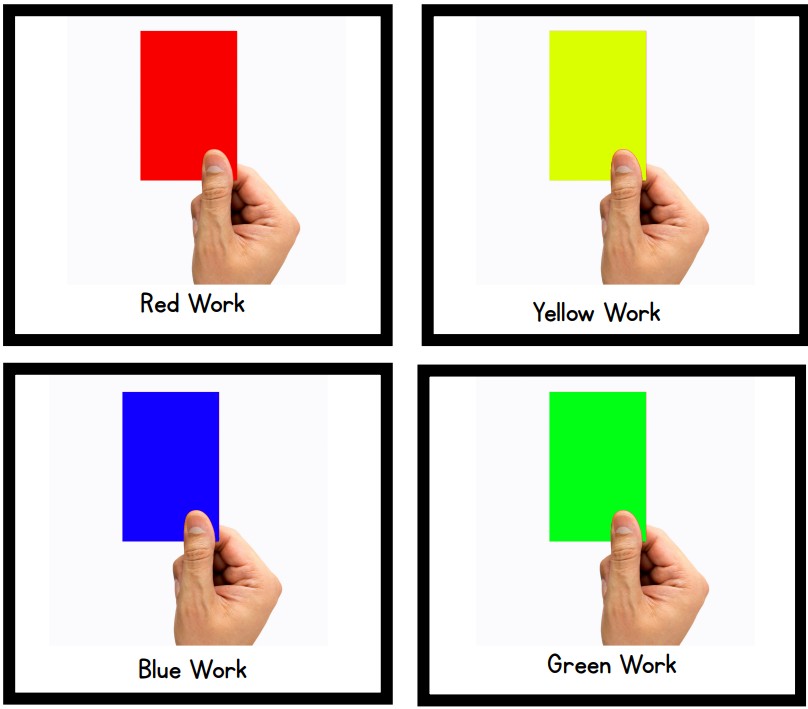
When you teach in a special education classroom, it’s more than likely that you utilize centers at different points throughout the school day. A centers schedule shows students exactly where to go for each center rotation. Start by labeling each of your center rotation areas with a color. Then, students will follow a schedule that shows the order that they will go to each center. This system is perfect for building student independence and cutting down on teacher stress! If you haven’t set up centers in your classroom yet, you can learn more about it here!
Schedule Preparation Tips

Here are a few of my favorite tips for making schedule prep easier!
First, apply your Velcro before cutting. When you print your Real Picture Schedule pieces, there are twelve cards on each sheet of paper. Before you cut them out, flip the paper over and stick your Velcro dots on. This is a massive time saver!
And, you can definitely make your life easier by sticking to a system for your Velcro. All of the permanent Velcro surfaces in my room use the soft side. The pieces that move around get the hard Velcro. That way my moveable, traveling pieces can stick to any surface I need them to!
Finally, my last tip is to make doubles. Prep extras now an add them to your storage system. That way, if something goes missing or you get a new student, you will have new schedule pieces ready to go. Your future self will definitely thank you for that!
Still have questions about setting up schedules for your classroom? Ask them below!



Leave a Reply