New to Preschool or Self-Contained Pre-K? Not sure where to start? Creating a class visual schedule is a great place to start! Visual schedules play a crucial role in providing structure, promoting independence, and enhancing learning opportunities for young students.
A visual schedule is a visual representation of the day’s activities and routines, using pictures, symbols, or written words. It helps students understand what to expect, reduces anxiety, and encourages their active participation. In this blog post, we will explore the steps to set up effective preschool visual schedules that contribute to a well-organized and engaging learning environment.
1. Identify the Activities
Begin by identifying the main goals and activities for your class. Consider the routine tasks, such as arrival and departure, breakfast, morning meeting, play centers, snack time, IEP time, art activities, whole group, recess, specials, etc. List these activities and determine how they fit into the daily schedule. I also encourage you to think ahead about any other activities that might occur throughout the year such as party or field trip, so that you have those visuals ready to go!
SSE’s schedule template can help with this!
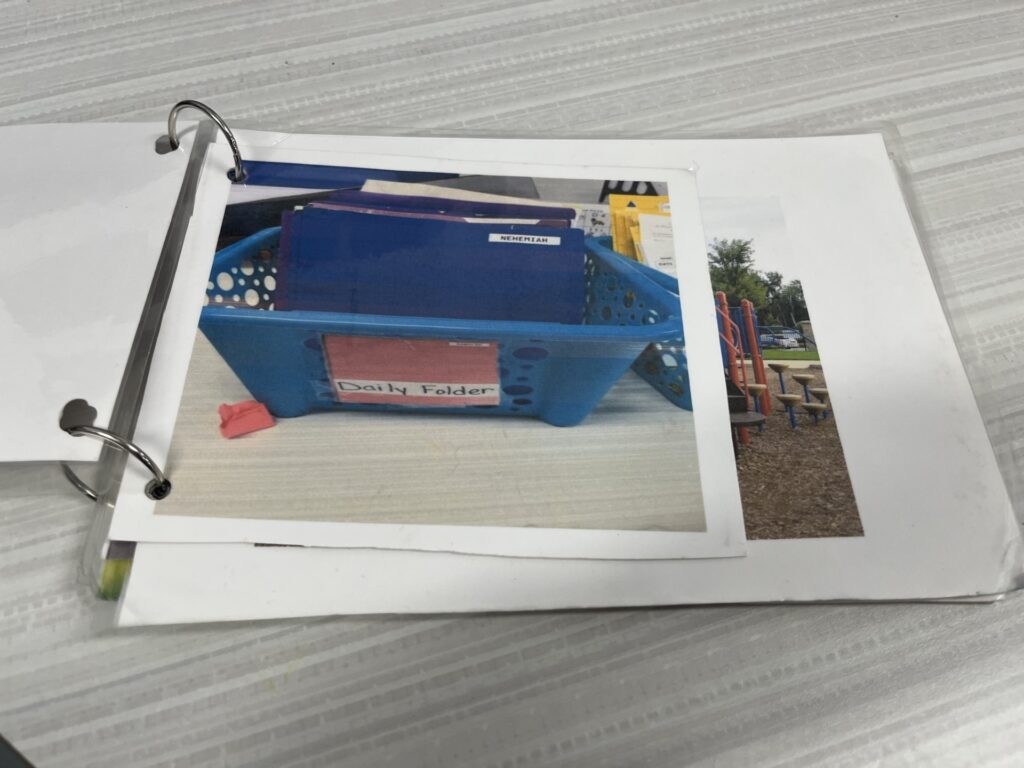
2. Decide on Visual Represenation
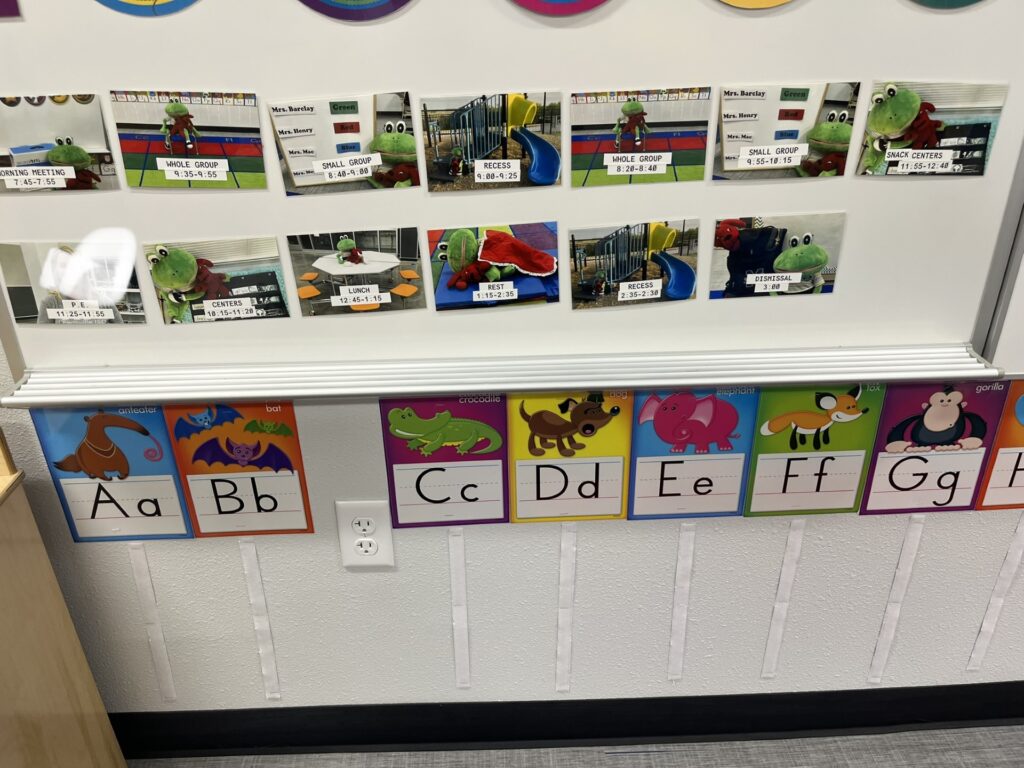
Now it is time to decide on the type of visual representation that will work best for your class setting and students. Preschoolers benefit from simple picture symbols or photographs, while older students may be ready for written words or a combination of pictures and words. I personally love to use real pictures as often as I can for preschool. Find real pictures here or make your own! The goal is to select clear and age-appropriate visuals that accurately represent each activity.
3. Choose a Display Area
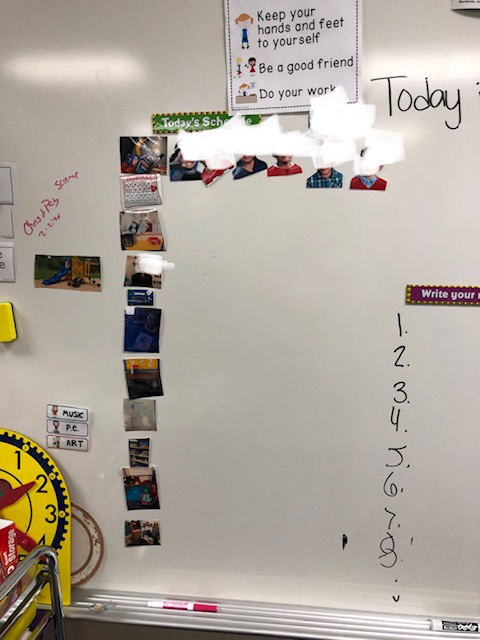
Designate a prominent and accessible area in the classroom to display the visual schedule. It could be a bulletin board, a whiteboard, or a dedicated wall space. Ensure that the schedule is at an appropriate eye level for the students so that they are able to refer to the schedule independently. Consider using pockets, magnets, or Velcro strips to attach the visuals, allowing for easy changes and flexibility. Organize the visuals by placing them in a sequential order.
4. Individualize
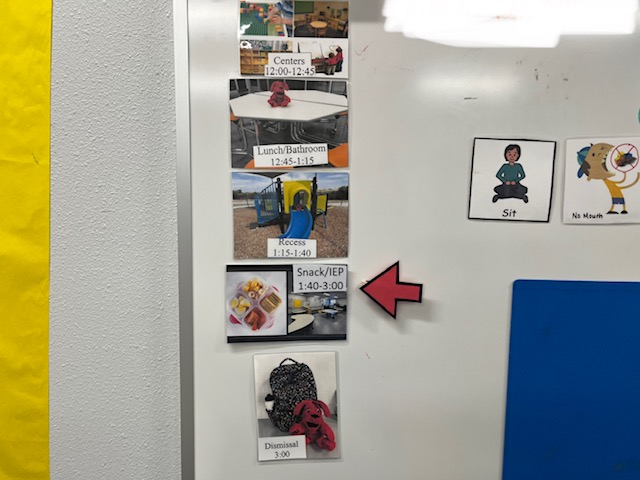
There should always be a main classroom schedule poster. There will be students’ who have have a unique need or an Individualized Education Plan (IEP) that will benefit from an individualized schedule.For example, a student might be overwhelmed by the schedule on the board so we can create a schedule that shows one visual at a time.
Another option, is to create a velcro schedule that allows students to manipulate it themselves, or even a miniature copy of what is on the board specifically for that student. Adapt the visual schedule to accommodate diverse learning styles and abilities. Click here to learn more about individualized schedules. Check out schedule pieces here. Remember, visual schedules should be flexible and adaptable to accommodate the evolving needs of your students.

5. Model and Reinforce
Model the use of the visual schedule by referring to it throughout the day during whole group time, transitions and when preparing for dismissal. Guide the children through each activity, pointing to the corresponding visual, and discussing what comes next. This modeling helps reinforce the understanding and reinforces the concept of using the visual schedule as a tool for independent learning. Some students may require more detailed visuals or additional supports, while others may thrive with minimal prompts. The goal is to be flexible and adapt as needed to meet the needs of your students.
Looking for more Preschool or Self Contained Preschool ideas? Check out: How to Organize Centers in a SpEd Pre-K Classroom!
Download the schedule template here.