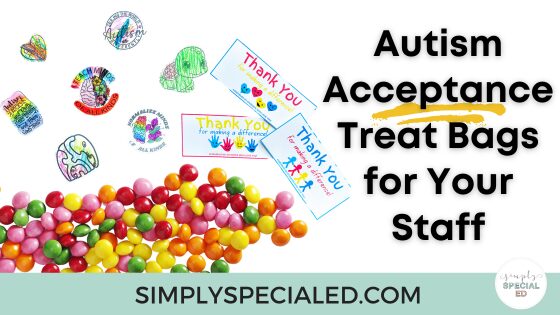
Are you looking for a fun, creative way to celebrate Autism Acceptance Month with your staff? Below, I will show you how to create this special treat bags that your students can make and hand out during the month of April!
Handmade Stickers
Excuse me? We can make our own stickers? Yes! Yes, you can! And, the best part, it is SIMPLE. Let’s gather our supplies and get started.
Supplies
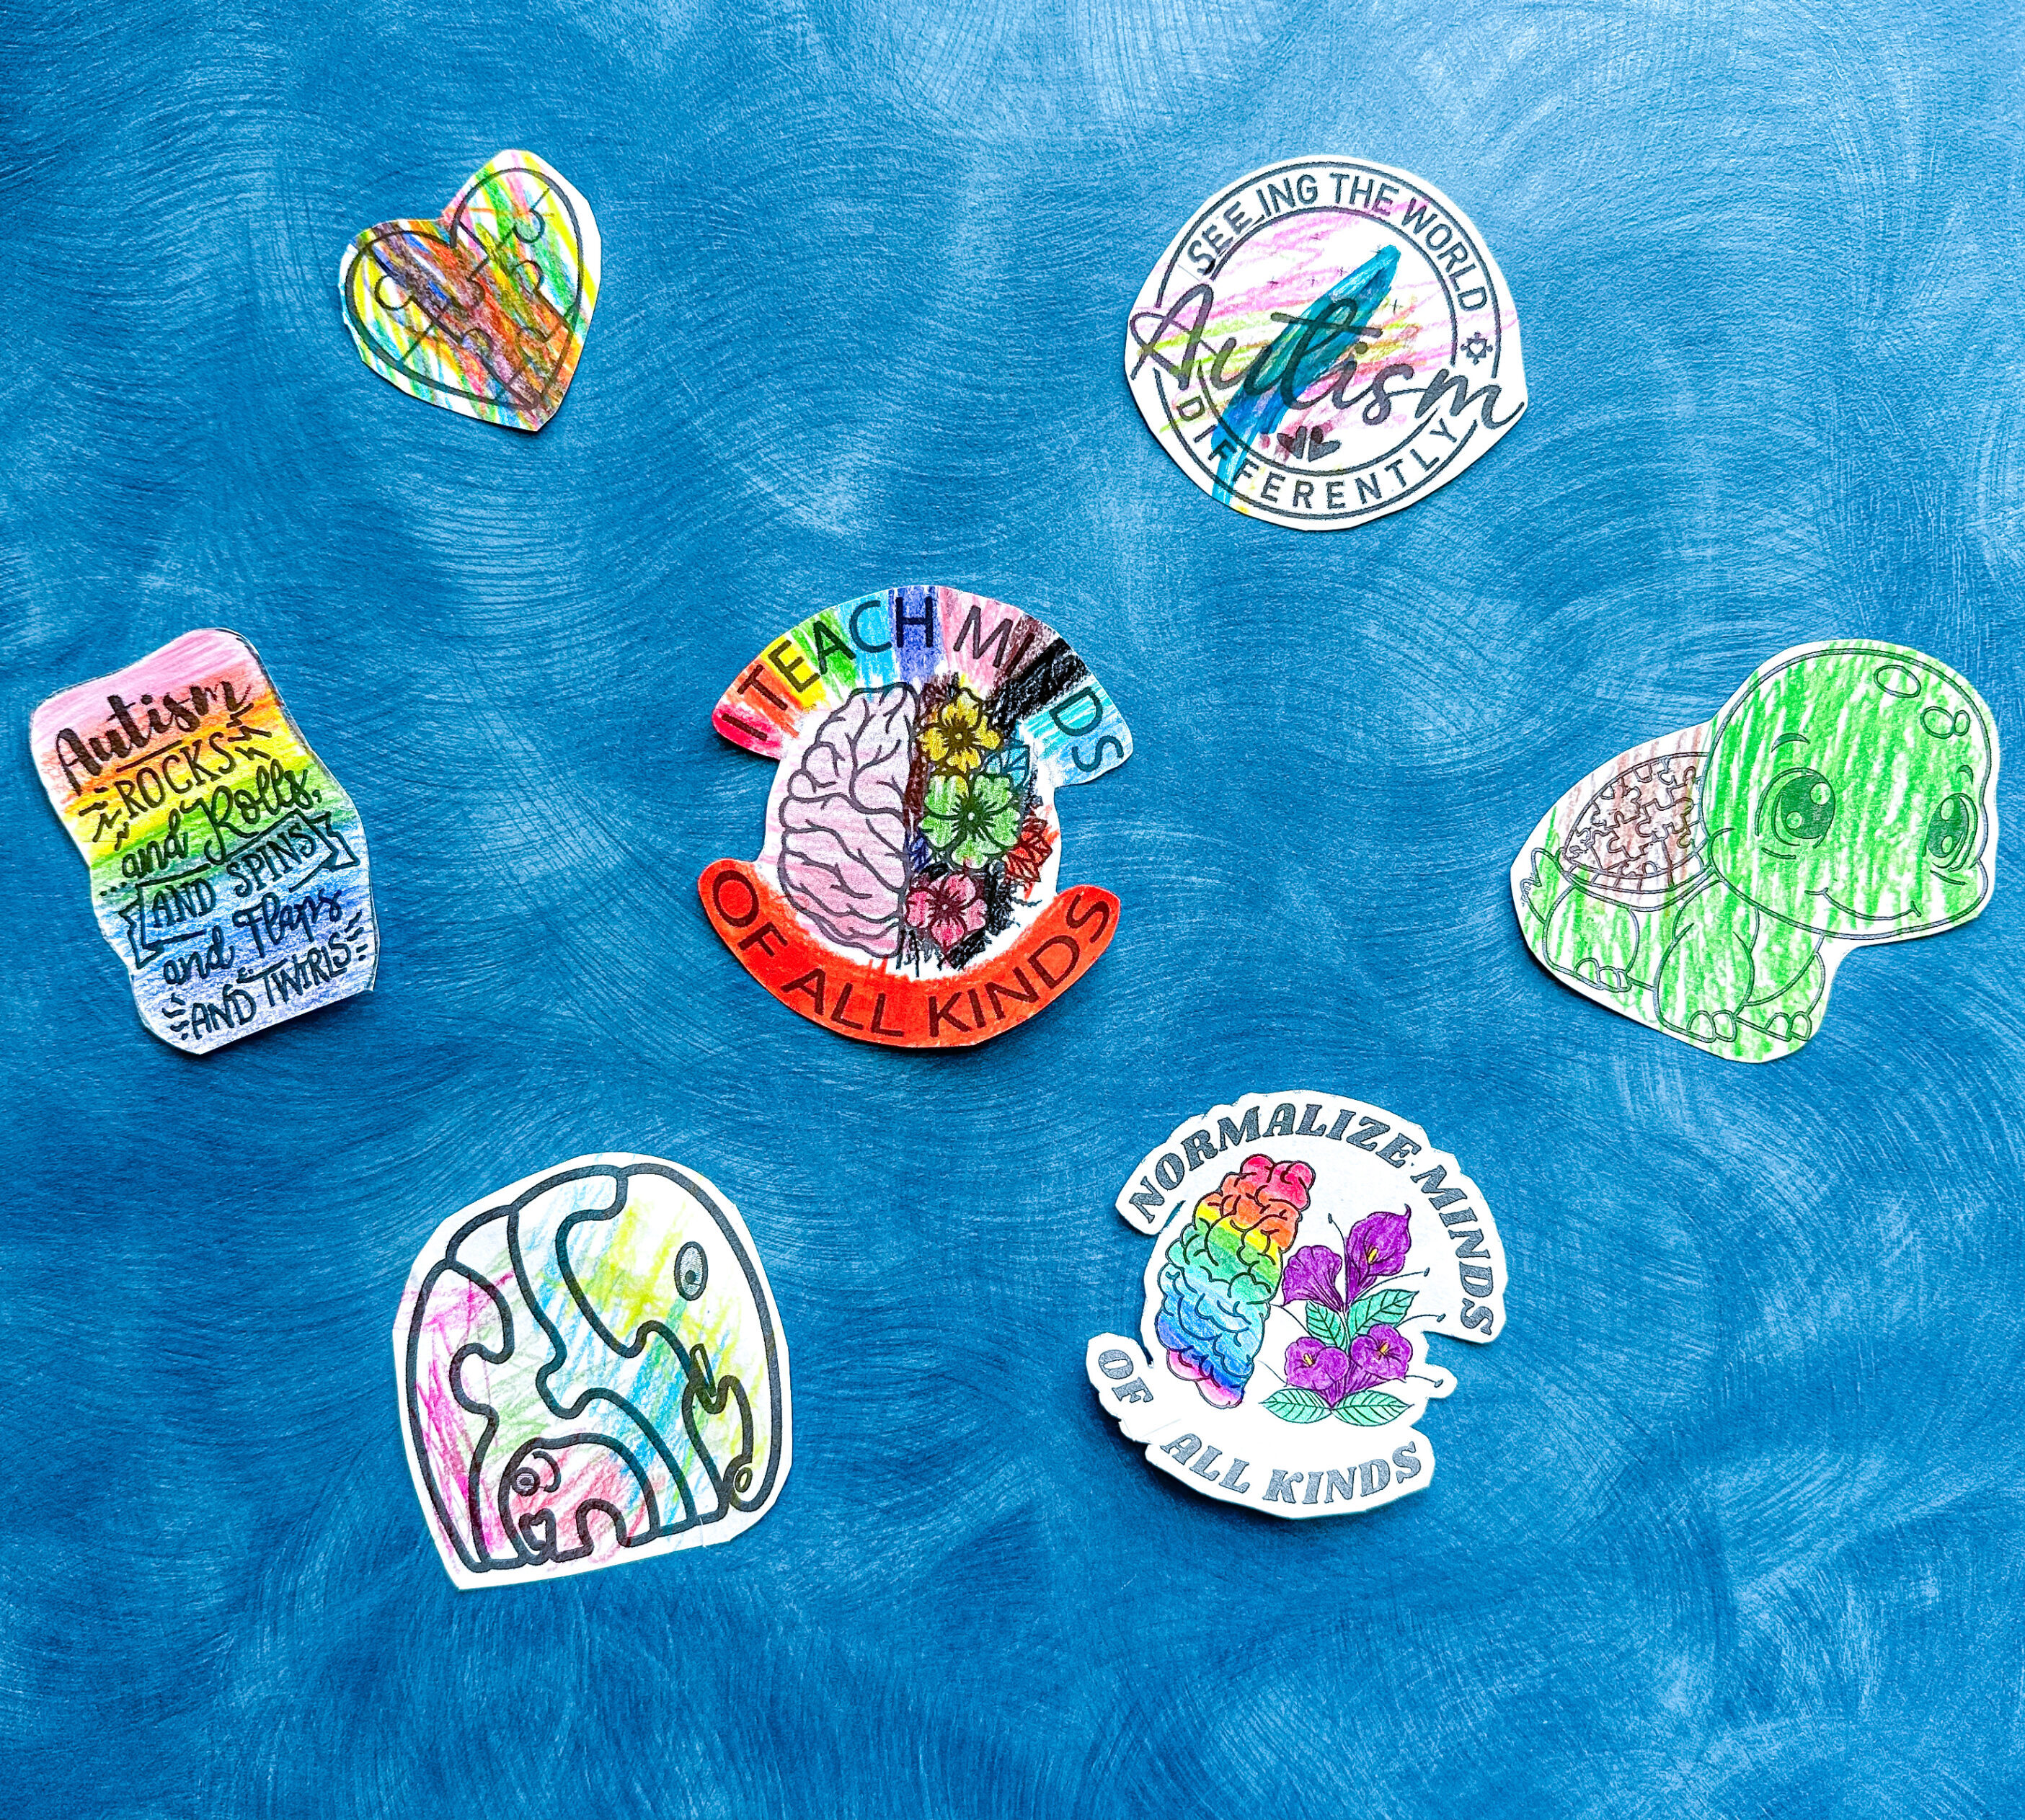
- drawings or coloring pictures (autism related, for this month)
- colored pencils, gel pens or markers (crayons are too waxy-don’t use crayons!)
- parchment paper
- clear book or duct tape (I use Scotch Book Tape)
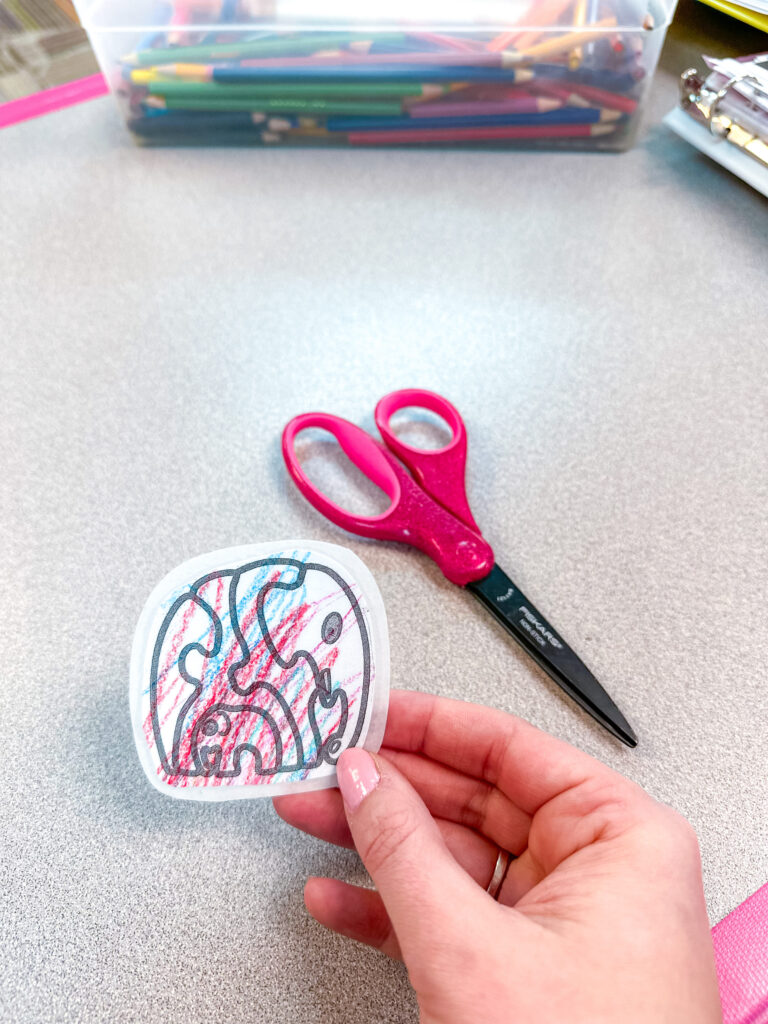
That’s it! That’s all you need for these stickers. They are so easy to make! Next, make the drawings or coloring pictures the size you’d like the stickers to be, and make plenty of copies. Once you have your copies made, have your students (and YOU) color the pictures with colored pencils, gel pens, or markers ONLY. Crayons are too waxy, and the tape won’t stick. Once the pictures are colored, cut them out. Be sure to leave a small white border around the picture!
Steps for Stickers
So, how exactly do we put these Autism Acceptance Month stickers together? Follow the steps below, and you will want to make stickers ALL THE TIME.
Step 1:
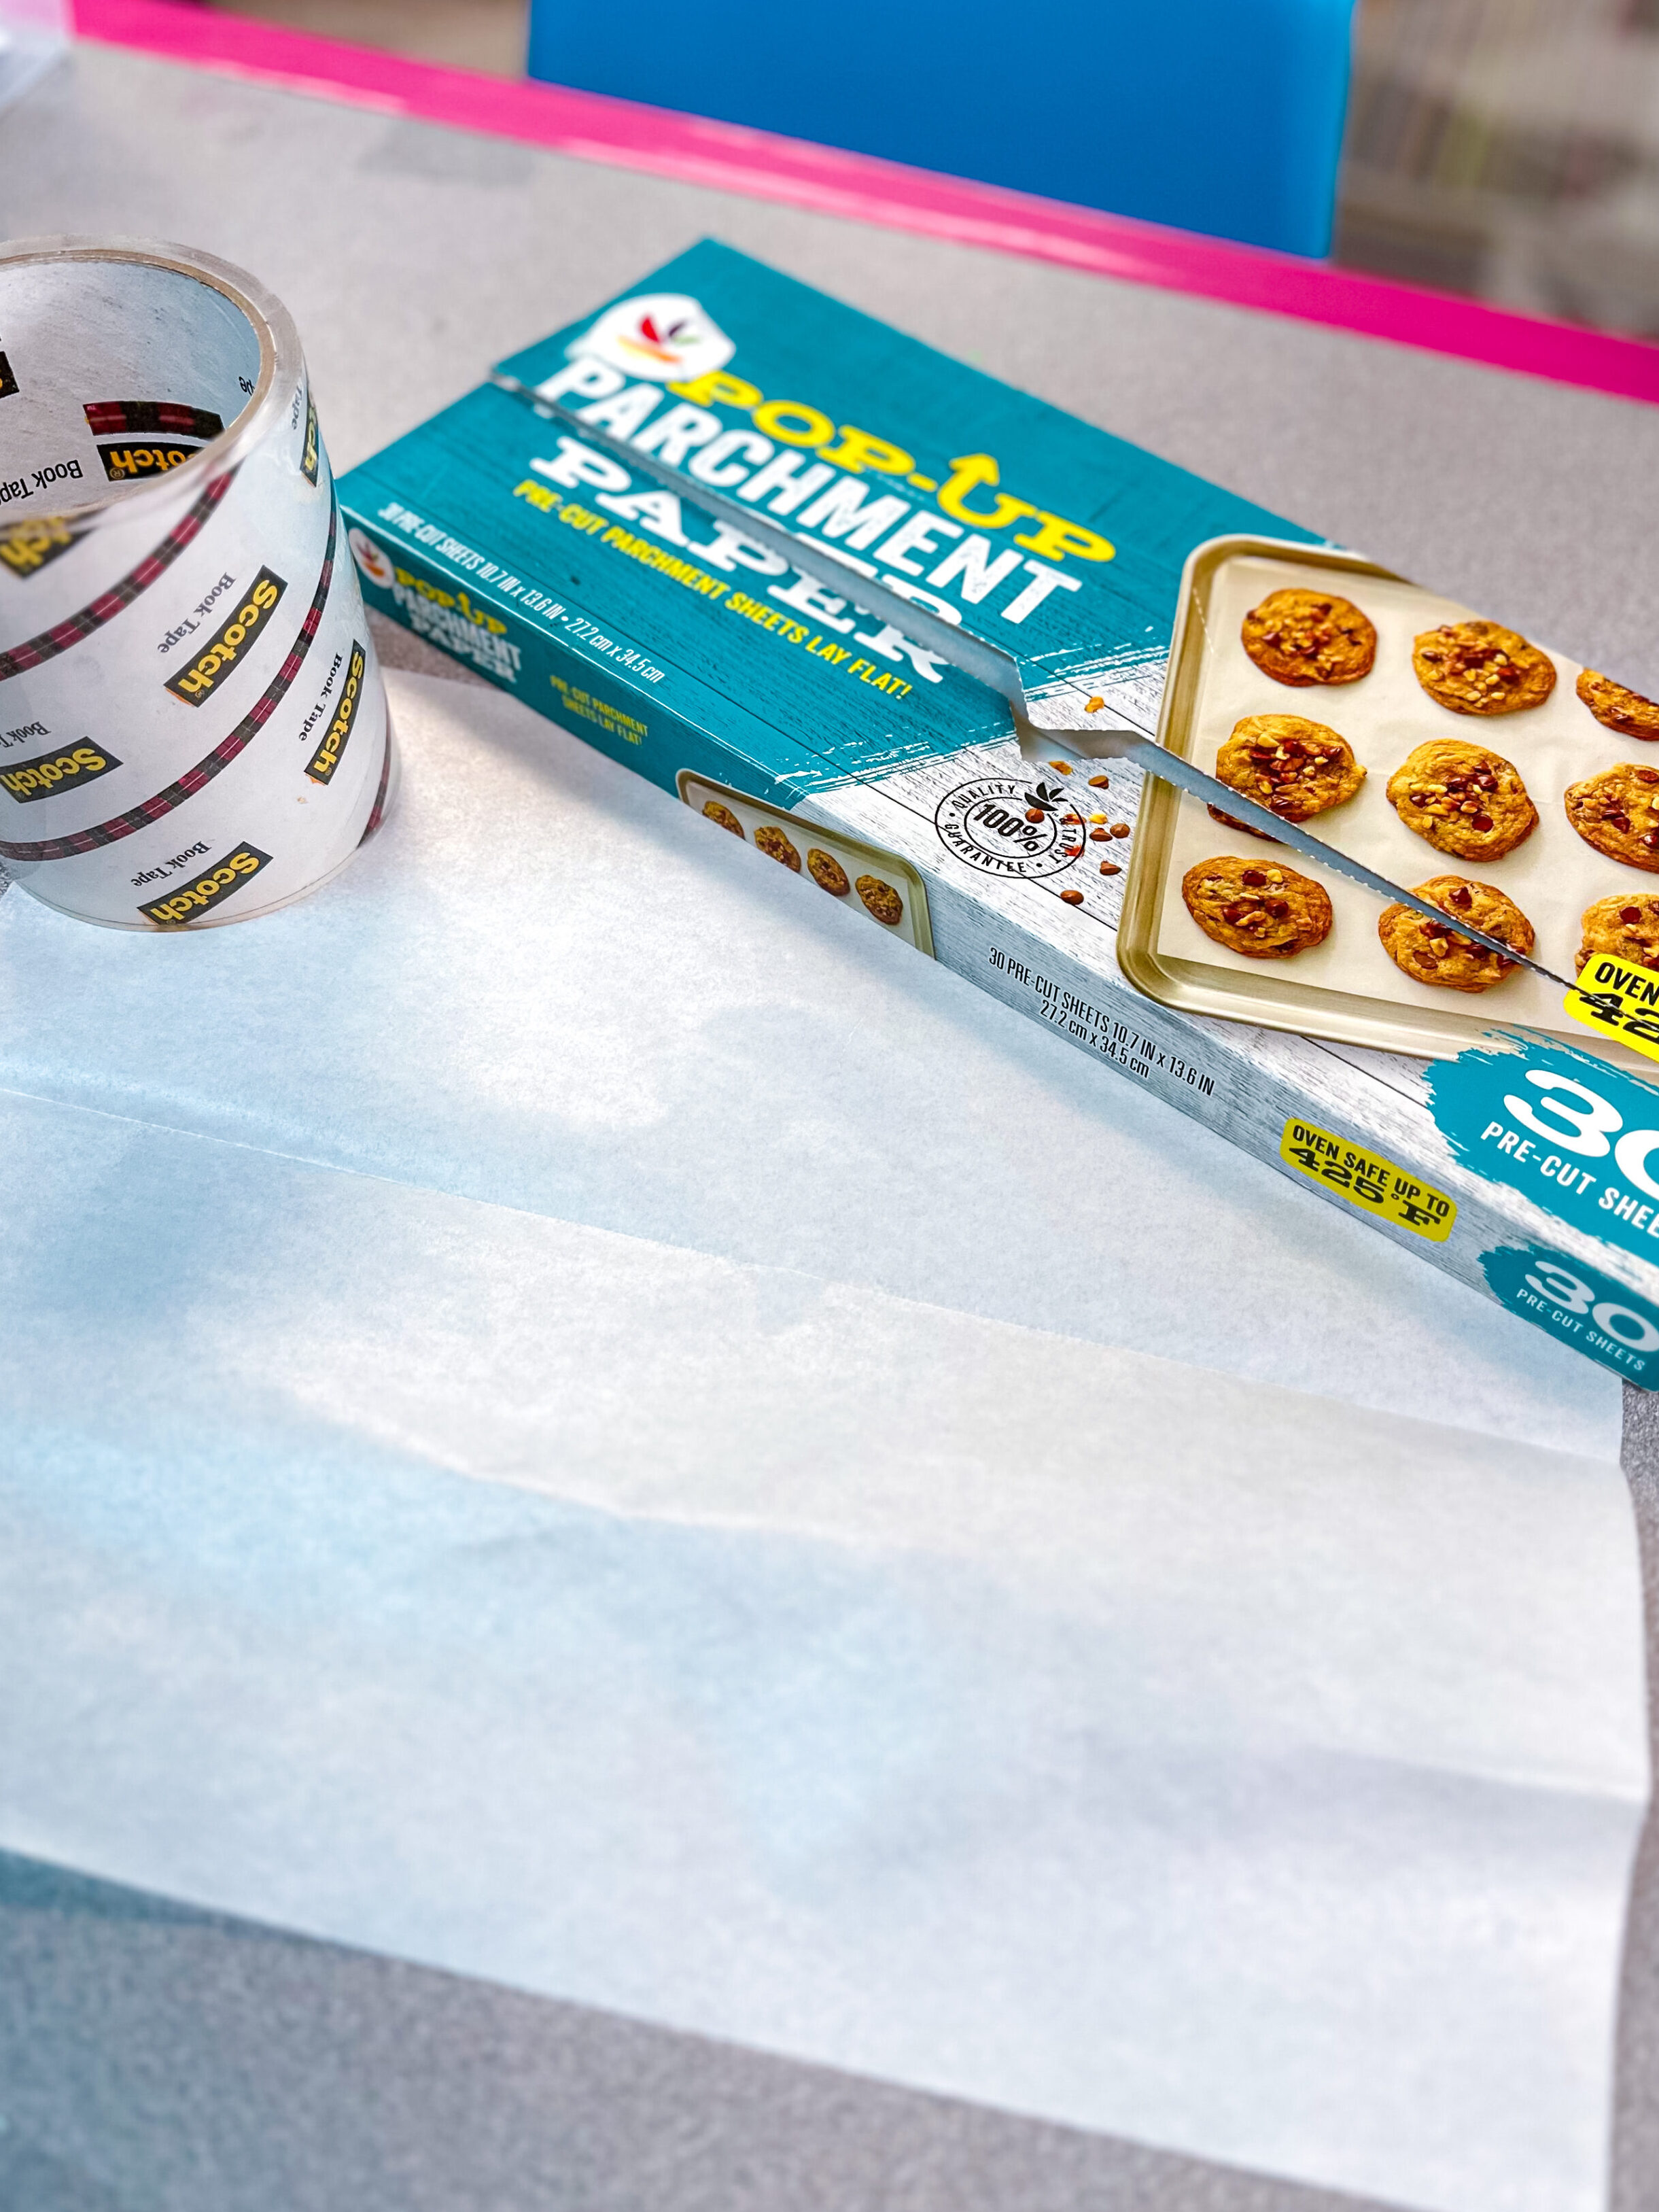
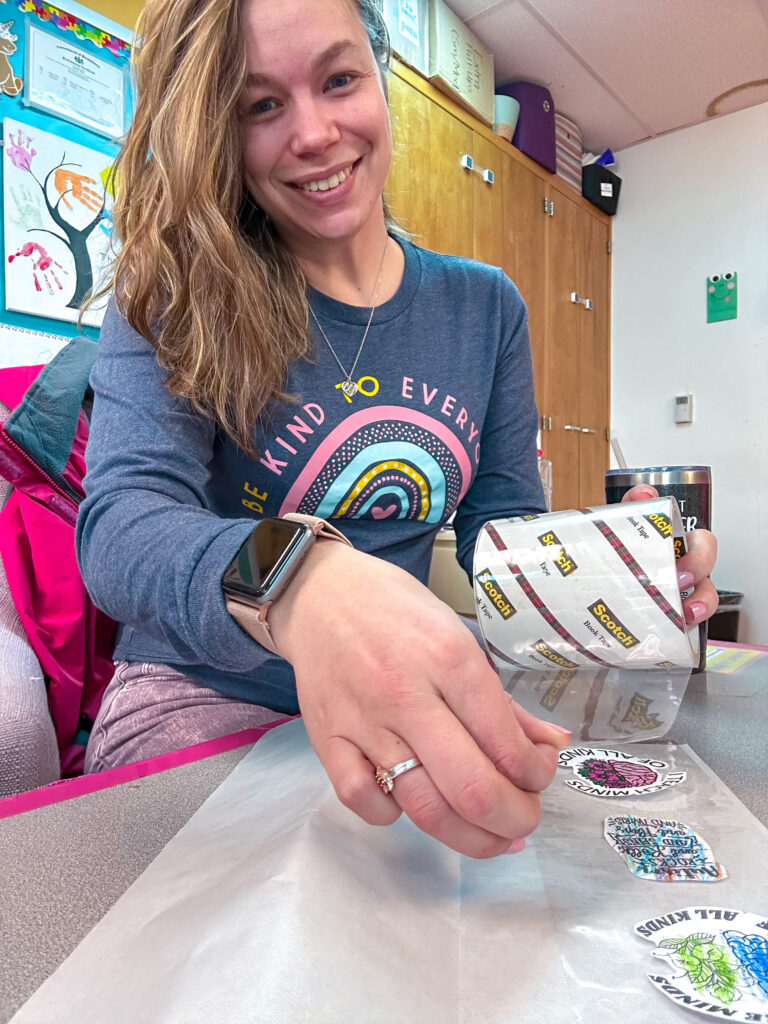
Gather your parchment paper, clear book or duct tape, and colored pictures. Lay out the parchment paper flat on your table. This next part is important! You’ll need to put a layer of tape onto the parchment paper, as shown above.
Step 2:
Next, place the colored pictures ON TOP of the layer of clear tape that you placed on the parchment paper. Be sure to leave enough space between the pictures that you can cut them out with a small border around them. Then, as shown above, place another layer of clear tape on top of the pictures. Your sticker sheets will be as follows: parchment paper, tape, pictures, tape. I promise it will make sense in just a minute!
Step 3:
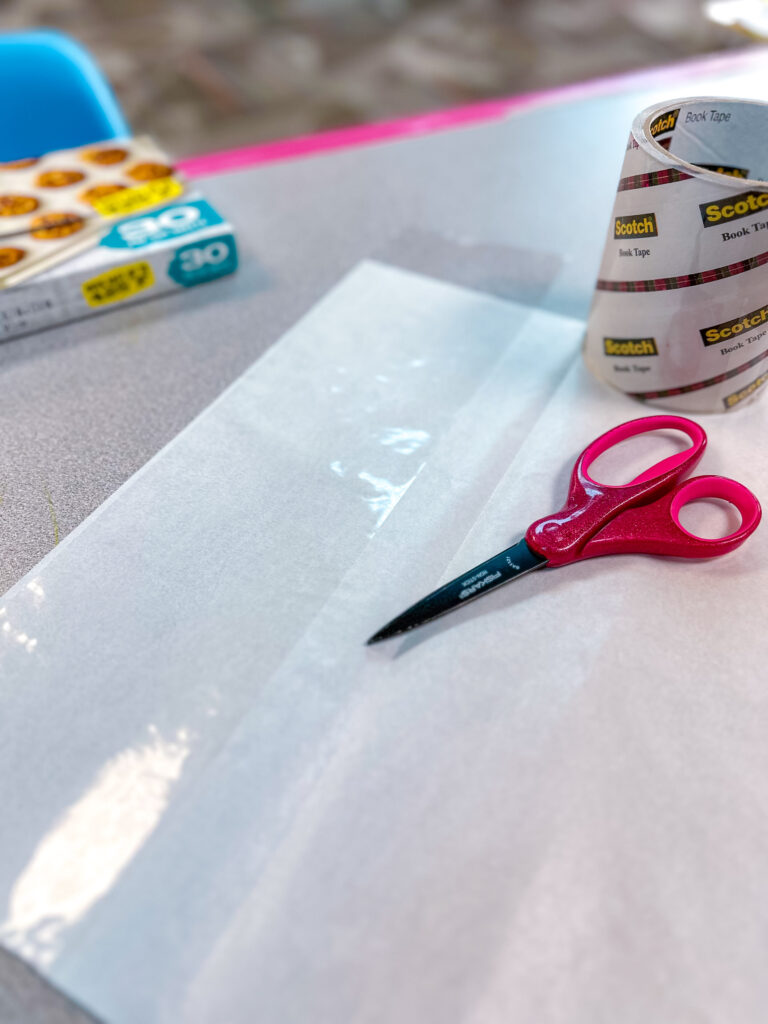
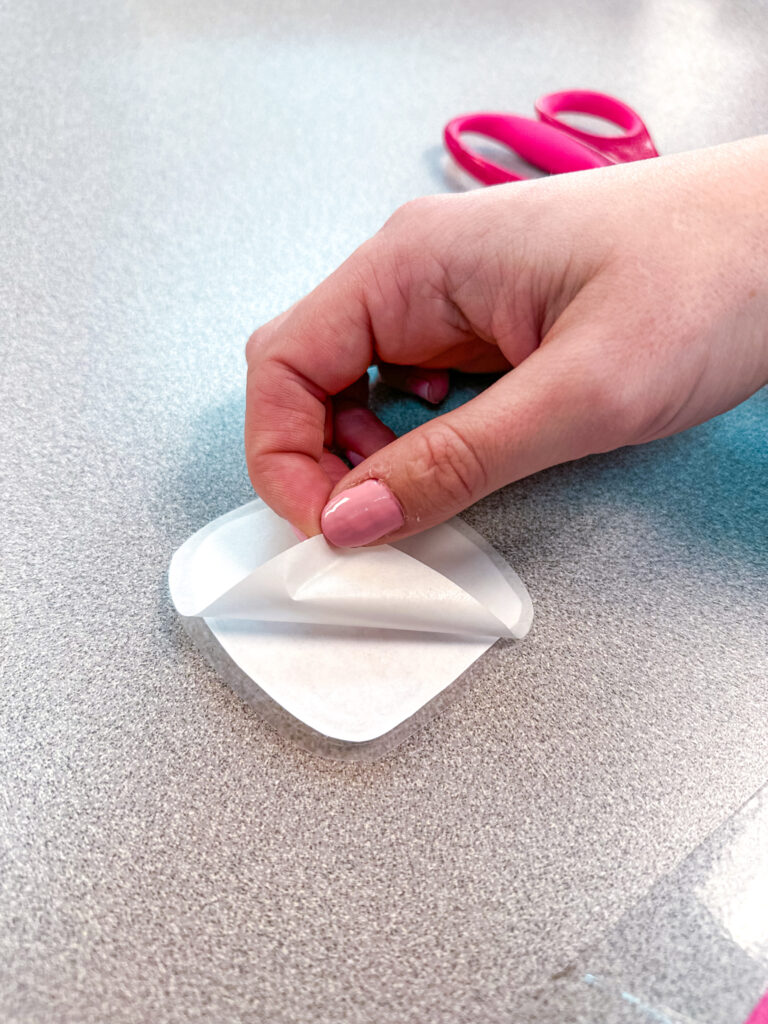
The final step of making these Autism Acceptance stickers is to cut them out! Notice, in the photo above, you’ll want to leave a small border of the parchment paper and tape around the sticker. Once they are cut out, flip over the sticker and pull off the parchment paper layer. It’s sticky from that first layer of tape! Congratulations! You have now made Autism Acceptance Month stickers! So simple, right?!
Let’s Make Treat Bags!
Treat bags are a simple, fun way to get your students involved with the staff in your school. It’s also a great way to work on functional job skills and social skills! You can read about how I incorporate these skills throughout the year with my December treat bags and Valentine treat bags, as well!


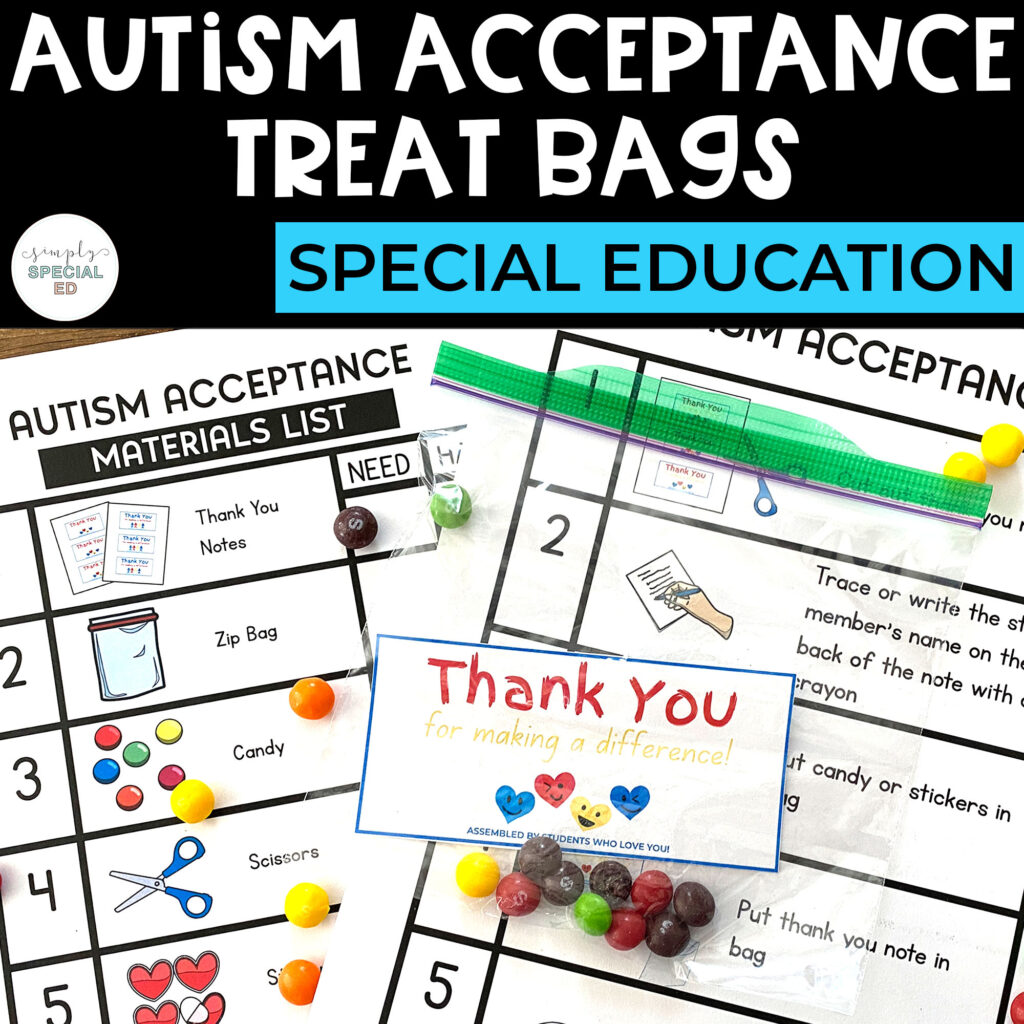
Materials:
For this part of the process, you will need:
- visual directions
- completed stickers
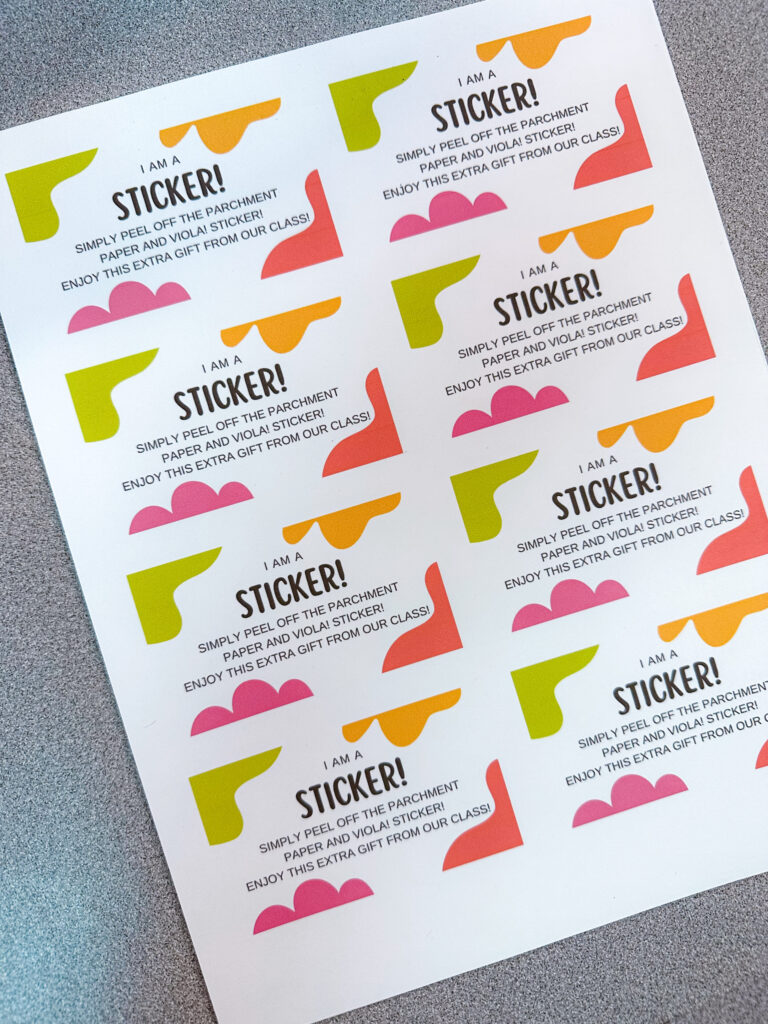
- sticker tag (for staff to know what the special surprise is!)
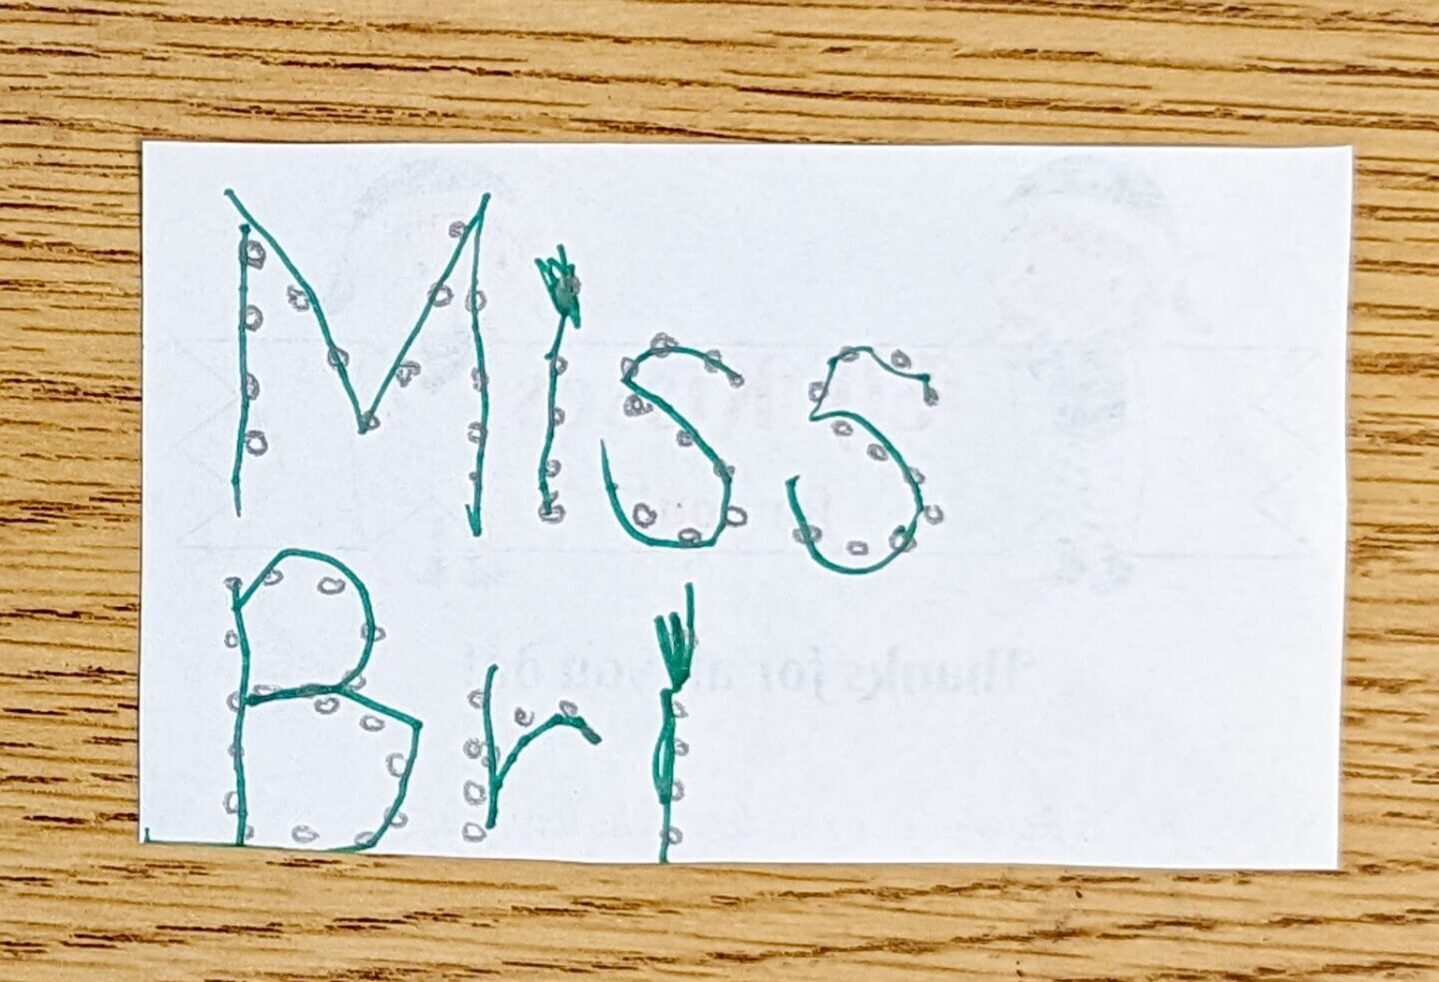
- class signature tag (middle photo above-students’ names on other side)
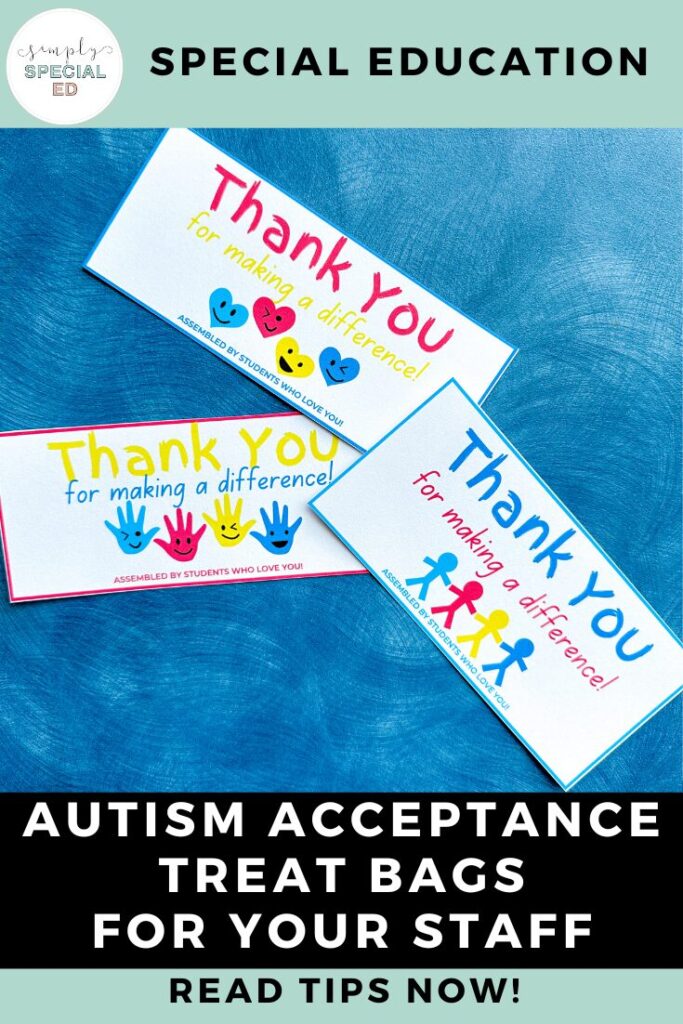
- staff name tag/thank you card (last photo-staff names on back)
- fun size packs of Skittles
- sandwich baggies
- staff list for your school
- markers
The Process:
To begin the Autism Acceptance Month treat bag process, you’ll need to get your staff list and add staff names to the back of each thank you card (as shown above). You can then have your students trace (or write, for students who can write without a tracing model) staff names with markers. This personalizes the treats, which makes everyone feel more appreciated and valued.
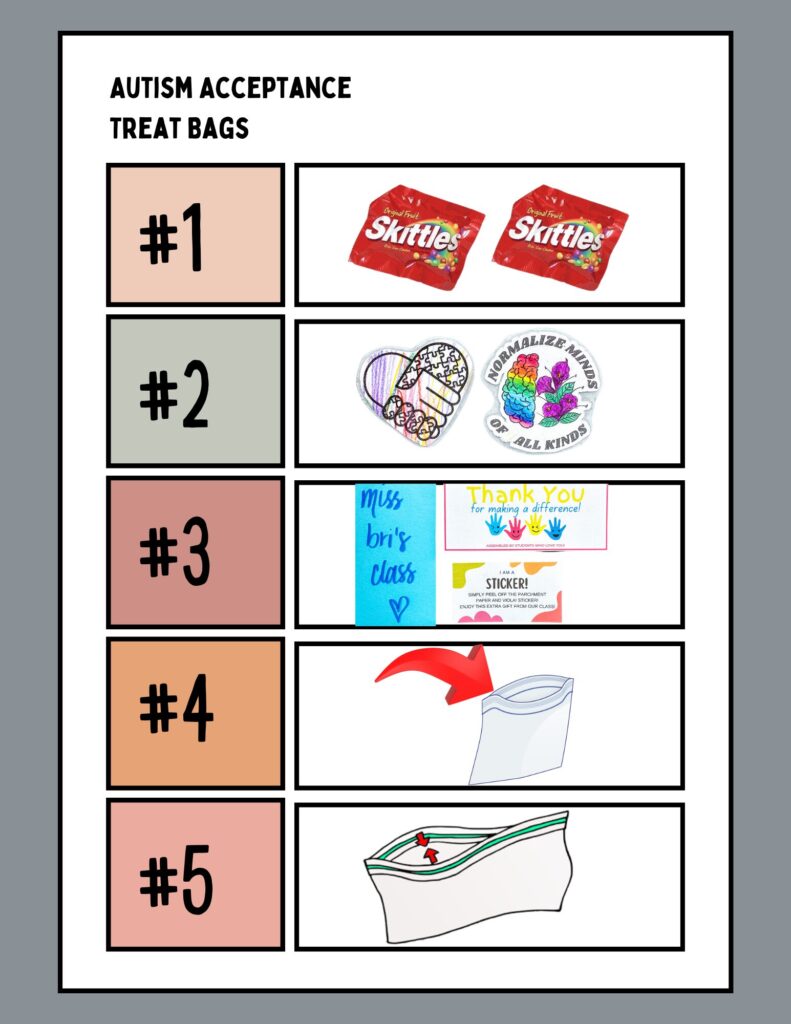
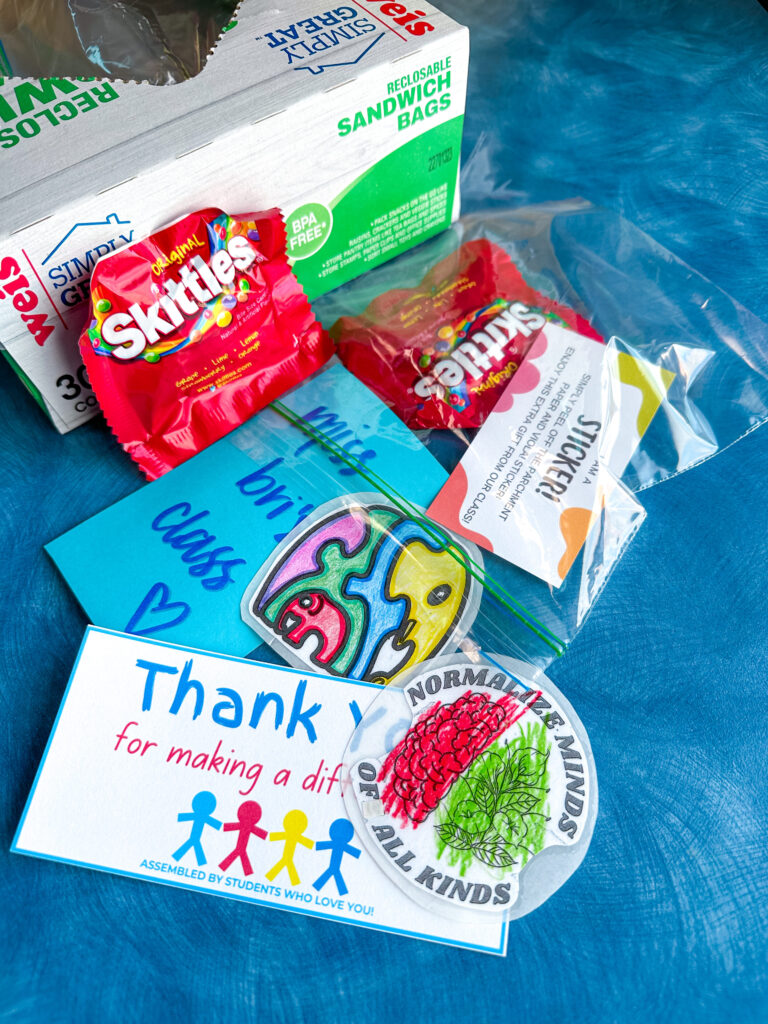
Next, have all of your students sit in a group. This part can be done assembly line style, or each student can create bags individually within the group. I like to use a visual direction sheet for my students to look at to be sure they include each element. This also encourages independence with this activity! Students will place two stickers (I like to include an adult colored sticker and a student colored sticker), two bags of Skittles, a thank you card, the sticker tag, and the class signature tag in each of the treat bags.
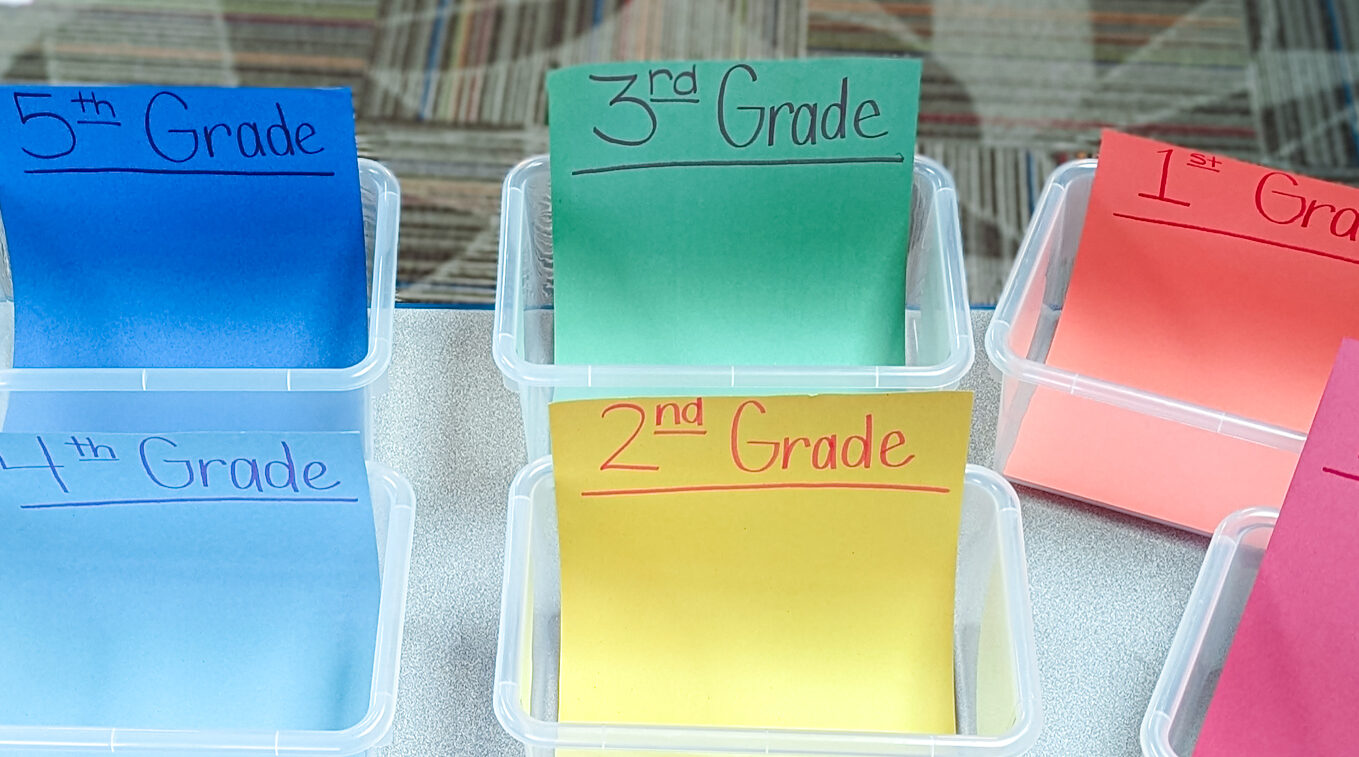
Once all of the treat bags have been assembled, we organize them into grade levels. Then it’s time to deliver! Students go with a staff member to each teacher’s classroom to deliver these special treats. This is a great way for students to be aware of staff in the building, become familiar with the layout of the building, and to practice social skills with adults they may not normally come into contact with. The smiles on everyone’s faces is so worth it!
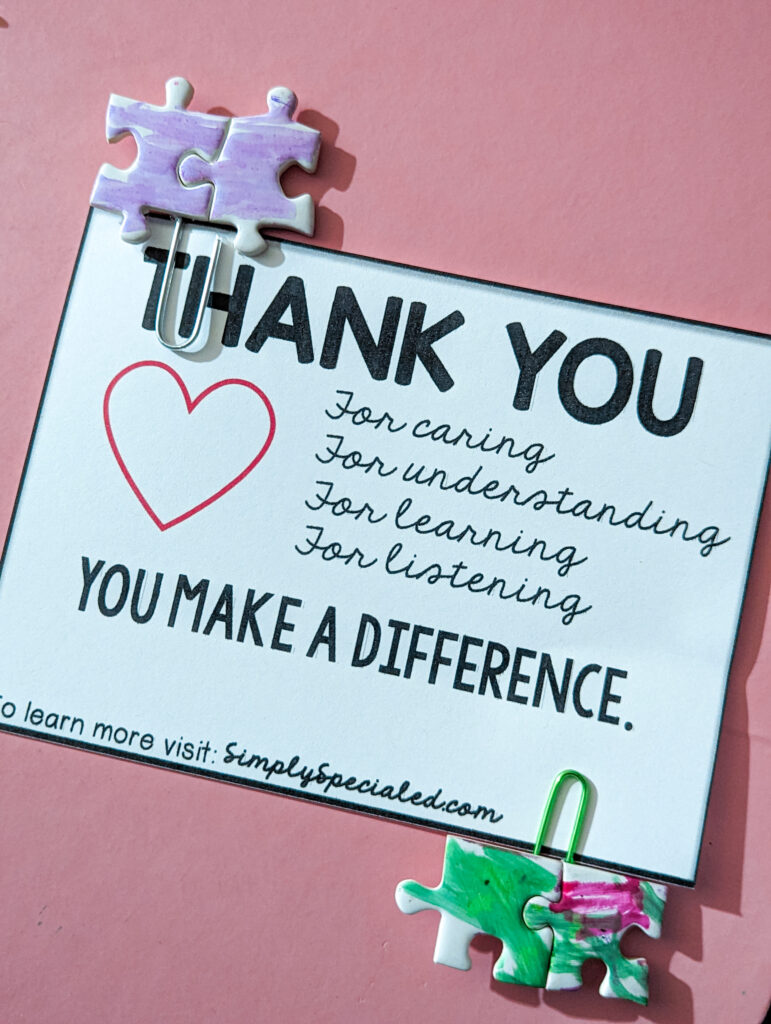
Autism Acceptance Month should be celebrated in all schools! Celebrating your students and increasing staff morale with these treat bags is one simple way to do this. Last year, my students made bookmarks for each staff member (see below). What are some ways that you celebrate Autism Acceptance Month in your school?
Need some other resources for Autism Acceptance Month? Check these out!
Autism Acceptance Library Labels
Simple Book Companions: Differences Bundle
Autism Acceptance Month: An Autistic Teacher’s Perspective