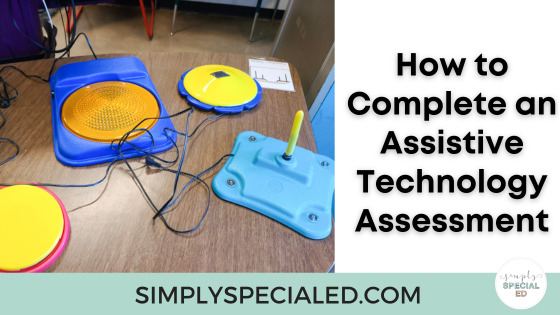
As special education teachers we’re already familiar with assistive technology. It’s something our students use and need in their everyday lives. I’ve recently finished my masters degree in Assistive Technology, so I know starting from scratch can seem daunting. I’m going to share some information with you about the assessment process and how I like to do it.
Staff With The Team
The first thing you should do is make sure that everyone that spends time with the student is on the evaluation. This includes therapists, paraprofessionals, parents, and other teachers. Having a staffing about the assessment before you get started is the best way to make sure everyone is on the same page. During this meeting I discuss what we are assessing the student for and in what settings the student would be using it in. We would also need to set up a schedule for observations, check ins, and a way to easily communicate information about the assessment. I like to send out google forms and use google documents . I also make sure that everyone understands that this process takes time and that the first thing we try may not be the best fit for the student.

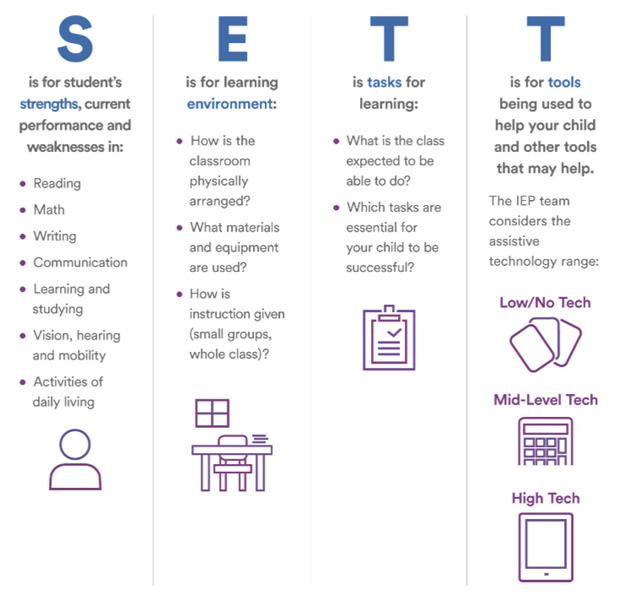
Use The S.E.T.T. Framework and the WATI Assistive Technology Assessment
The best tool to us when you assess a student is the S.E.T.T. Framework. It was developed by Dr. Joy Zabala, an expert in assistive technology and inclusive education. S.E.T.T. stands for Student, Environment, Task, Tools. It guides in figuring the situation that the students needs help in. WATI (the Wisconsin Assistive Technology Institute) has created a way to, in my opinion, streamline the entire process by making a simpler format. The WATI documents walk you through the process and give examples of what information may be needed. You can also check with your district and see if they have a version of these forms they prefer. All of this information is free and you can access Dr. Zabala’s website and on the WATI website.
AT Consideration
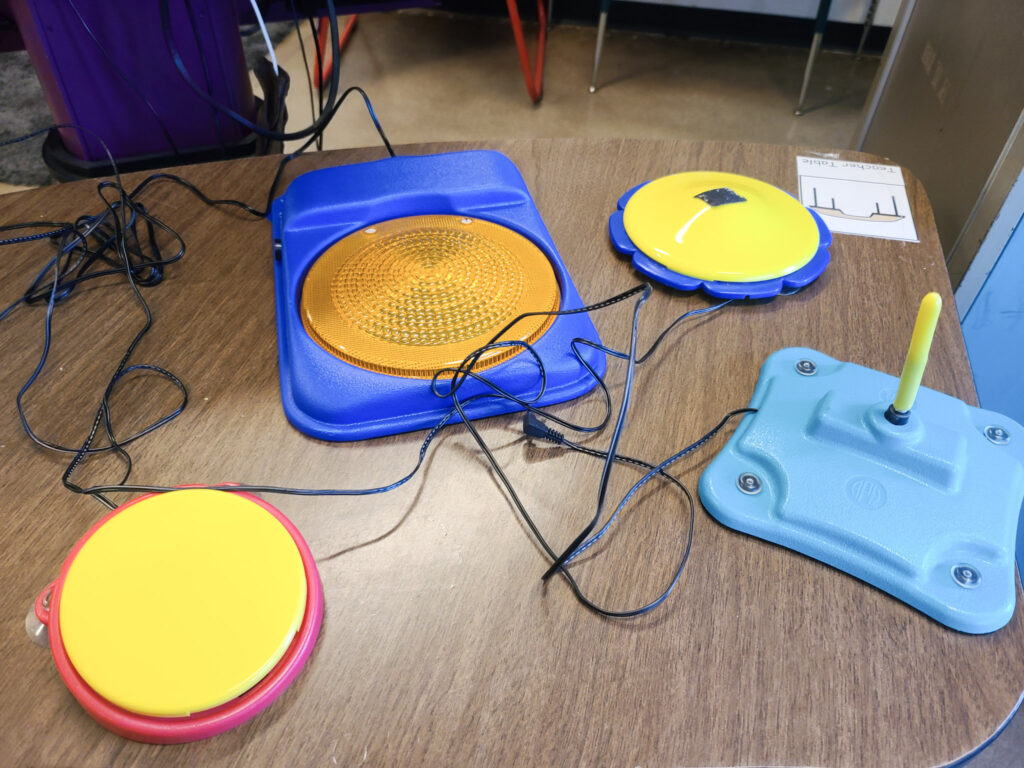
After you have completed the WATI AT Assessment it’s time to consider tools for the student to use, who will be trained on them, where they will be using them and how they will be using them. Make sure that everyone is onboard and knows how to use the tool you selected. The student will need consistency from all adults in order to learn to use their new AT tool.
Take Data
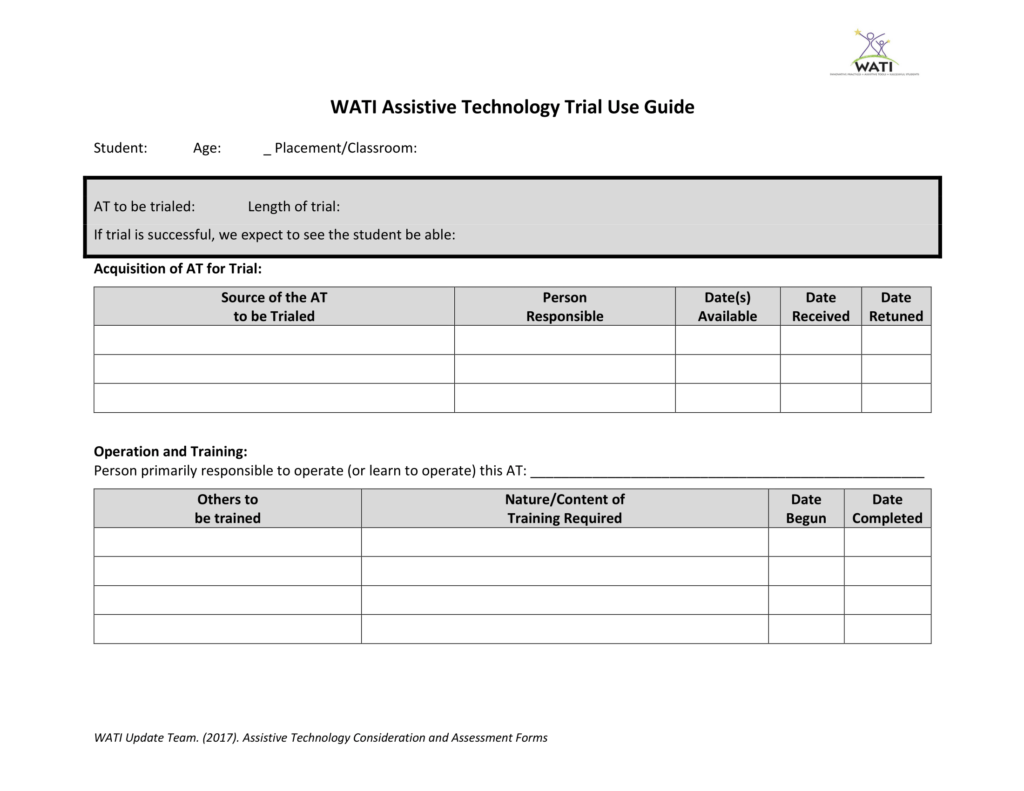
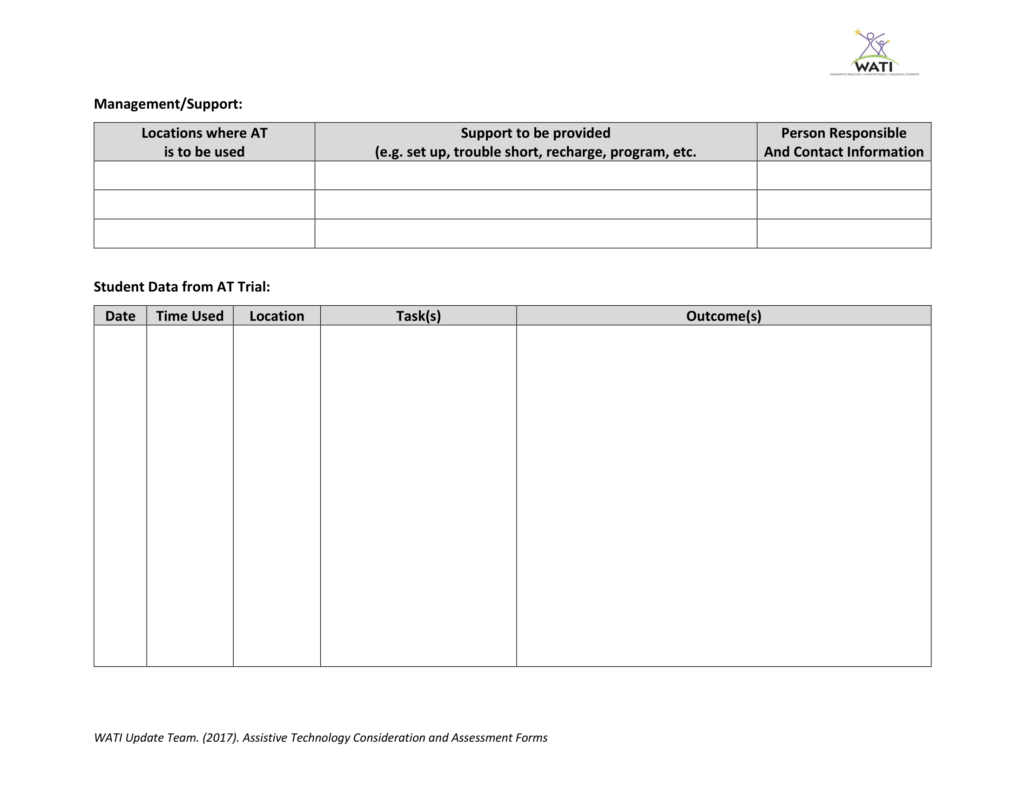
It’s really important to take data on the student’s use of their new assistive technology tool. Depending on your student and their new tool, the time it takes to learn the new tool may be could be shorts (a week or two) or longer (a month or more). Record the students progress so you can determine if this is the right tool for that student. If you aren’t sure how to analyze and take data, Whitney has a great post about it here. You can use the data sheets provided by WATI (pictured below) or can check out these sheets that Alyssa made here. I like to take data digitally.
If at First You Don’t Succeed, Try Again!
The first tool we choose may not be the best one and we can easily track that through trends with the student’s data. If it turns out that the first tool you picked isn’t working out, that’s okay! Let’s look at our assessment and data and try again. Is it an implementation issue or a student use issue? It can take time to train everyone on your students’ new tool and for the student to learn how to use the tool. Make sure to check in with everyone frequently to ensure that everyone is still on the same page. Remember earlier when I said it’s important to schedule meetings? This is where that comes in handy. You can also send emails to check in with everyone.
I hope this gives some insight into how an assistive technology assessment works. It can be a long process, but it is always worth it to see your student gain independence and confidence. I hope you enjoy the post on how to complete an assistive technology assessment. Can you tell me who does the assistive technology assessments in your district?


")