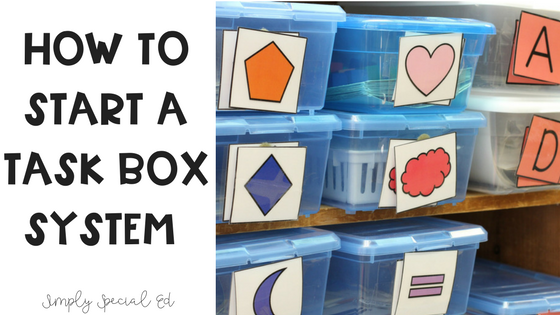
Starting a Task box System is my number one suggestion to new teachers, or teachers who do not have enough staff (okay, so everyone…).
Here is my QUICK guide to setting up the system and making the most out of everything you already have!
STEP ONE:
Gather materials. There are a few things you may need to buy (but not many!) to start up an effective system.
Here’s the list:
- Plastic bins in bulk (affiliate link)
- Labels for the bins
- Packing Tape (affiliate link)
- Velcro
That’s it, and some you may be able to find around your classroom to reuse! I Suggest starting with 12 bins and building from there. (link above is a 12 pack!)
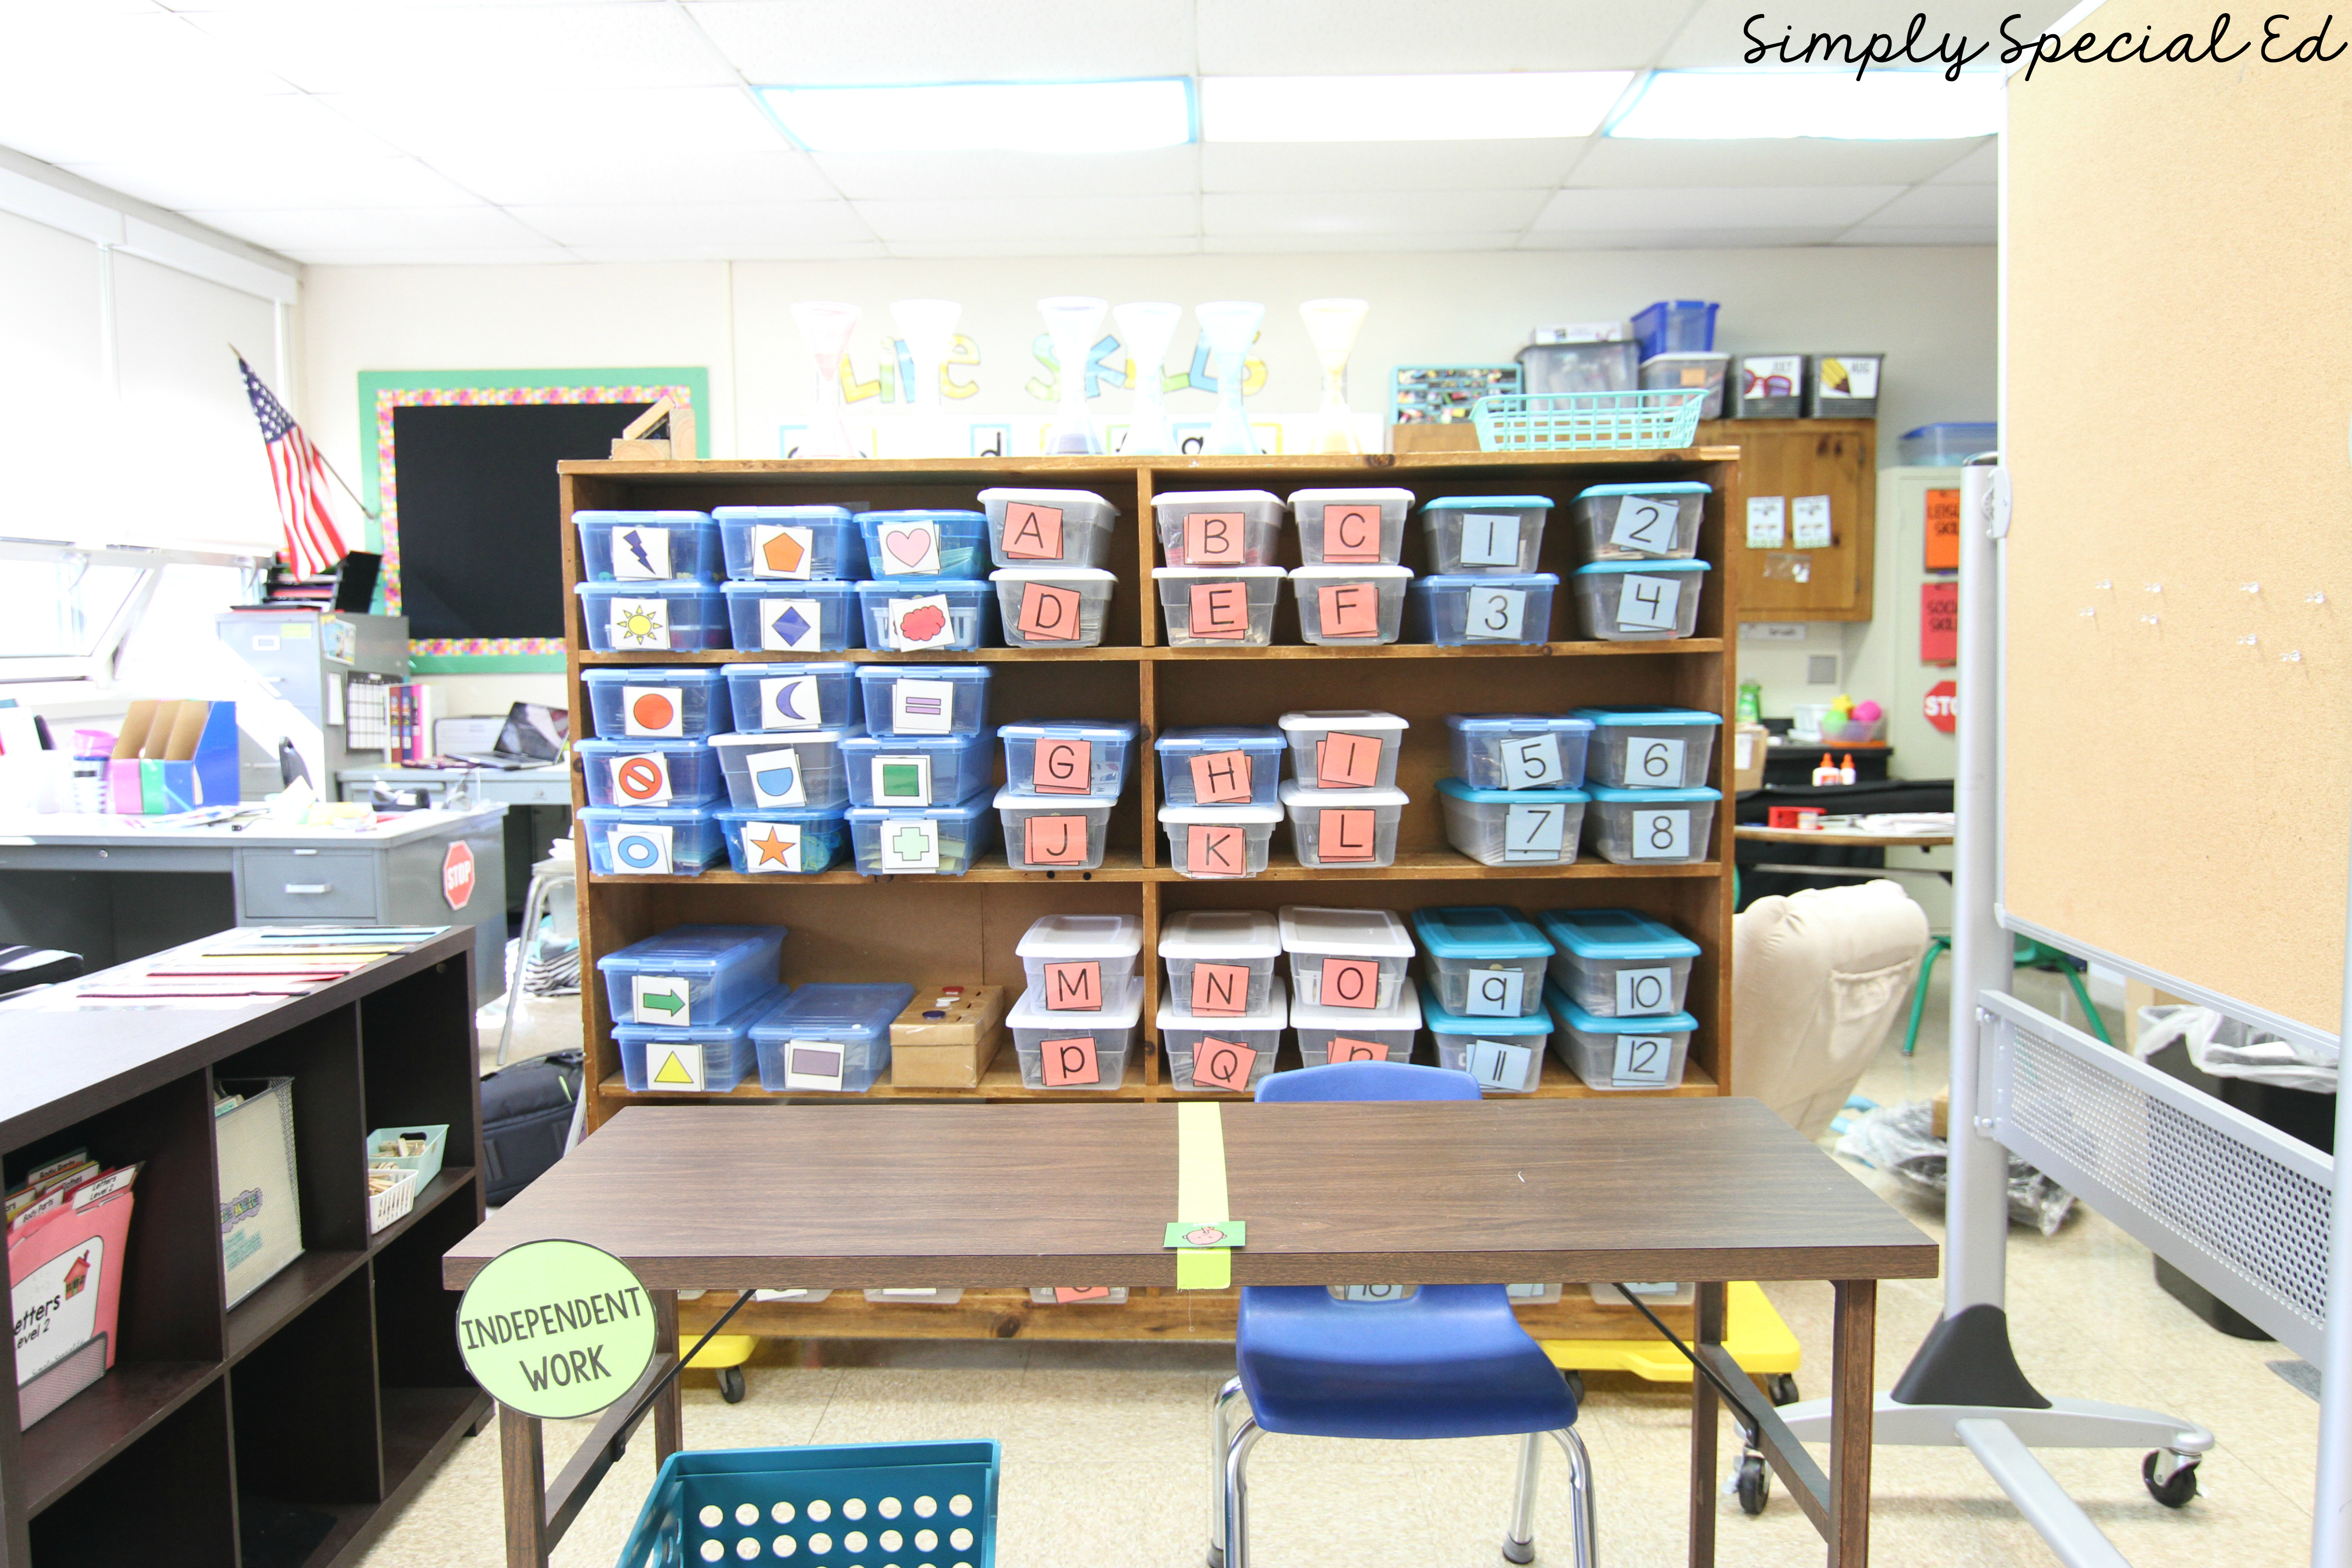
STEP TWO:
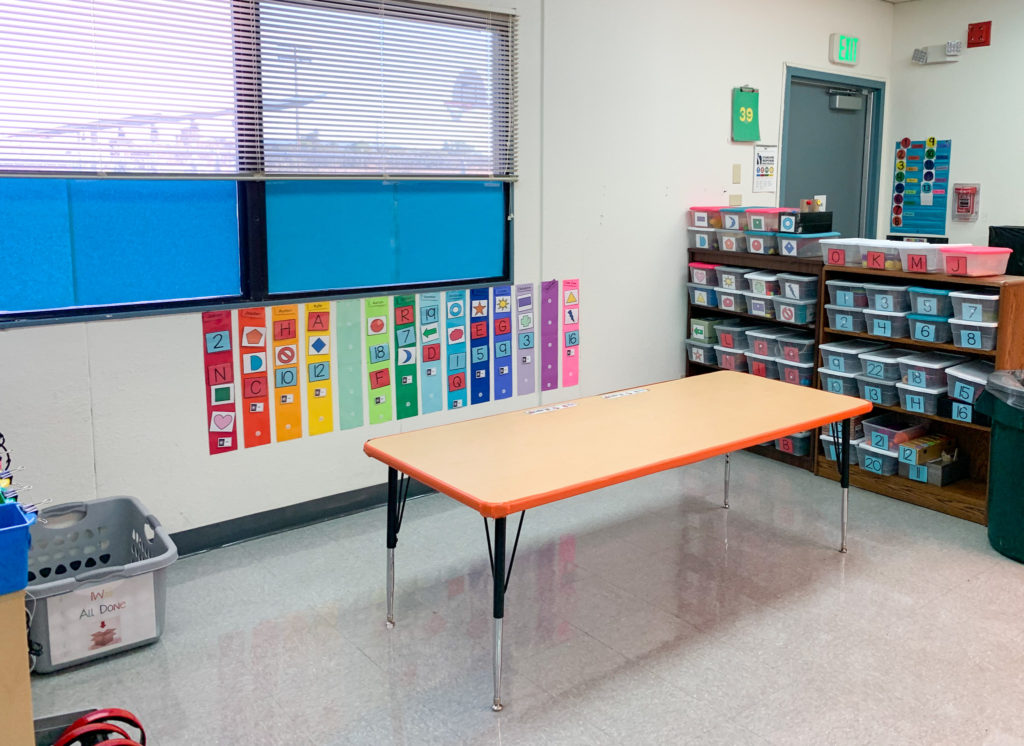
Make a designated space. It can be a shelf, a cart, a corner, or even a desk. BUT you NEED a designated space. That way, when your students are there… they know the expectations of that center. I honestly find this area of my classroom to be one of the absolute most important spaces. It helps my classroom run smoothly, effectively, and helps my students practice skills and generalize.
STEP THREE:
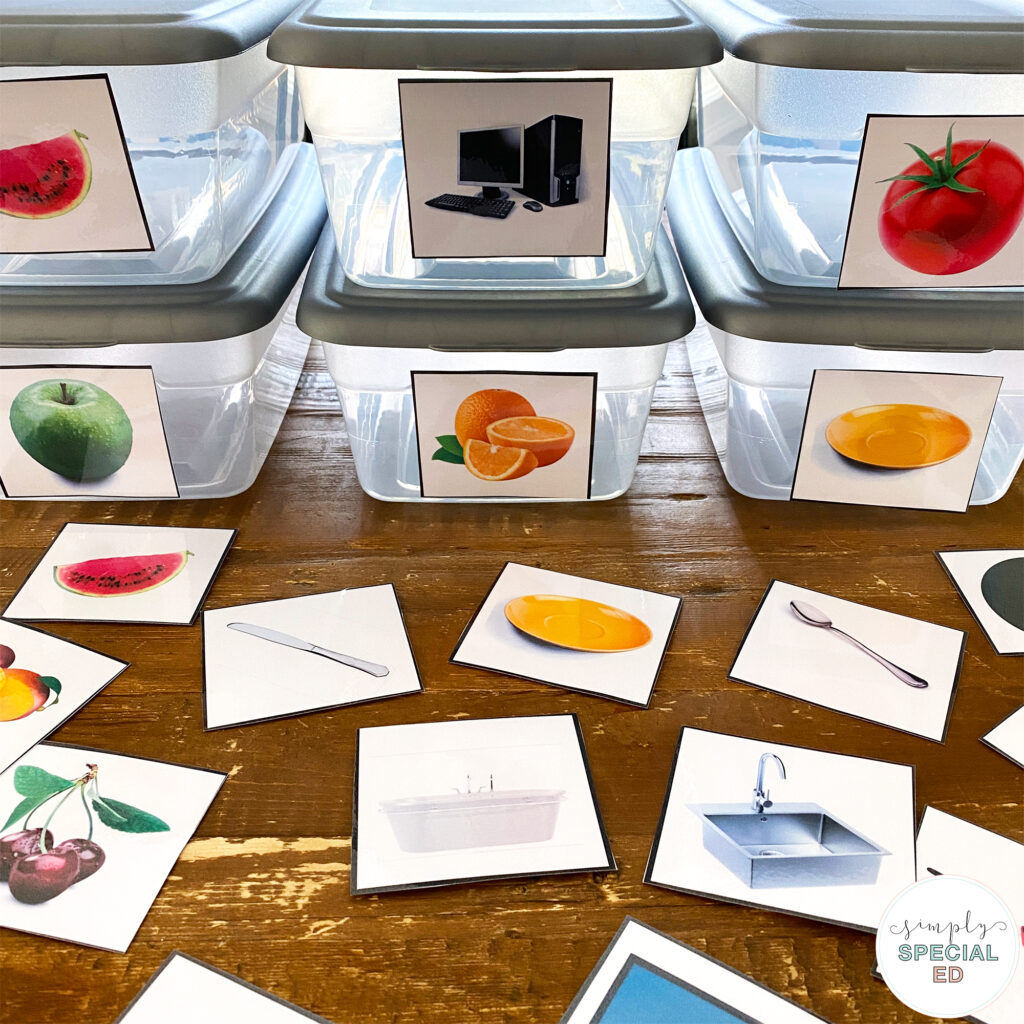
Find activities. Do not go crazy over this… ANYTHING CAN BE A TASK BOX.
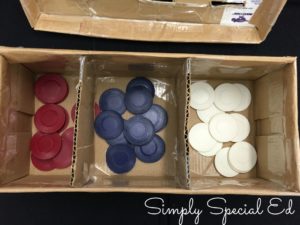


Sure there are some cool ideas out there, but you can make some really cool stuff with things you already have, or activities you have already bought on TPT.
Here are some links to some FREE Task box downloads:
STEP FOUR:
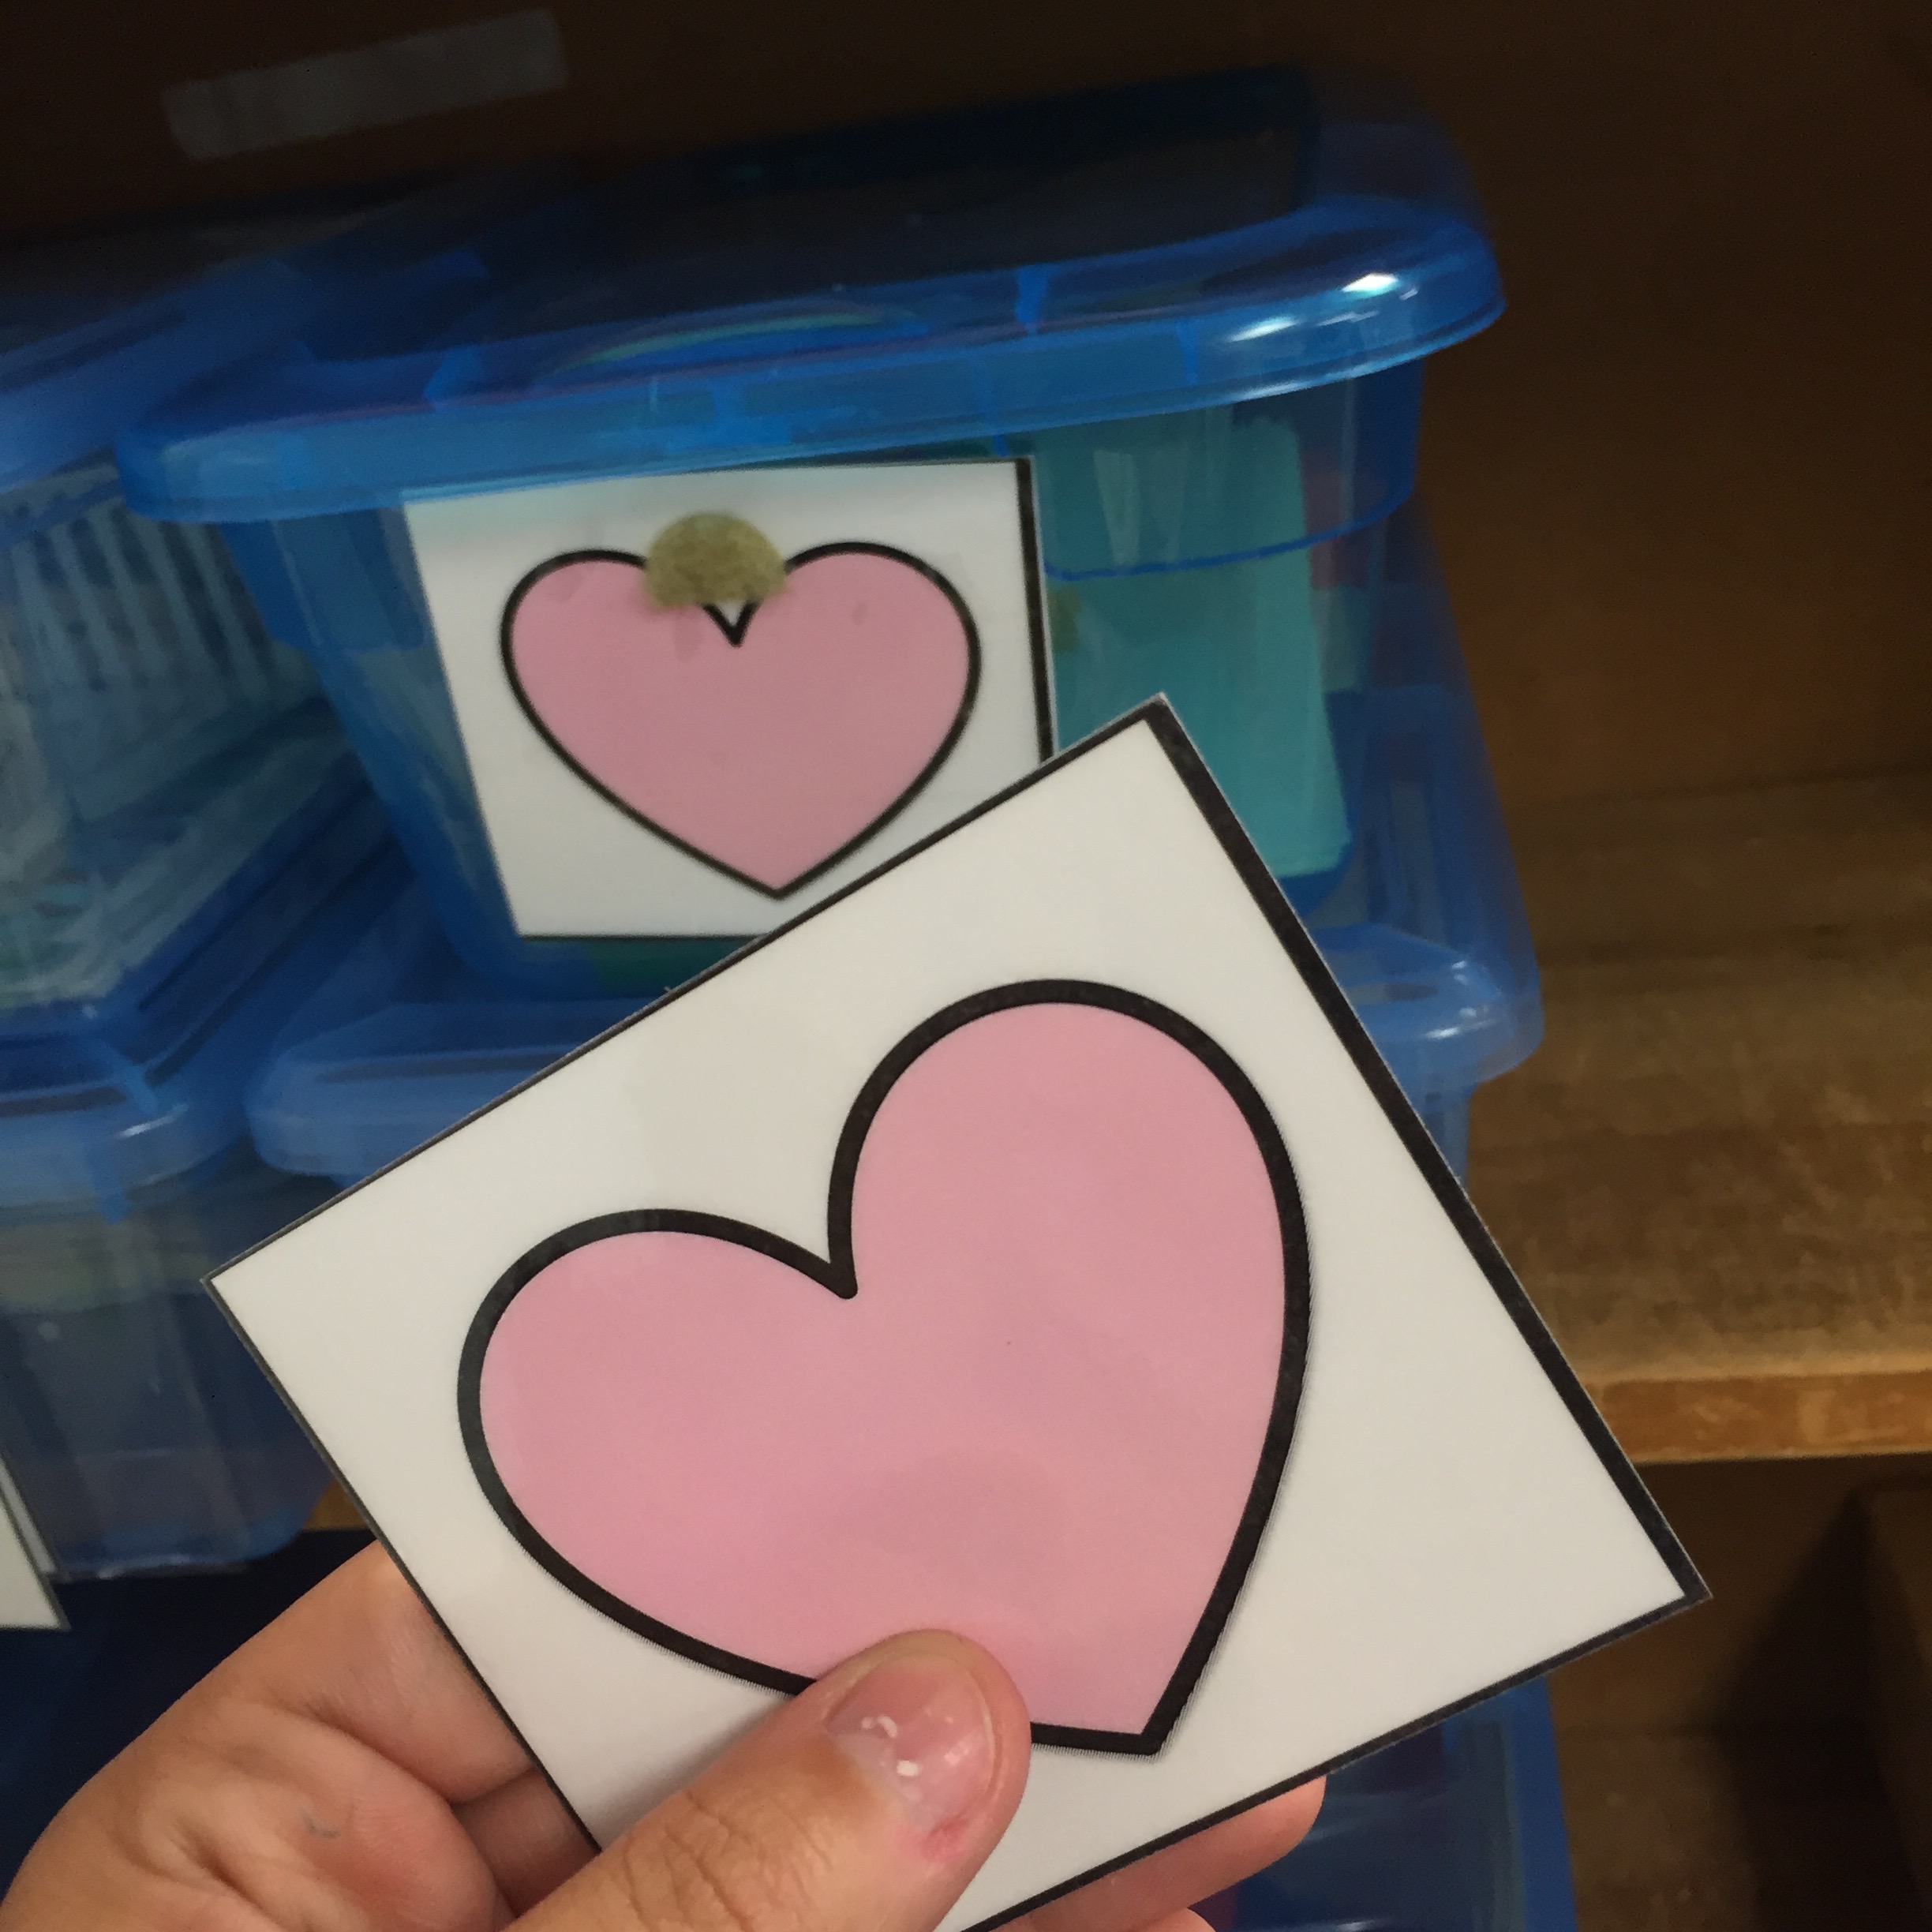
Setup your schedule system. My students match a picture on their schedule to the picture on their box. It’s easy to teach that way!
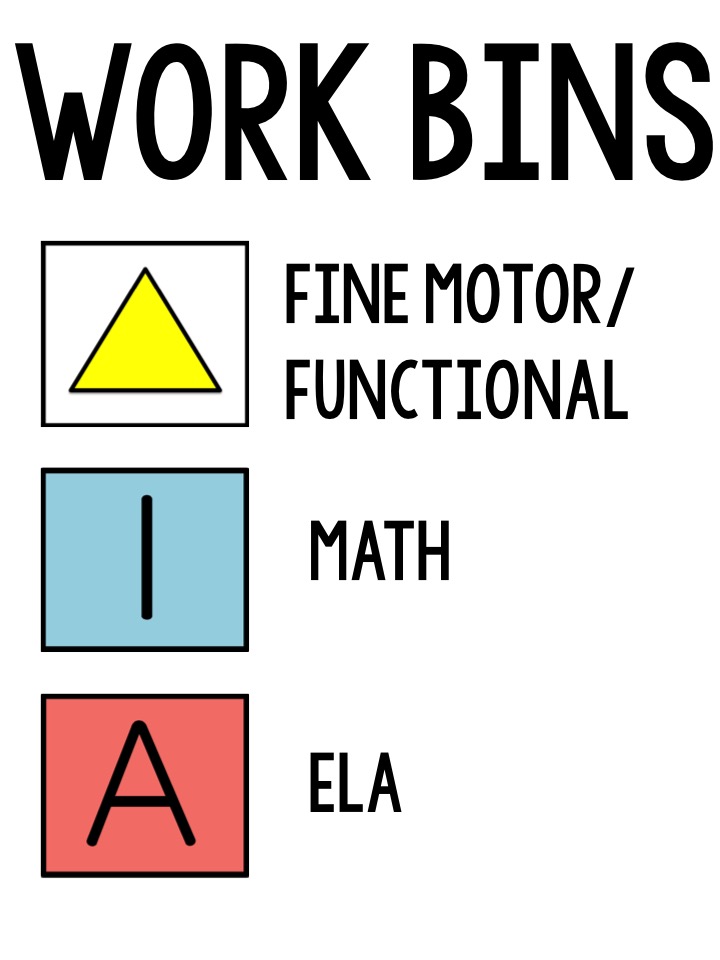
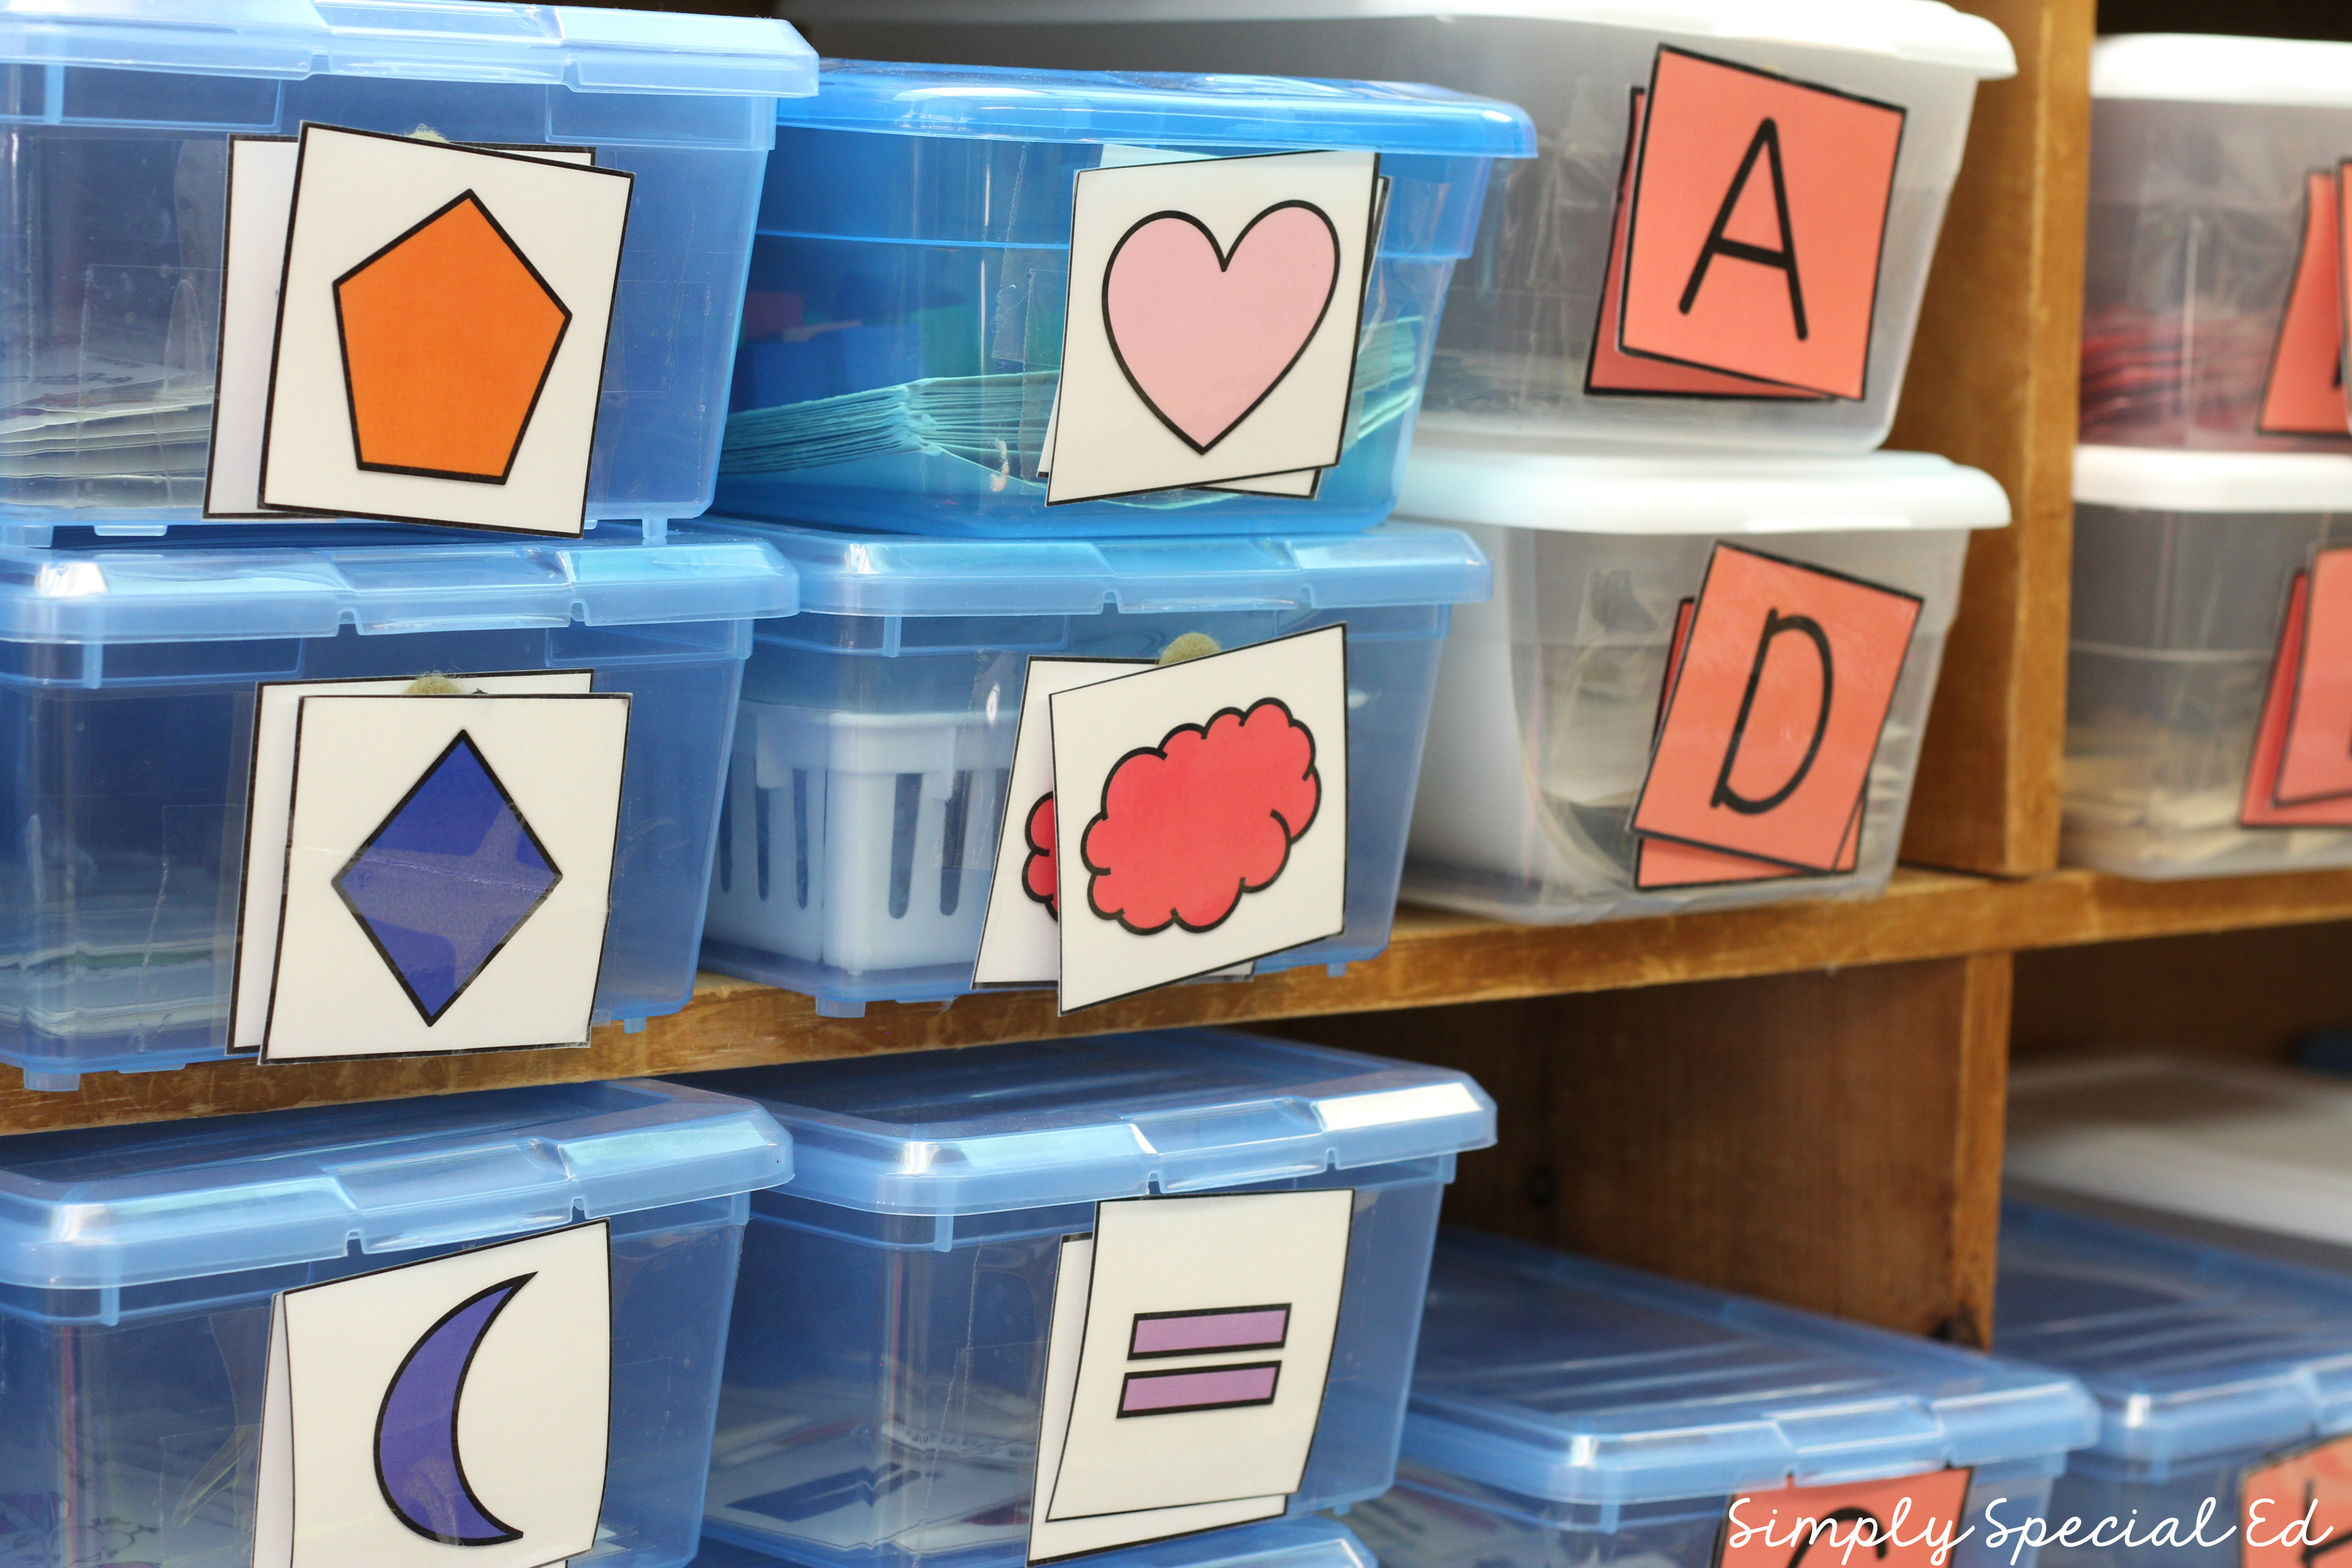
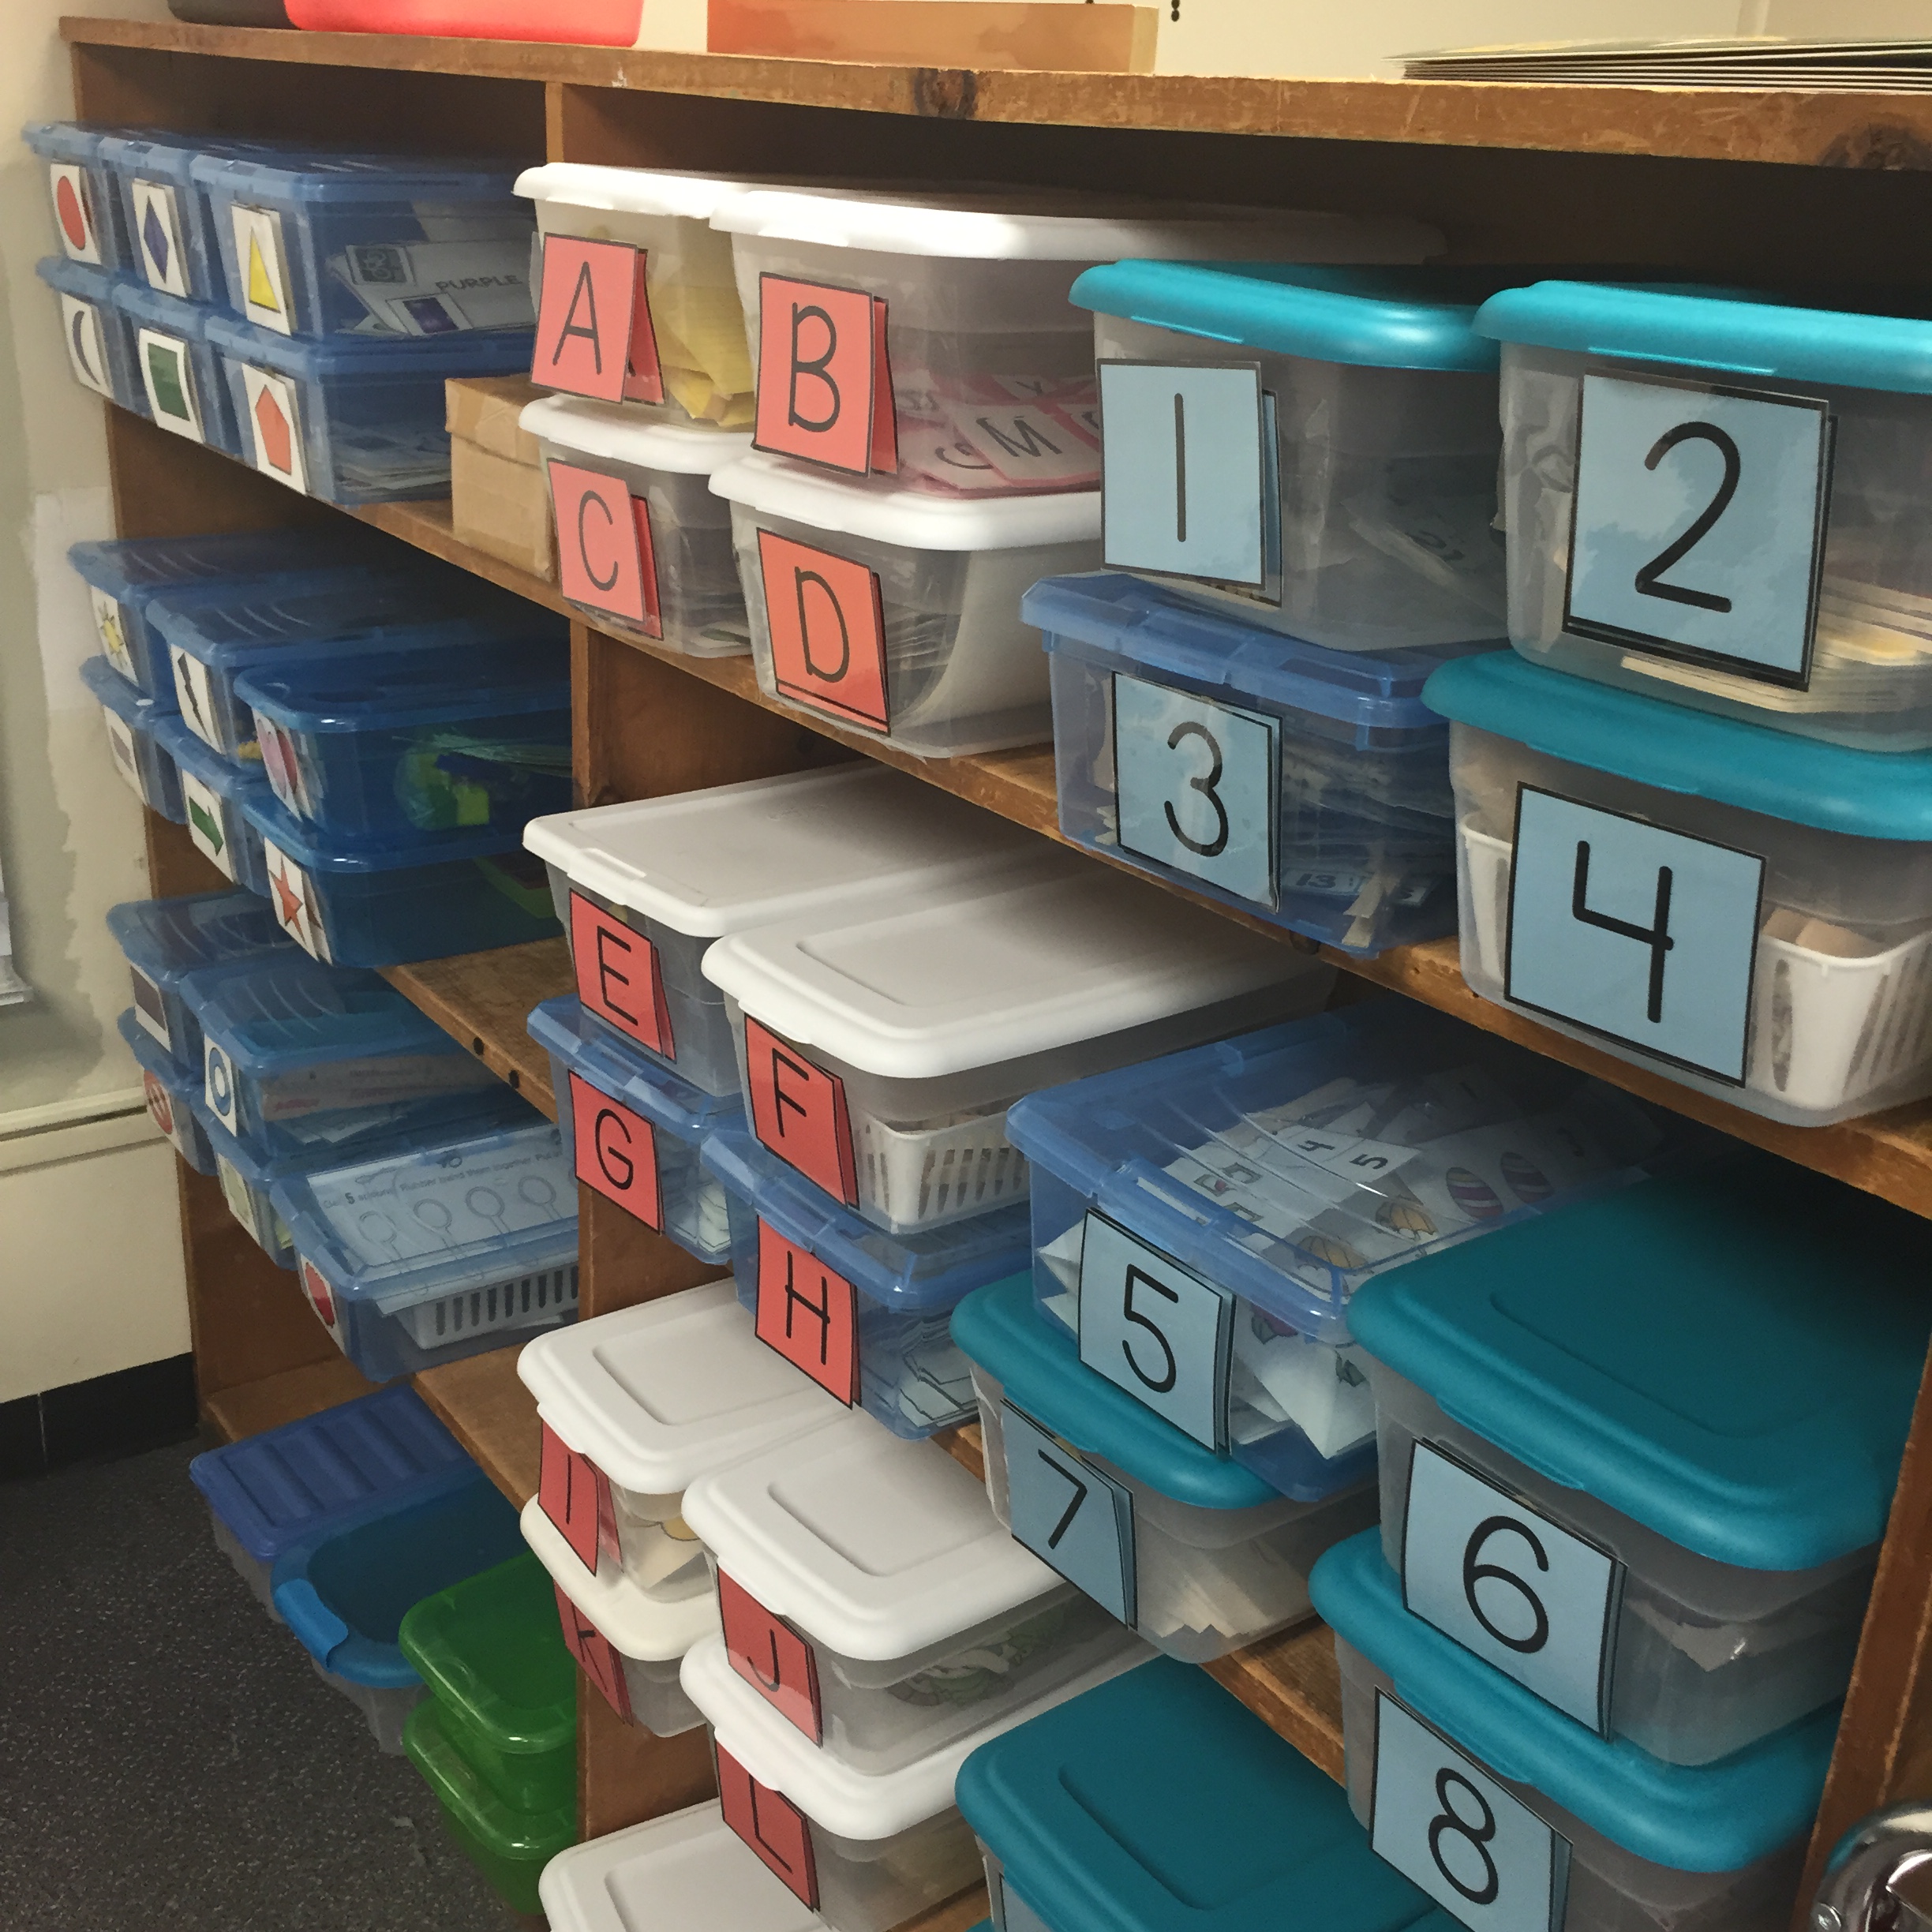
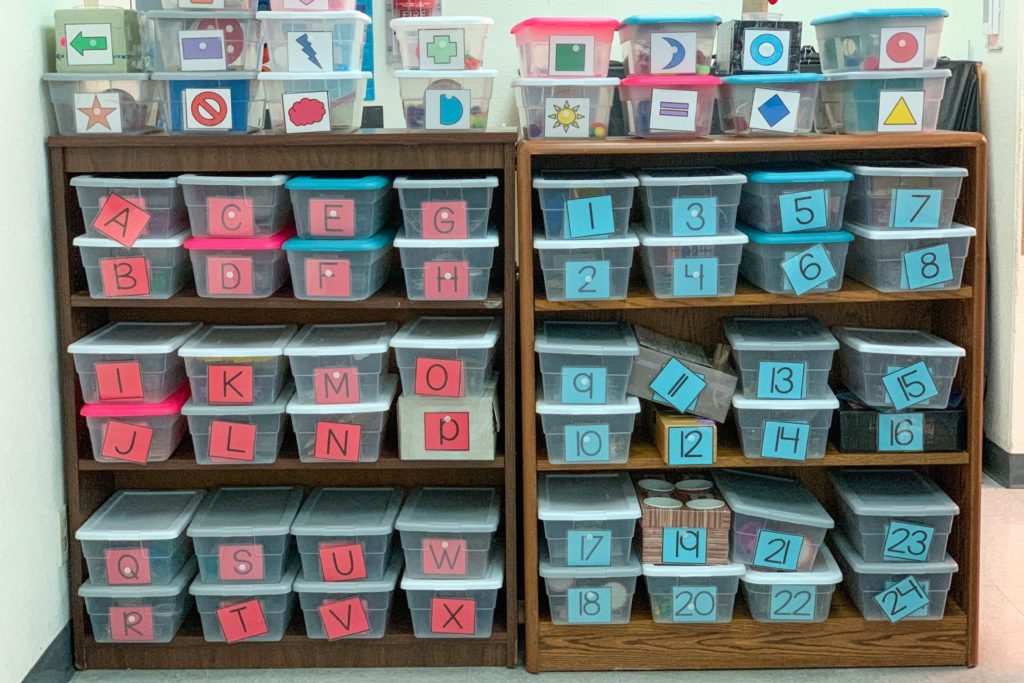
You also want to figure out how to organize them. I like my labels to be functional and appropriate for all ages, so the system can continue with them as they get older. So I use things like numbers, shapes and letters, not pictures!
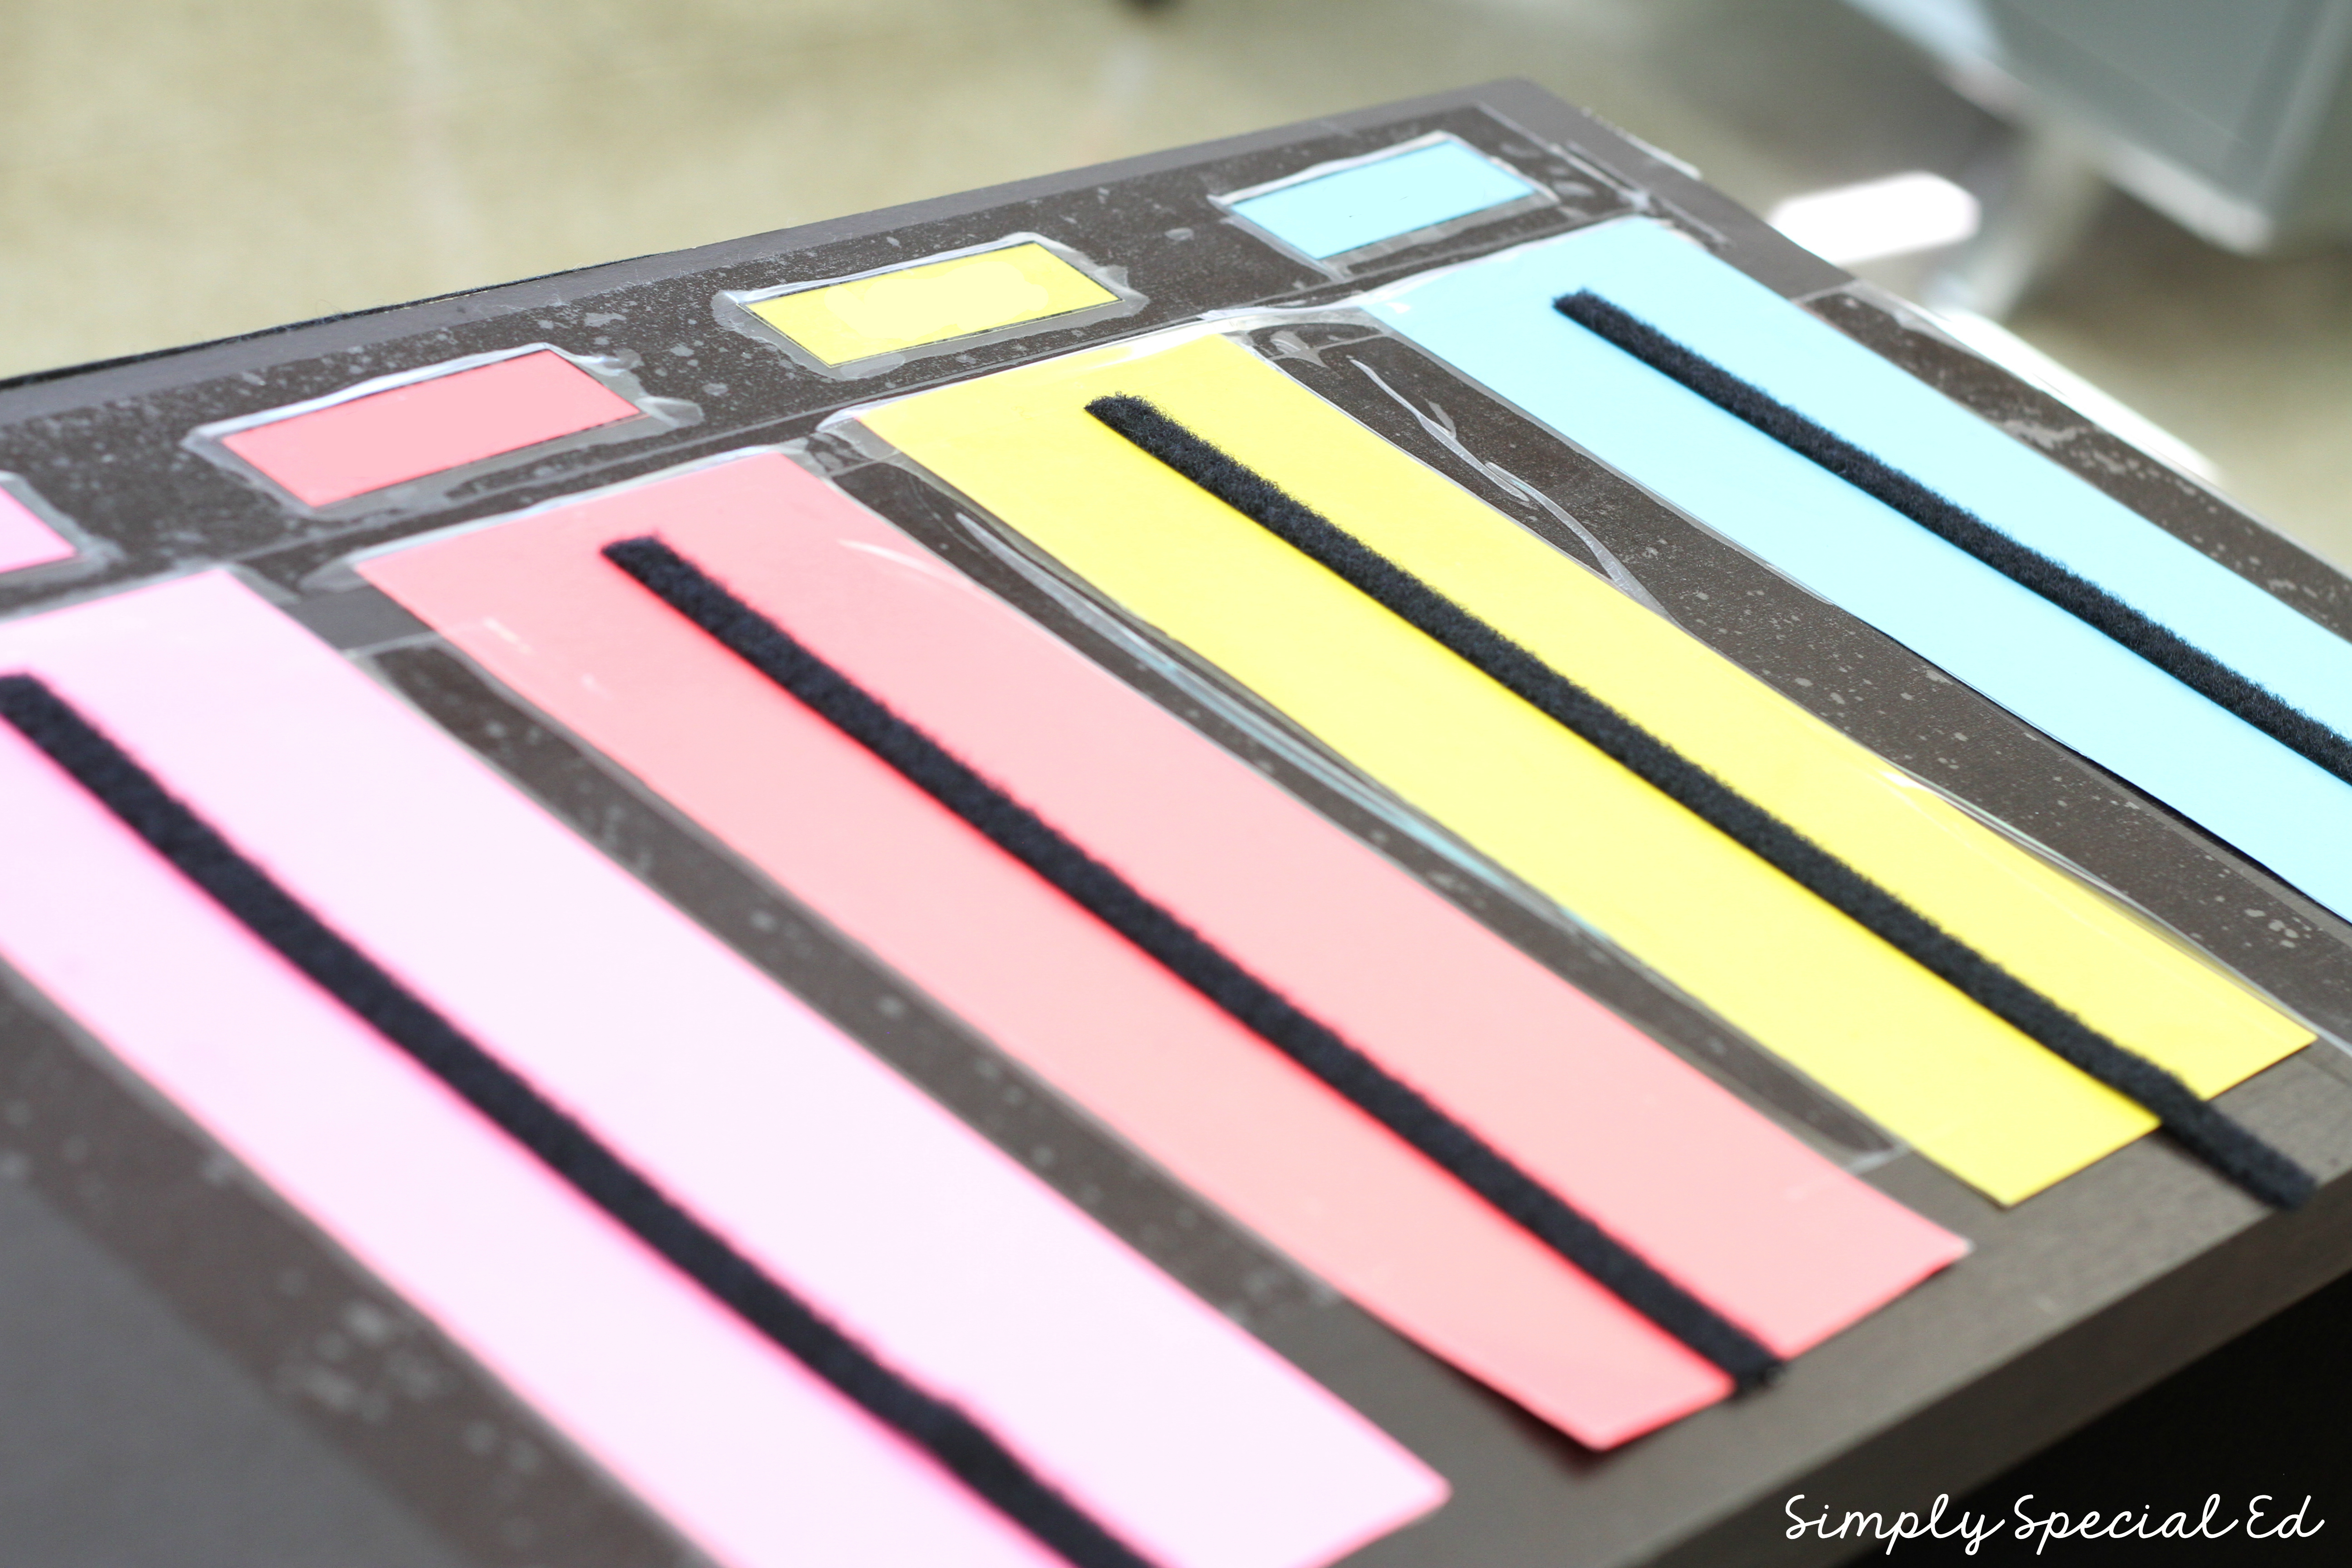
This is another great place to utilize color coding. Students can easily identify their schedule!
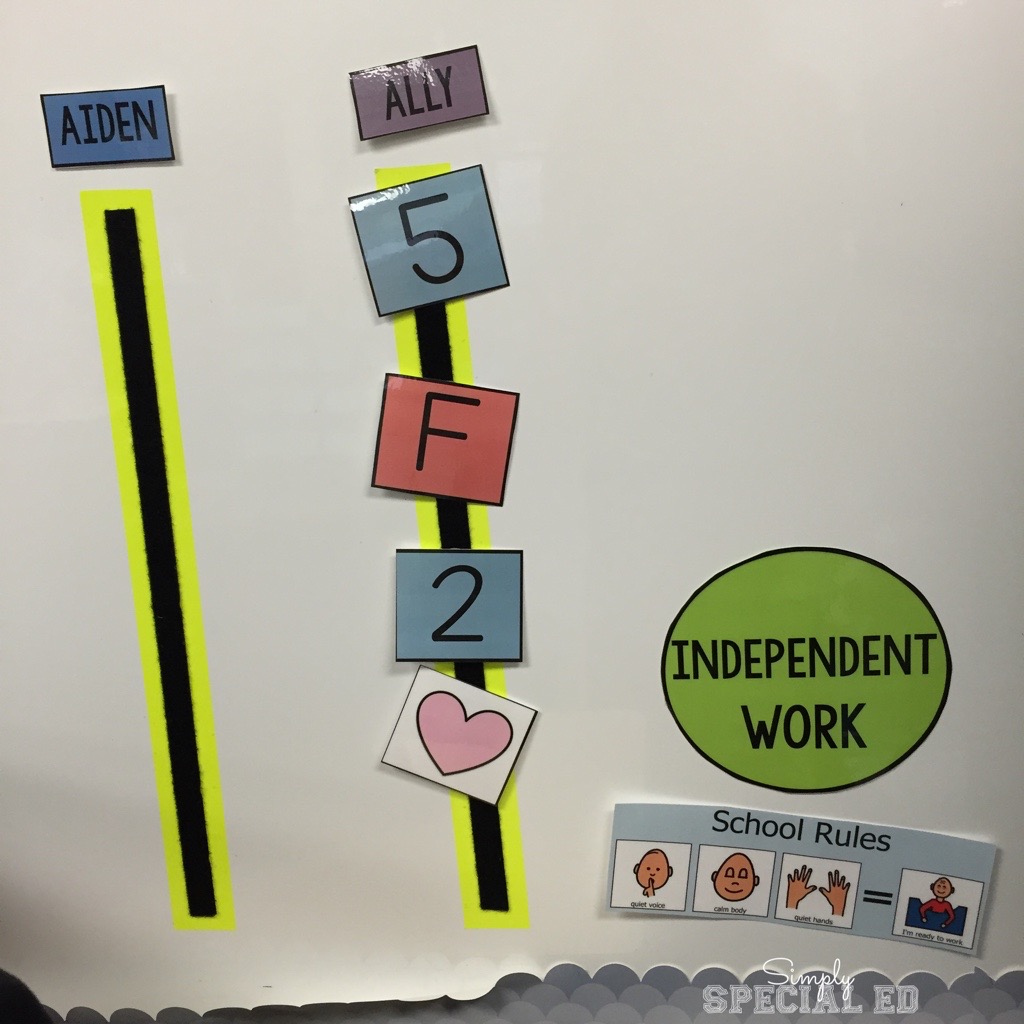
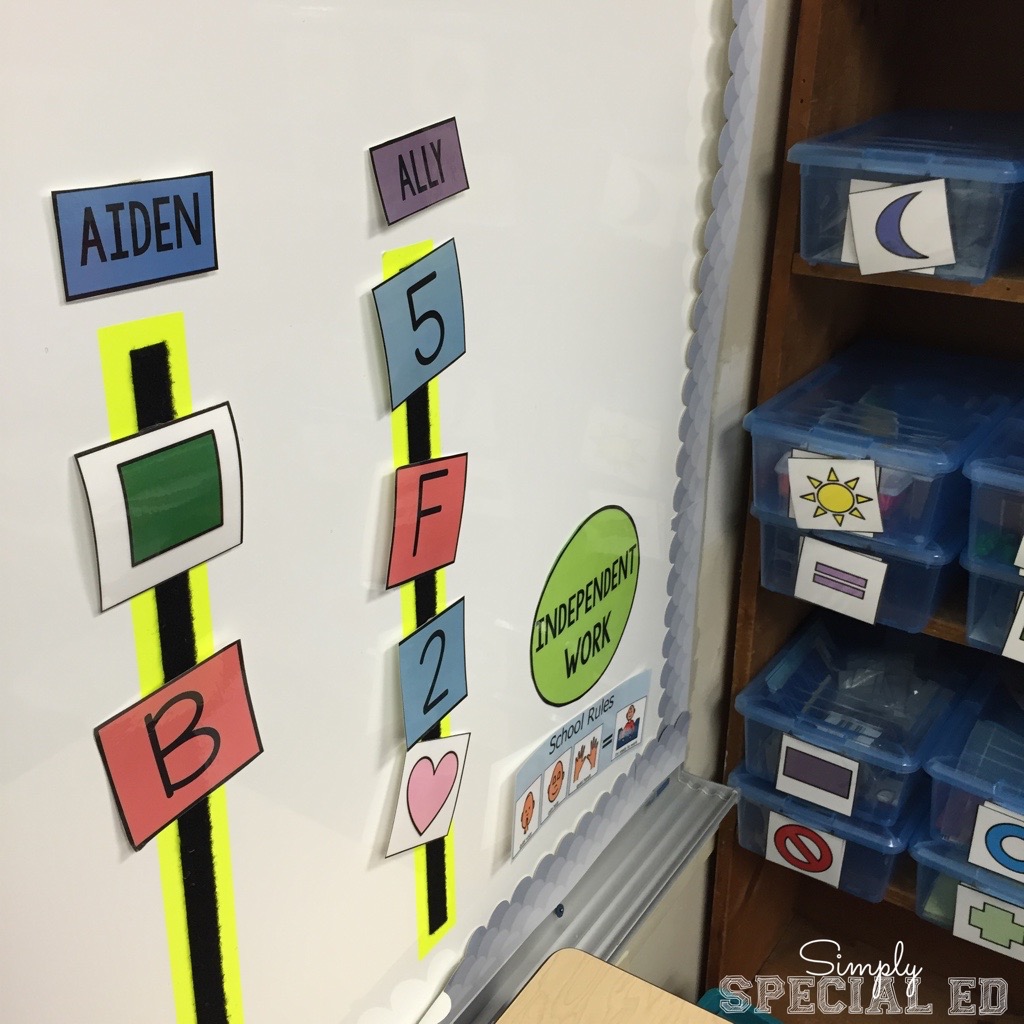
The ways you setup your schedule can be different too. I like to have a schedule separate for each student in the independent work center right next to the boxes. Some teachers put it right on their main schedule, or have it in a student binder. Find what works best for you!


When students are done with the bin, what do you want them to do? Some students may like to take apart the task and put them back, while I like to have students place the bin in an “all done bin” to mark completion and move to the next on their schedule. This way, as I put them away I can check their work.
STEP FIVE:
Prep your students. Once the space and materials are ready to go… you need to prep your students. I’m going to be honest here. This area is absolutely vital for my classroom survival. It frees up staff members and is an independently run center. Do you know how amazing that is in self contained? YUP. So I spend about 2 weeks straight teaching the skill. How to complete a schedule, put away, clean up, get access to reward. It is like a magical science that makes your life a million times easier.
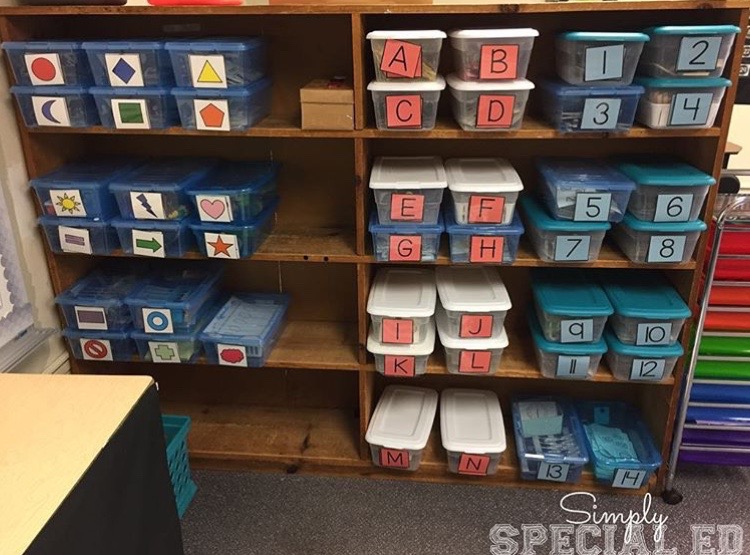
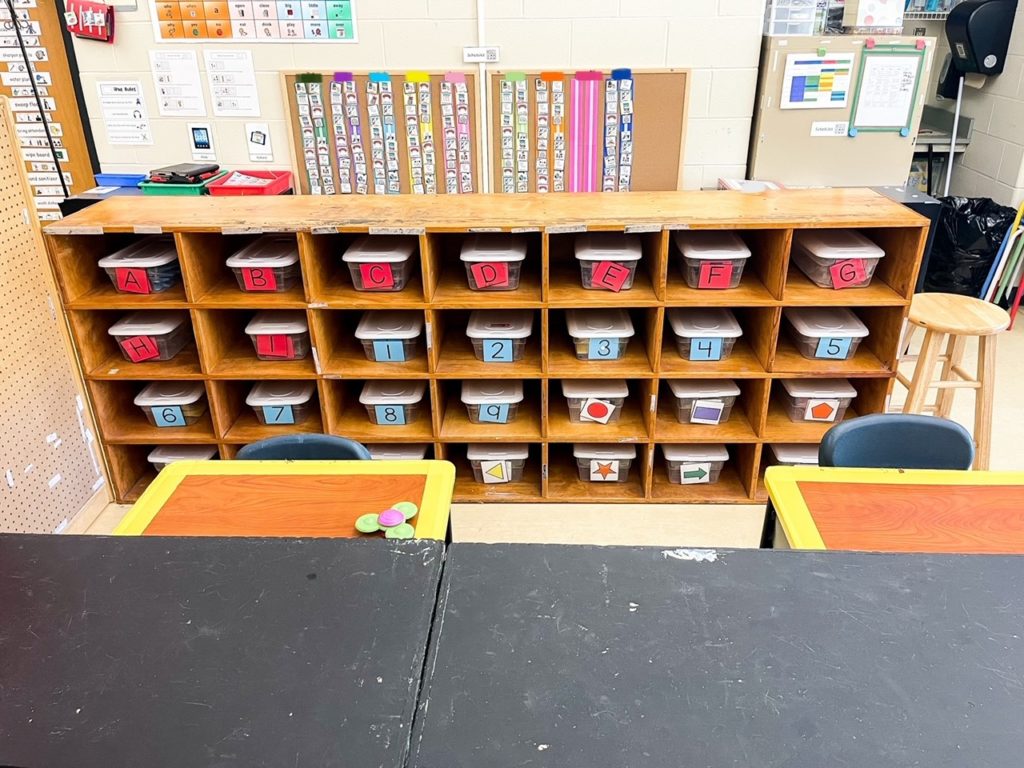
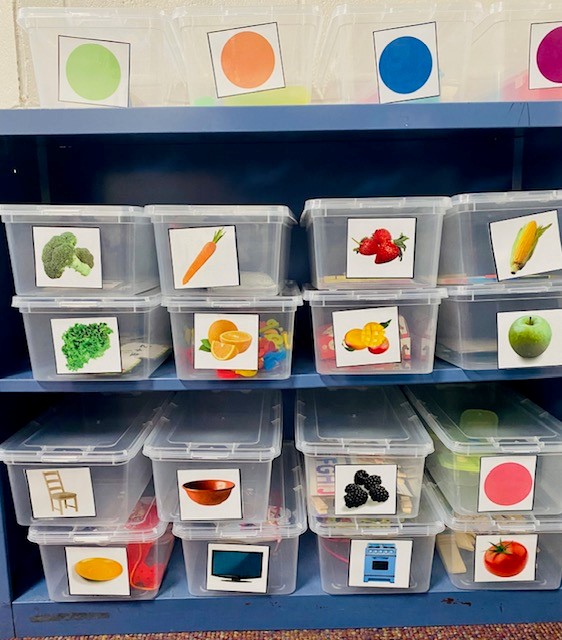
Here’s some examples of classrooms that have used these labels:
You can grab the labels in my TPT store here! or in the shop here!
Get started with your workbox planning for next year NOW! Then you can add more and more as you got, watch how much easier your life gets!
Need help setting up your classroom this year?

Learn more about Simple Self-Contained Setup 101®: the bingeable online course made specifically for self-contained special educators! Reduce overwhelm and anxiety during back-to-school season with the proven methods I teach you in this course! Click here to learn more and join the waitlist now!
FREE DOWNLOAD

Don’t have room for a big task box shelf? You can use the 3 drawer system. Here are the FREE labels!


