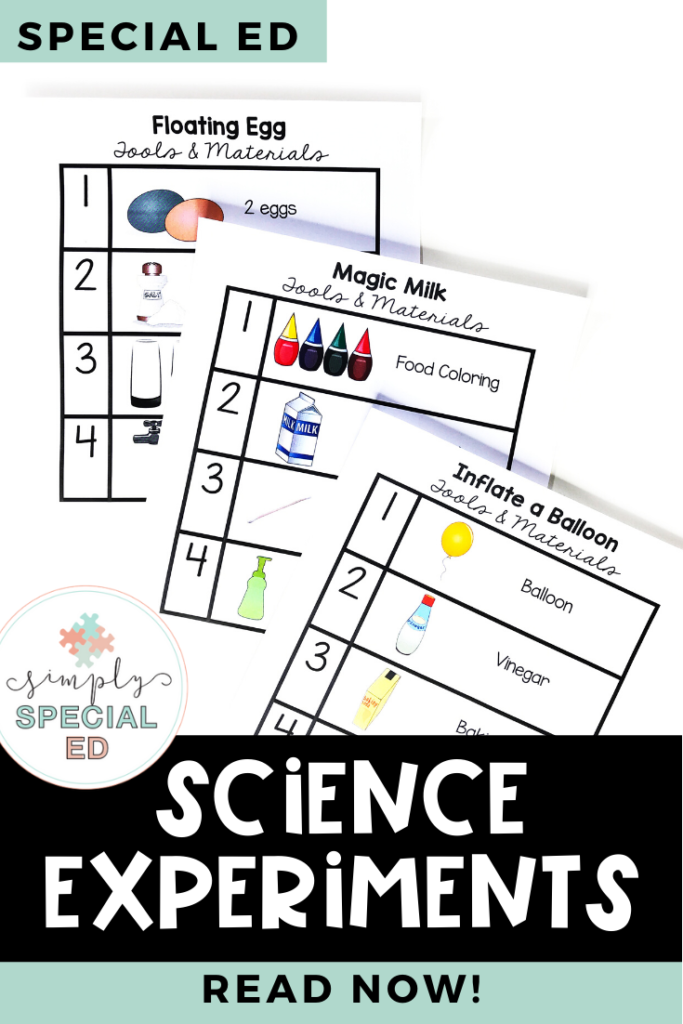
One year of teaching, I had a student who LOVED science experiments… but I found that a lot of the resources out there had TOO many steps and TOO many words for my type of classroom. I created these visual experiments JUST like my visual cooking recipes– simple, concise, and students centered! Here’s a look at how to use science experiments in the special education classroom.
The absolute most important thing about making these recipes student centered is VISUALS. Our students need visual supports to be successful, to be independent, and to get the most out of an activity!
Introduce the visual directions for the experiment and make sure to point out and identify the visual supports.
We always read through the science experiment FIRST, then think about based on the directions what materials we may need. We make a list on the board and then we pull out the materials list with visual supports to check our work. Did we miss anything?
Next we gather those tools and materials and get started! Science is verrrrrrrry particular, and things should be exact or they won’t work!
Some extra visuals are included for teacher use. You can attach these to the materials to help students match and find them or you can use them to sequence the steps on the board!
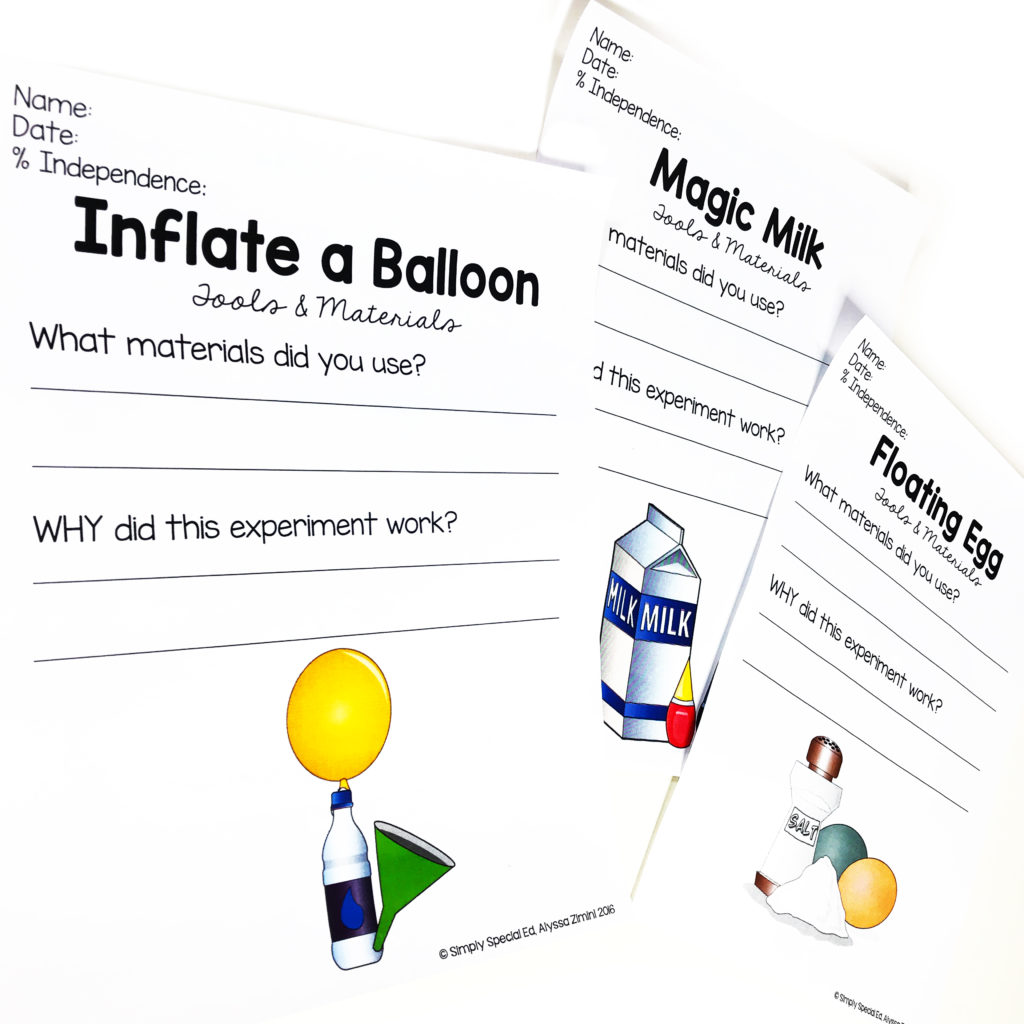
After the experiment there are some quiz pages to check for understanding. You can have students complete these independently or do it together as a group.
I also LOVE asking students to use the visual survey at the end of any cooking recipe or science experiment! It’s a great way to give students a voice, check for understanding, and practice sharing opinions!
If your students are familiar with visual recipes, they will love these visual experiments!
DOWNLOAD VISUAL SCIENCE EXPERIMENTS HERE.