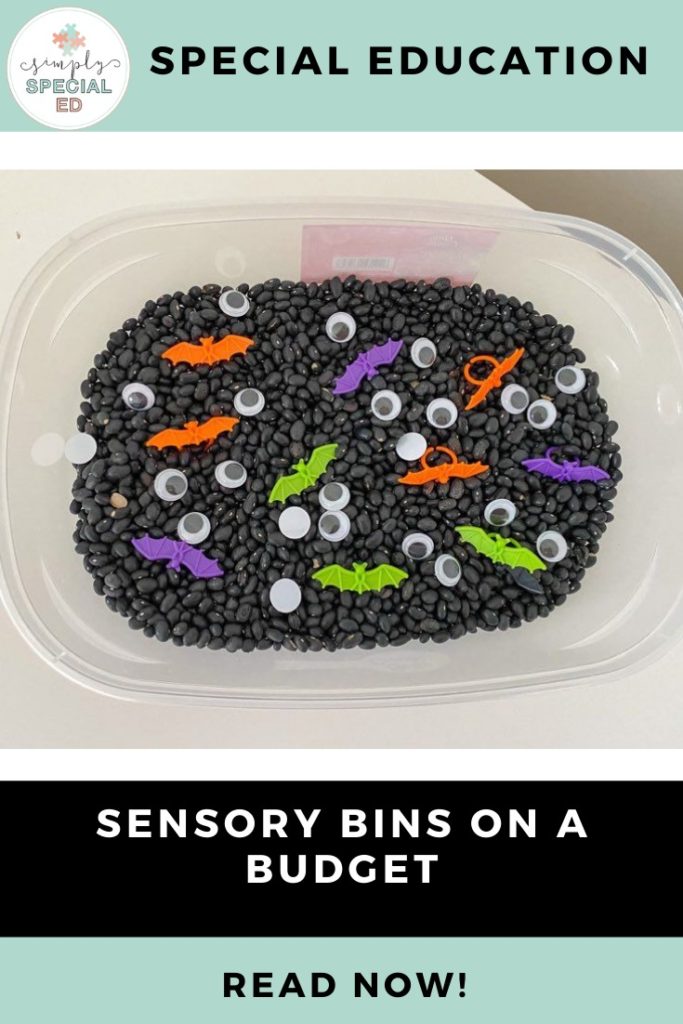
Sensory bins on a budget are always my goal as an occupational therapist!
I love Dollar Tree even though sometimes it’s a hot mess! It is a gold mine for sensory bins! I can spend a large amount of time sifting through the aisles looking for interesting bins and the fillers and manipulative items to fill them with.
I am always so amazed by all the creativity you can find when you search for sensory bins on Google or Pinterest. I think when we see this, we think that you have to spend a lot of money and time to replicate them but the truth is, you can make a sensory bin for under $5 that looks ‘Pinterest worthy’.
Why I Love Sensory Bins
One of my favorite things about sensory bins is seeing my students’ excitement when I lift the lid of the bin and reveal the theme. I love it when they are excited and demonstrate eagerness and curiosity! It is like you are opening the lid to a magic treasure chest.
Why Sensory Bins are Important
Sensory bins are so much more than a bucket of rice to be sifted through as a reward or to take up time. They provide tactile input, a sense of calm, can be utilized to practice academic concepts like letter formation, color and shape recognition and counting, and a plethora of fine motor skills such as precision and coordination of the hand and bilateral hand usage! You can address different skills depending on the items and tools you put in the bin.
Sensory Bin Fillers
The first step is to decide on what type of filler to use. A filler is what makes up the bulk of the bin; the majority of the tactile texture.
When I think about the filler, the big things I think about are:
- The population I am targeting.
- The amount of time I am willing to sacrifice to clean it up.
If I am using the bin for a student that frequently puts things in their mouth, I do not choose items that could be a choking hazard or that are toxic! If you are using the bin for a really young child or have a student that you know will try to mouth/taste the filler, try to use edible options or large non-choking pieces.
Edible options are great but there are a few things that need to be remembered:
- they have to be designed for one student to use, do not share if you know lots of hands will be touching and there is a high probability the filler/edible options will go in the mouth.
- touch base with the child’s family to see if there are potential allergies.
Filler Options
Edible:
- Dry Cereal
- Dollar store find
- Dry Oatmeal
- Cooked Pasta; such as spaghetti
- Dollar store for the win
- Fruits and veggies
- I love frozen peas and blueberries
- Cool Whip is always a favorite!
- Sprinkles
- If you guessed Dollar Store, you’d be right!
Safe Non-Choking:
- Caps
- Container and Lids
- Letter/shape/number manipulatives that are large enough that cannot be swallowed
- My school always has bags and bags of manipulatives in storage that aren’t used in the current curriculum
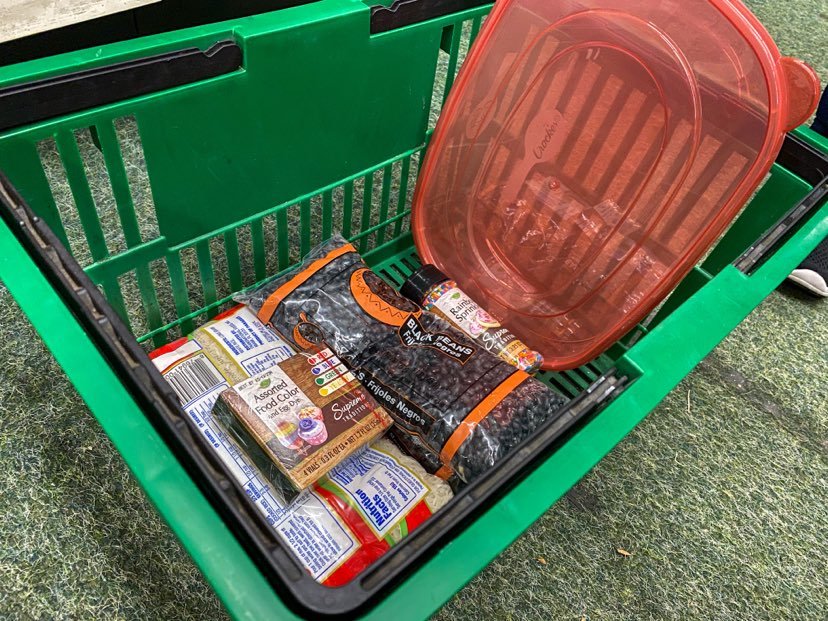
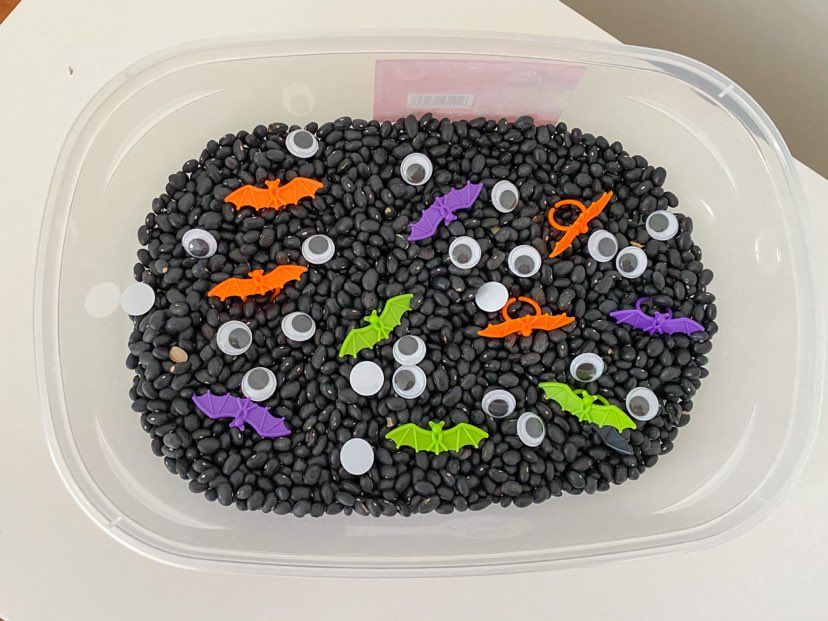
Dollar Store:
- Black Beans
- Garbanzo Beans
- Lentils
- Rice
- Sprinkles
- Noodles
- Crate Paper/Party Streamers
Paper:
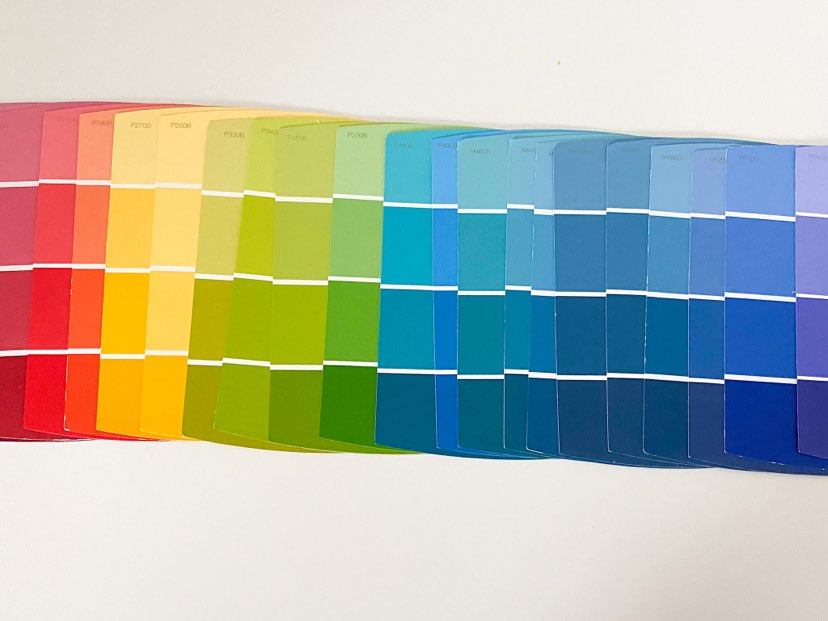
Paper is Always a Cheap and Free Option! My husband avoids me in the paint section of Home Depot because I’m grabbing every bright color paint sample and leave with a large rainbow stack of cardboard. I like to cut the samples in strips or use a fun, large hole- puncher.
- Shredded Paper
- I usually have confidential documents so I personally shred paper specifically for my bins. Our school has a big box of papers that people haven’t claimed or that were printed in error. I will shred them and dump them in a bin.
- Hole Punch Clipping
Nature:
Nature is so powerful and beautiful. You can bring the beauties of nature to tactile bins for your students that might not see/experience these things. It also provides another depth to a tactile experience. If utilizing items from the outdoors, think about your population; i.e. Are they going to try and mouth the items?
Some of my favorite ‘nature’ items include:
- Leaves (fall leaves and spring leaves)
- Acorns
- Pinecones
- avoid scented
- Corn and corn husk
- Bark
- Mini pumpkins/gourds
- Rocks/pebbles
- Seashells
- Flowers
- Check with families on seasonal allergies
- Snow!
- Adds a fun component to water tables
My Favorite Manipulatives
To me, the manipulatives are the overall buy-in! If you compare a sensory bin to a salad, the filler is the lettuce and the manipulatives you select are the toppings/dressing/croutons; the parts of the salad that make eating a salad enjoyable.
Tip: Look in your school’s storage closet for counting manipulatives that aren’t used in the curriculum! Here are two of my favorites!
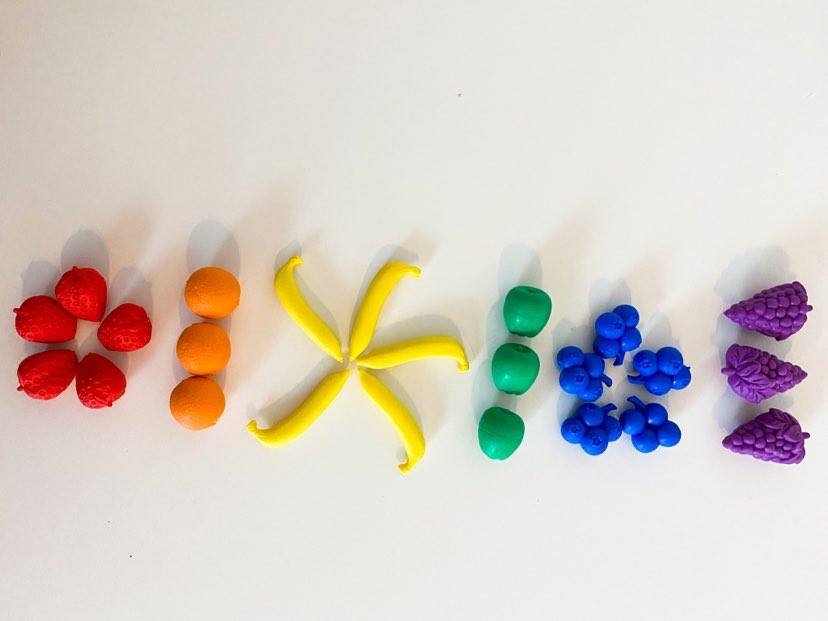
Fruit Counting Pieces
Counting pieces are great sensory bin manipulatives for a variety of sensory bin themes. I love putting these in bins with different tongs and measuring cups. I recently made a Hungry Caterpillar bin using them. You can find similar fruit manipulatives, here. (affiliate link)
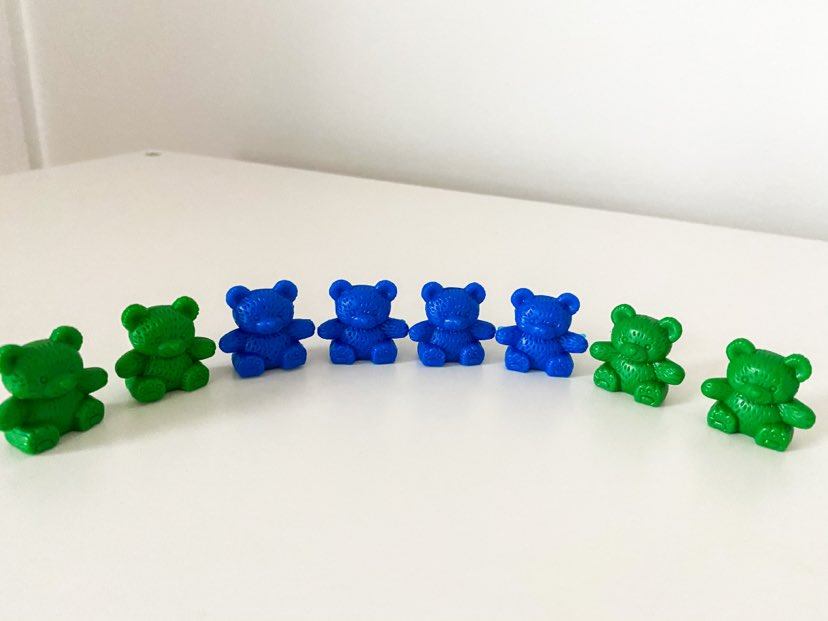
Counting bears
Colored Bears are always a useful manipulative for many counting and color themed sensory bins. They are especially fun to use when targeting color recognition. You can find counting bears, here. (affiliate link)
Holiday pieces
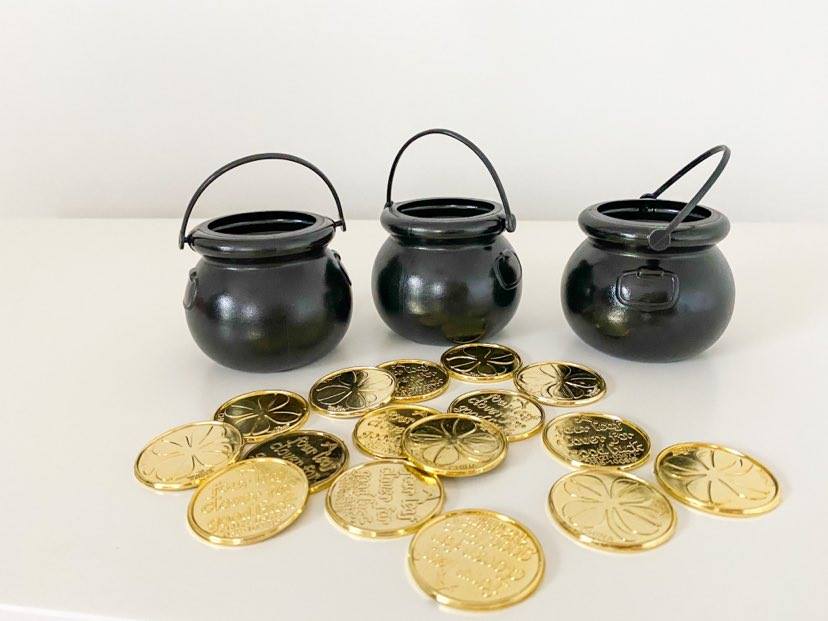
I like to look for my manipulatives in the holiday sections of the dollar store. I love themed pieces to practice grasp patterns.
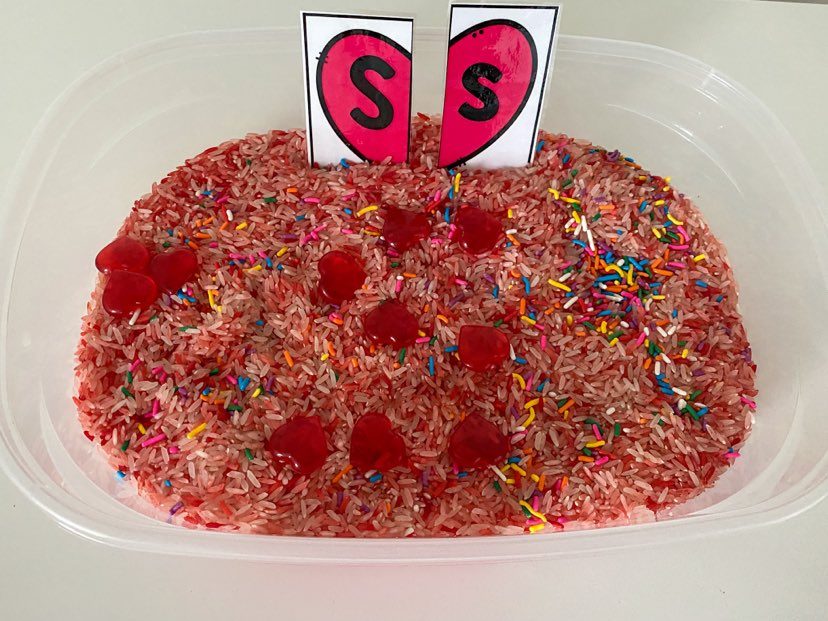
My students used these manipulatives for a Saint Patrick’s Day bin! I dyed green garbanzo beans as the filler! It was a big hit! The bin targeted grasp patterns and counting!
Small decoration pieces and pebble rocks in order to build letters in the bins. I found these pebbles in the artificial flowers/vase section of the dollar store! These ducks are from Oriental Trading Company! But wait there’s a surprise…..
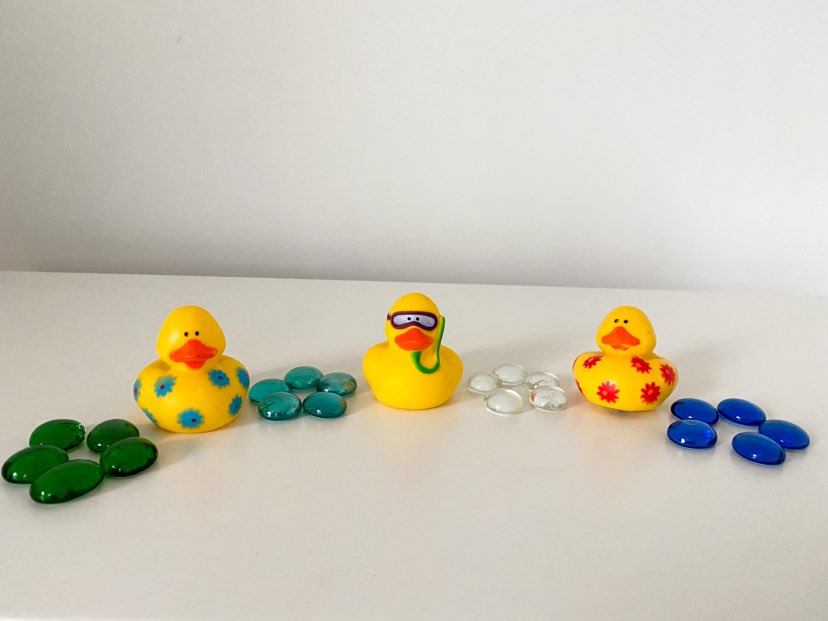
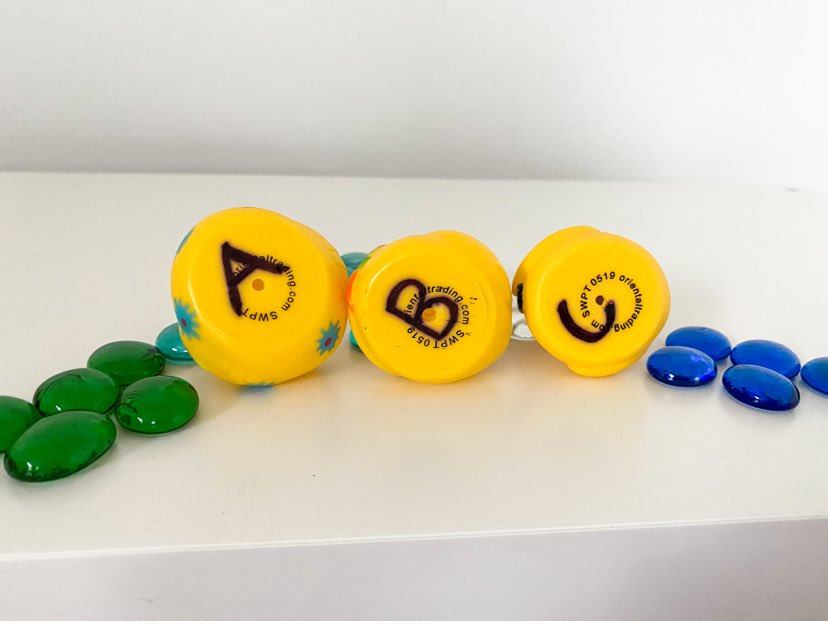
This helps to work on letter formation and recognition in a fun way! Have the student pick a duck and then build the letter with the rock pebbles! You can also then have them write it on a piece of paper
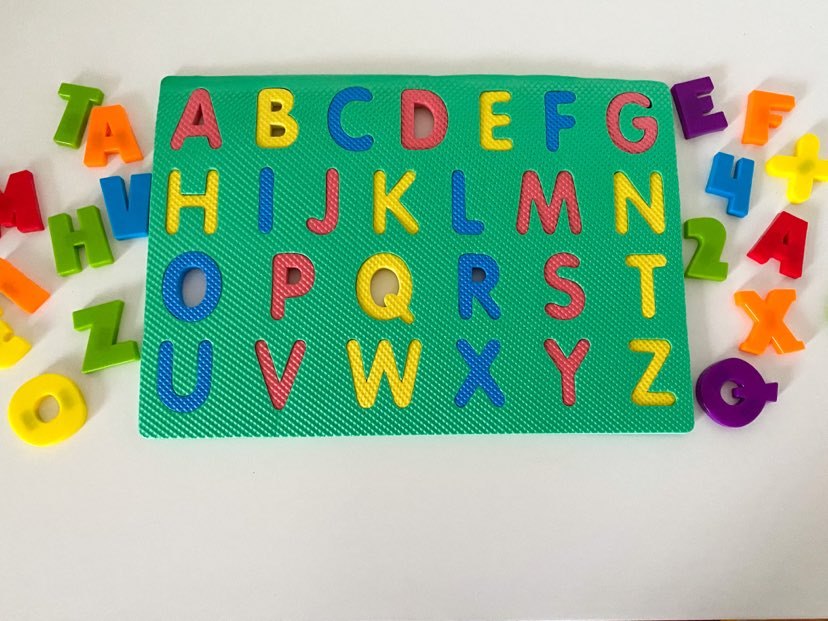
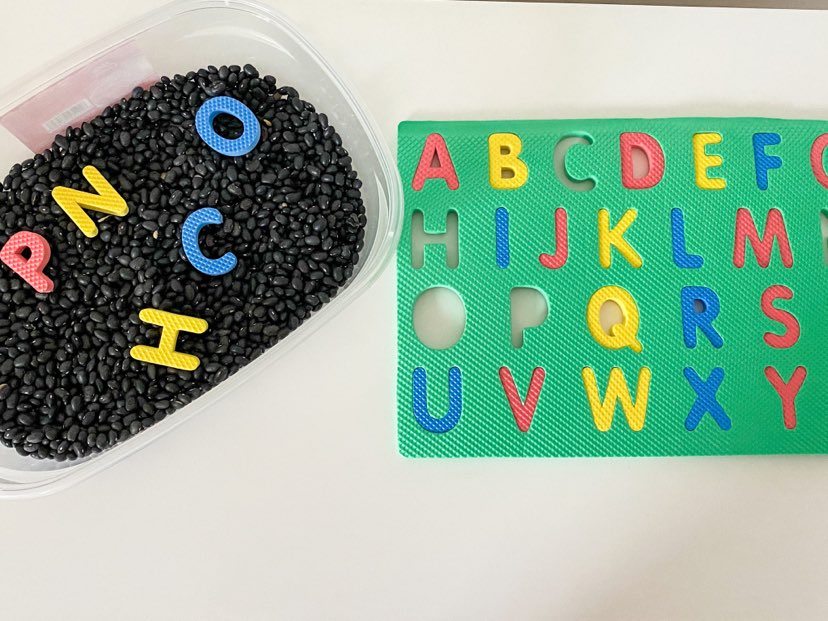
In the toy section of the store, I also love picking magnetic letters, foam puzzle boards, and memory game pieces.
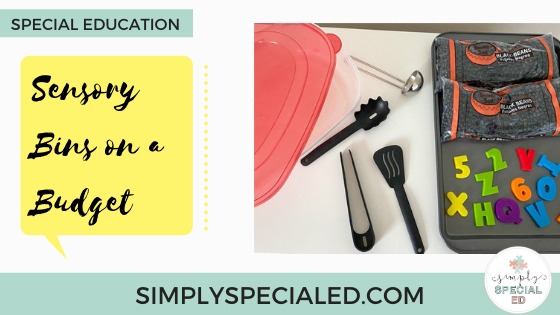
Sensory Bin Tools:
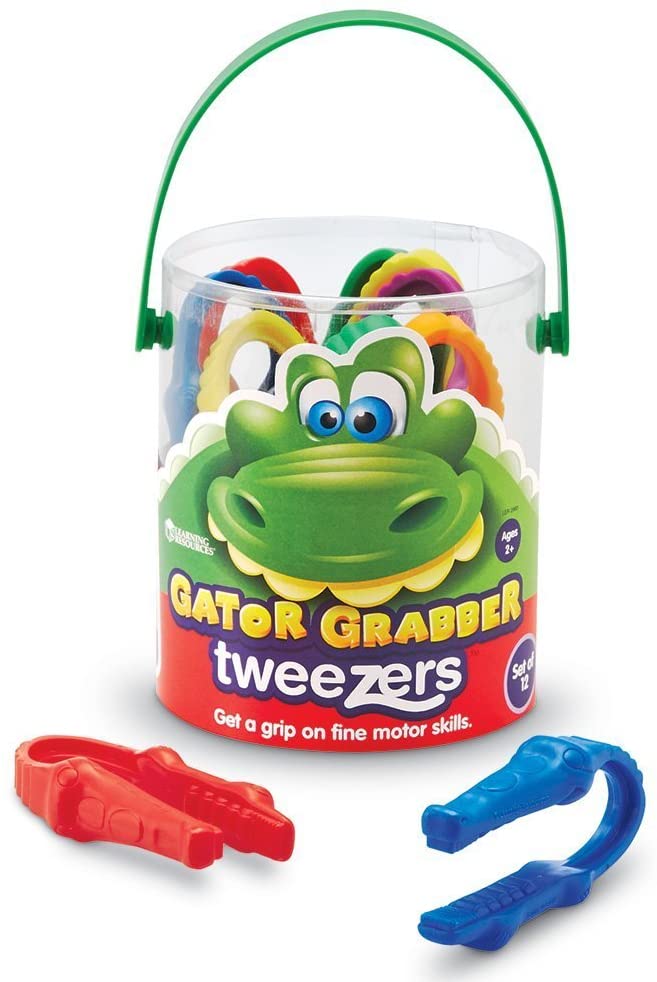
- Tweezers are a great tool for picking up small pieces in sensory bins. You can find my favorite tweezers, here. (affiliate link)
- In the cooking/utensil section of the dollar store, they have measuring cups, spoons, funnels, small tongs, and whisks. I love these tongs from amazon! Dollar tree has tongs in the toy section but I find they’re difficult to use with younger students secondary to the plastic being thick (harder to manipulate) and they are taller.
Fillers I try to avoid:
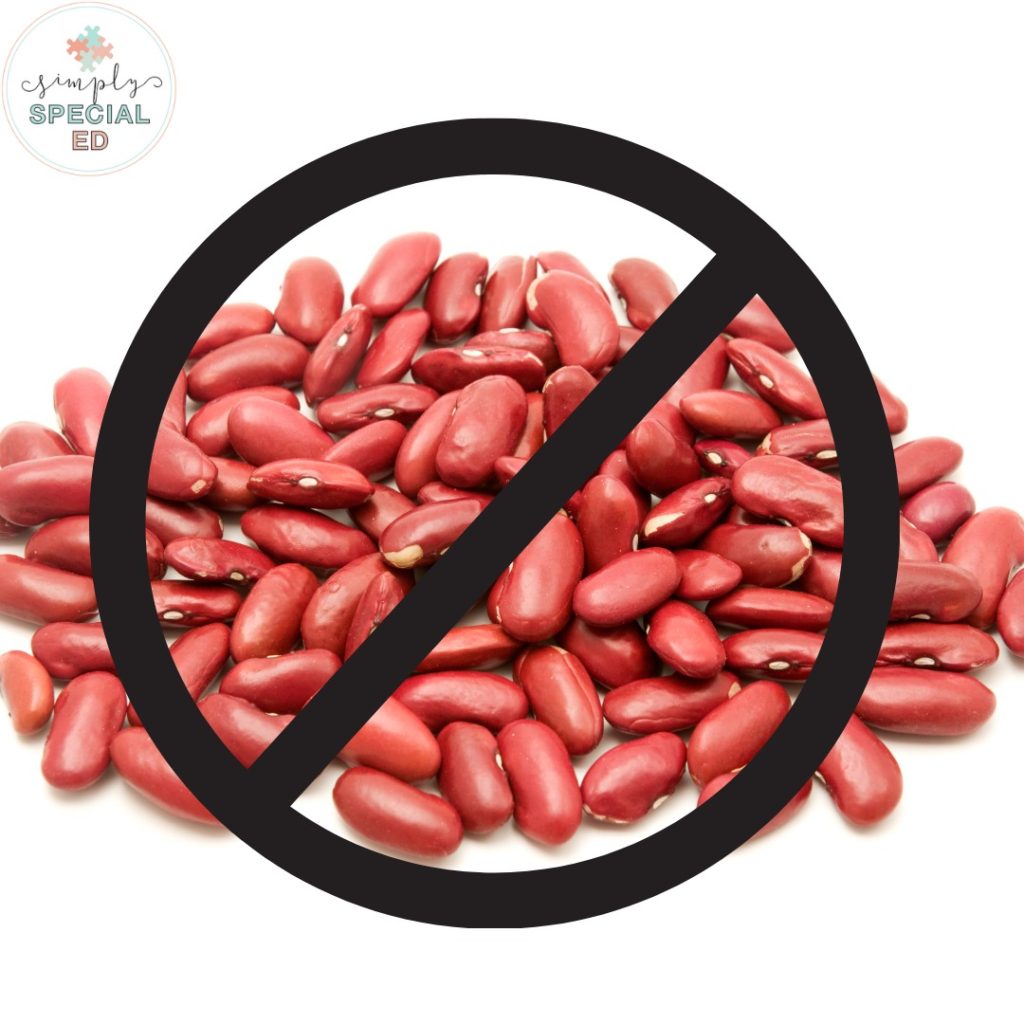
Queue My Spiel About Kidney Beans
You might be enticed to buy red kidney beans as a filler because they are cheap, larger (aka easier to clean up if they are dumped on the floor), and a bright color that you don’t have to dye, but they are toxic! Let it be known that I have not taken a chemistry class since high school but Red kidney beans contain high levels of phytohemagglutinin. The high levels make them the most toxic bean! Isn’t that crazy?!
Phytohaemagglutinin (PHA) is found in plants and most common in certain legumes. It is a type of lectin, which is a carbohydrate-binding protein. Foods that contain lectin need to be cooked/fermented at a certain temperature for extended periods of time.
According to the FDA, poisoning can be induced from as few as five raw beans and symptoms can occur within three hours. If you consume raw kidney beans do not plan to leave your house or bathroom; symptoms include extreme vomiting and diarrhea. I would also avoid raw white kidney beans.
Take away message; DO NOT put kidney beans in a sensory bin!!
Water Beads are NOT safe:
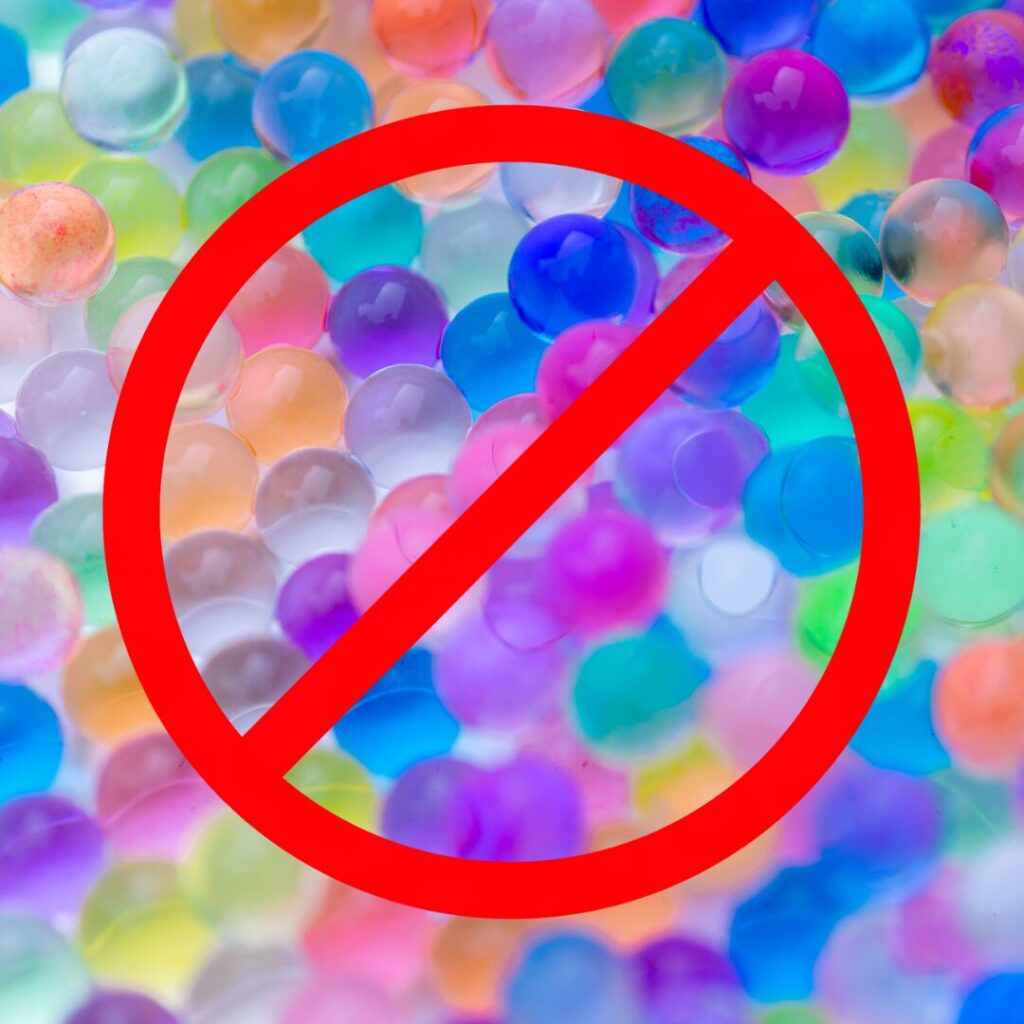
Water beads used to be a widely acceptable sensory bin filler … but we know better now. The following quote is taken from the United States Consumer Product Safety Commission.
“CPSC has heard heartbreaking stories from parents whose children ingested water beads and suffered severe consequences, including grave internal injuries, lifelong health impacts and death. CPSC has also issued product safety warnings related to new evidence pointing to acrylamide toxicity in some water bead products.
The product warnings highlight that water bead hazards can go beyond ingestion, expansion and obstruction inside a child. Acrylamide is a known carcinogen. The large water beads in CPSC’s warnings contain levels of acrylamide in violation of the Federal Hazardous Substances Act.
CPSC data show that nearly 7,000 water bead-related ingestion injuries were treated in emergency departments in the U.S. from 2018 through 2022. CPSC is also aware of the death of a 10-month-old girl in 2023.”
CAUTION: We do support using water beads for sensory bins and any type of play. Water beads, if ingested, they can be fatal. Please do not use them with children .
More Safe Options:
Shaving cream: My students’ frequently touch their faces. I always worry they are going to get the shaving cream in their eyes. Some students are also very sensitive the smell and have sensitive skin i.e. the shaving cream will break their skin out
Paper: Try to avoid paper options for students that frequently mouth objects because personally there are few things worse than getting wet paper globs out of a child’s mouth or explaining why there’s dark ink on their face/tongue.
Water: I love that you can add functional concepts to water bins/tables, such as pouring and washing. It’s fun seeing how fascinated young children are with water. But, I fully recognize the cons and why people avoid them. Ten minutes of play can equate to 30 minutes of changing clothes and/or cleaning up water on the floor.
Remember Have Fun!
When making a sensory bin, whether it’s for a classroom, a single student, or your own child, think about the experience you want to cultivate.
Sensory bins provide an opportunity for enriched tactile and visual input. They provide peace and exploration. They provide an engaging way to target an academic concept. I think that is something really special.
When our students and children are happy, calm, regulated, engaged, and overall curious in their external environment, their brains are able to process and take in more information thereby forming increased connections.
Need a sensory bin tutorial? Alyssa has a great blog on how to make a peppermint sensory bin here!