Visual boundaries are a great way to teach the students in your autism classroom what space is theirs and which spaces are out of bounds! Using tape or other marking methods are an effective way to create concrete, boundaries in your classroom! Let’s start creating visual boundaries in your autism classroom!
((This blog post contains affiliate links for your convenience. You don’t pay any more by clicking my link (and I actually find the best prices for you!) but I make a small commission off of sales. This helps me to test out more materials and bring you more quality content. Thanks for supporting my little blog!))
What is a visual boundary?
A visual boundary blocks off spaces that are for student use and out of bounds to students. In my classroom, I use duct tape to create visual boundaries. You can find the tape I use HERE! (affiliate link) A little tip: use the Duck brand duct tape. Trust me, I’ve used a LOT of different brands, and the Duck brand holds up and sticks the best!
How do you use visual boundaries?
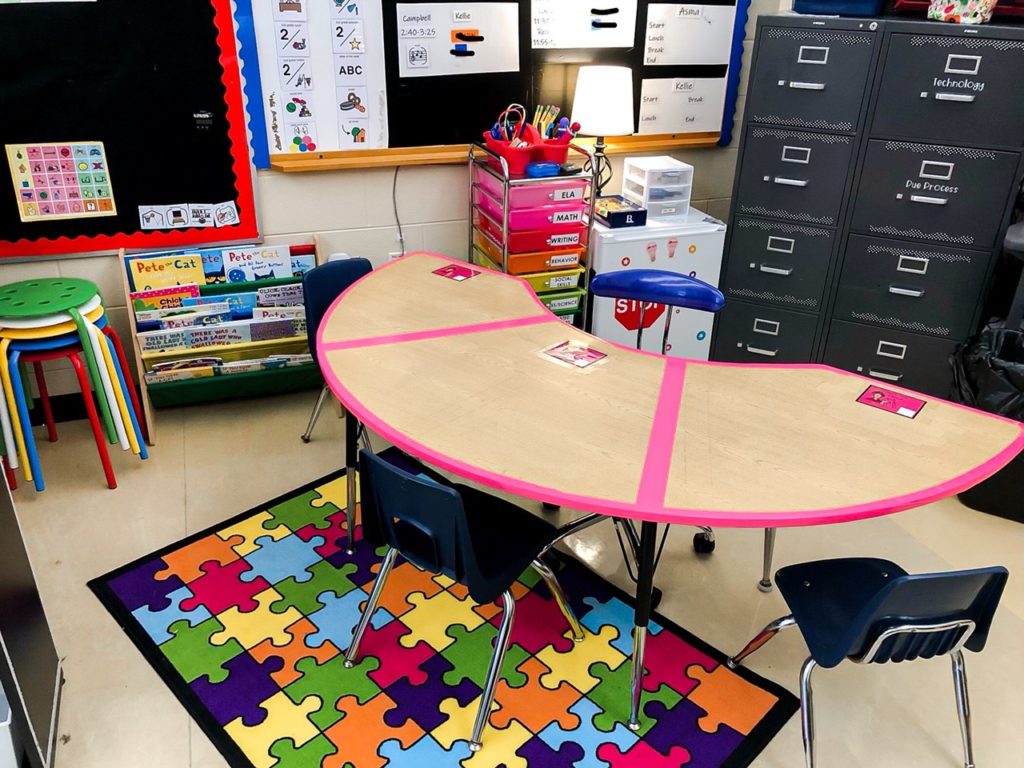
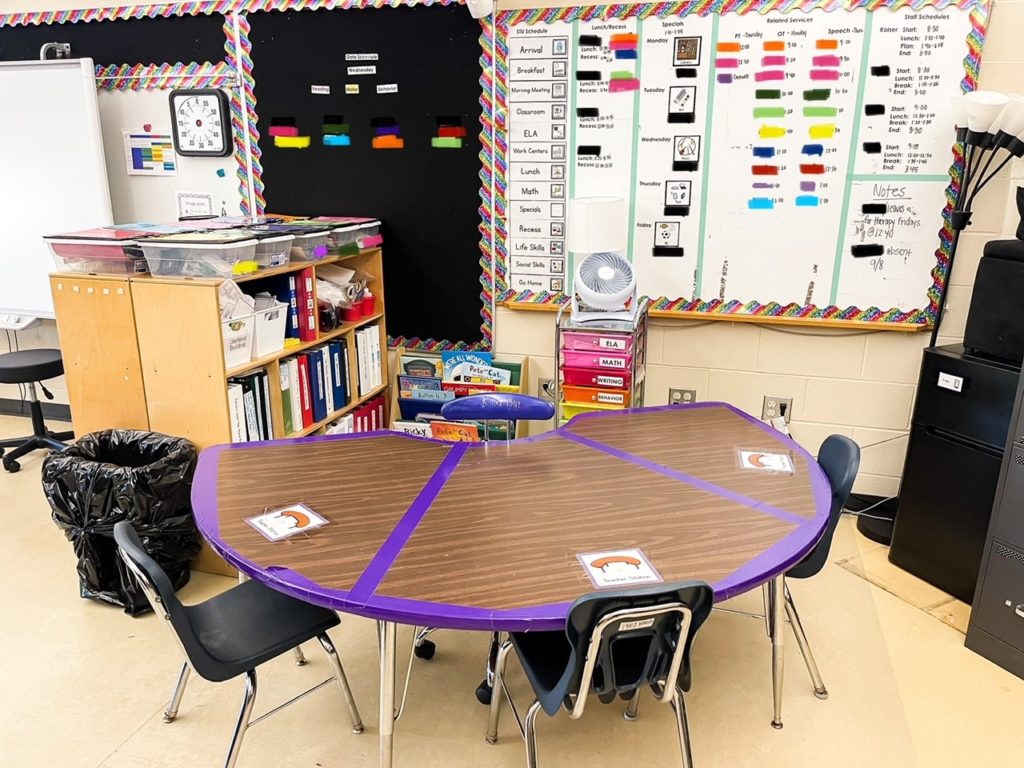
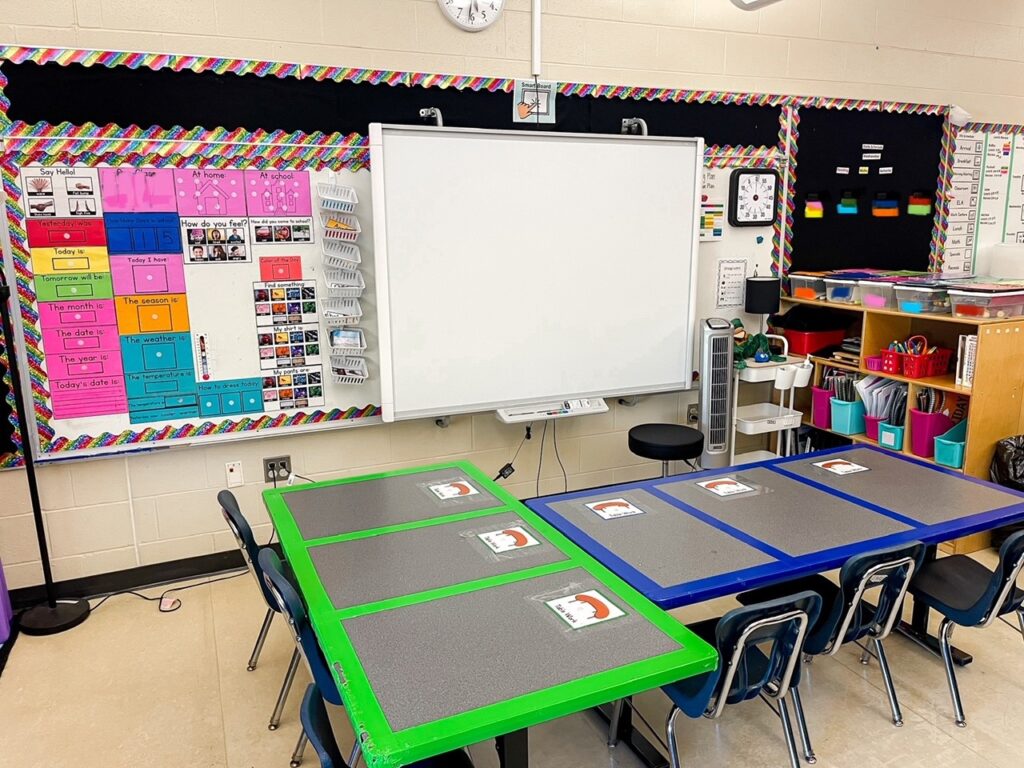
I create visual boundaries for a variety of reasons. The biggest reason is to make spaces at tables for each student in my autism classroom. I use different colors at each table to color code the tables. For more on color coding your classroom, read my blog post!
Another way to use tape to create boundaries is to tape off on the floor out of bounds areas. I do this by my desk area and to block off exits. I teach my students what this tape on the floor means and that they need permission from an adult to cross that boundary.

What else can I use for visual boundaries?
Another way I create visual boundaries is with visual dividers. You can find some HERE! (affiliate link) These are great for blocking off areas and limiting visual clutter. These can also be DIYed with some PVC pipe and fabric! In my classroom, I use these to block off areas of the classroom during instructional time. I also use them as a partition between groups during small group time. This creates boundaries between groups.
How do I teach visual boundaries?
Use visuals! Also, teach and re-teach! At our tables, I put a check in station for each student within their space. I think explain that this is their space and outside of the tape is their friend’s space. We keep all our things inside our space. For out of bounds spaces, I use “no trespassing” visuals and explain that those are “no go” zones. I show them all the places they can go and remind them they need to stay in those spaces. For the visual dividers, I teach them that those areas are closed. When the visual dividers are moved away, the space is “open” and when they are blocking an area, it is “closed.”

Visual boundaries are a must in autism classrooms! They create a safe, predictable space for your students and help your classroom run more effectively. For more tips on setting up your classroom, check out my classroom setup blog! Do you create visual boundaries in your classroom? Share your ideas in the comments!