
Part 2: Implementation of Sensory Paths
In Part 1 of A Complete Guide to Sensory Paths by an OT, we talked about preparations required before adding a sensory path to your school! Go back and read that blog if you haven’t already! It will help you know what permissions to get, how to gain staff/teacher by-in, how to secure funding as well as tips on setting up! Now we are ready to implement the sensory path! You don’t want to just leave this up in the hallway and expect all the students and staff to know how to use it. This blog will discuss:
- Benefits of sensory paths
- Potential uses for sensory walls/paths
- Training of staff & students
Benefits of sensory paths & movement in schools

There is so much to say about the benefits of movement, particularly when it comes to learning! Research shows academic improvement when movement occurs within the classroom setting. Gone are the days where we assume only students who sit quietly and still in their seats are learning! While some of our students, especially those who are neurodivergent with diagnoses like ADHD or Autism, need more movement to learn, studies have shown class-wide benefits in those who have some movement during school as compared to those who don’t. We all need to move!
A sensory path might be the answer! Movement and proprioceptive input to the muscles and joints is regulating and generally calming. With an increase in anxiety and mental health concerns in schools, sensory paths are a great way to not only improve attention and learning, but also decrease stress levels! Do your research! Look online for studies that support these theories about organized, directed movement for kids throughout the school. Use that information in your rollout! Or even better – create your own case study and pilot the sensory path with a group of students! Determine how you are going to track progress, and see if there are noticeable impacts with a smaller targeted group before starting the sensory path with the whole school!
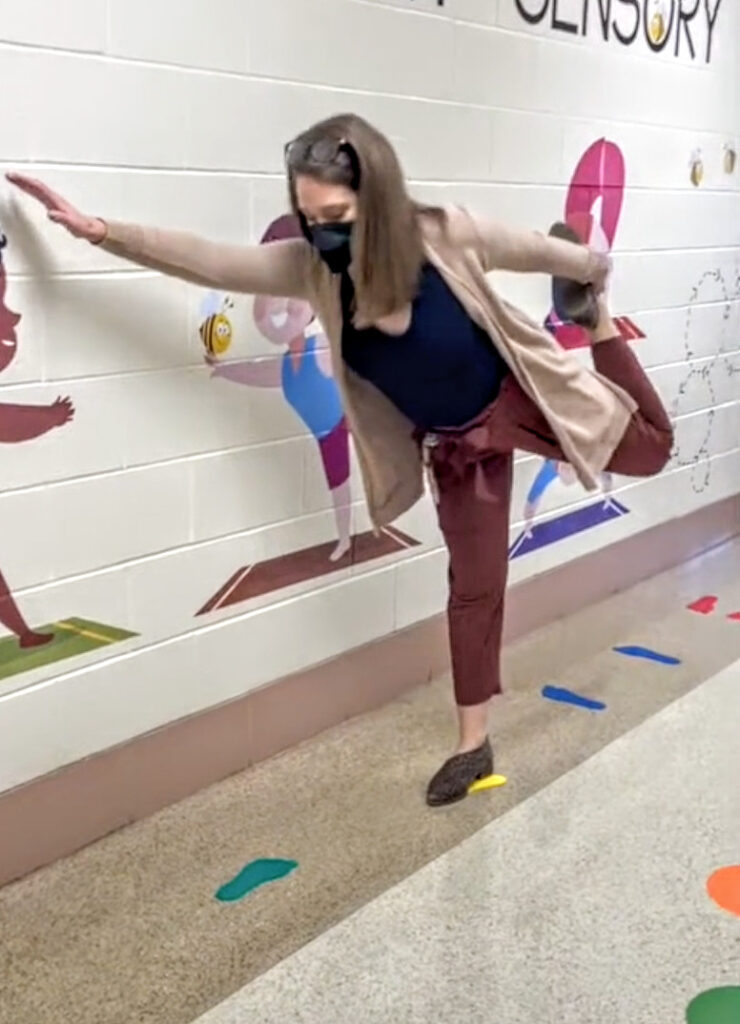
![poly spots [circular and feet shaped] on the floor near the sensory wall with someone waiting to jump on the targets](https://www.simplyspecialed.com/wp-content/uploads/2022/08/Sensory-Path-Hopscotch-Demo.jpg)
Potential uses for your sensory path
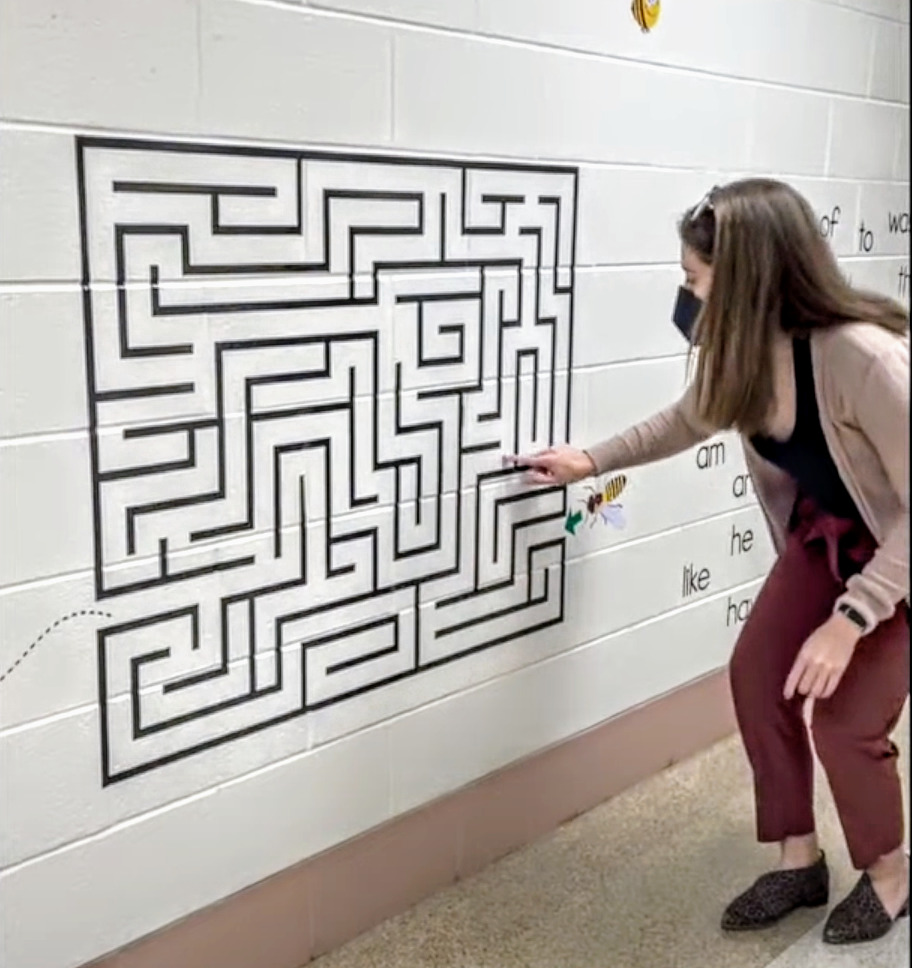
A sensory path is not a one-size-fits-all tool, so be creative with how it could best benefit your school! I like to think of them as school-wide movement initiatives, but I also intend to use our new sensory paths with individual students during occupational therapy (OT) sessions. I have students with specific sensory needs that could be met daily by these sensory paths as well! The possibilities are endless! Think of and/or assess for the needs in your building and see how to adapt the path to meet those needs! Here are some ideas!
- Individual students as part of a sensory diet / customized routine
- Individual students who seek movement/need a break in general
- A reward break for students who are motivated by physical activity
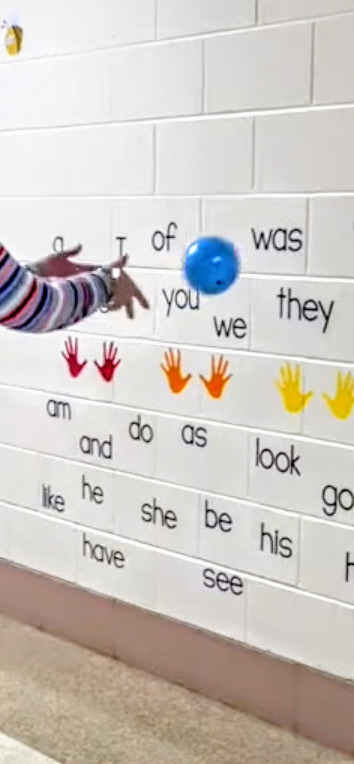
- Small group lesson incorporating moving with learning [we have letters & sight words on our walls for this purpose!]
- Whole class sensory break on the way back to class from lunch or special area classes
Strategies for training staff
In my district, we have found that in-service days are the best time to train staff! We love to get all the district staff involved [paraeducators, teachers, administration, etc.], and one of the only times that everyone is together and available is on those PD days. Through the pandemic, however, we have gotten much more tech-savvy and have created many “online modules”. Our support staff members require training hours, so we provided videos that they could use from for continuing education. We made a Google Classroom [that I mentioned in another blog] that houses all of our presentations, pictures and videos from when we do live/in-person sensory trainings. I like having the “forever” digital copy of our trainings because then they can be use when we aren’t available. For example, new staff members can watch the training videos are part of orientation upon hire. We have also been asked to speak briefly at faculty meetings to one buildings’ staff at a time for “refreshers” or to provide initial information about our upcoming sensory paths. However you do it, communication is key! If people don’t know what the sensory paths are or how to use them, they won’t!
Training and introducing the wall to students
It is not realistic for only therapy staff to train each child who is going to use the sensory path [especially if you are like me and traveling between buildings!]. I would always recommend that you consult the OT/PT team at your school district to get initial feedback and suggestions for up/downgrades, etc. Their involvement would be helpful in the planning and implementation phases! Once an adult in the building is trained, they can continue to teach others including the kids! When kids are first using the wall, I sometimes find it helpful to be there with the adult who will typically be supervising them to “reinforce” expectations and proper use during the first trial. Sometimes two adults is helpful! I would also recommend checking in frequently, as the “creator” of the sensory path, to make sure things are running smoothly and as intended. I provide staff a way to always get ahold of me with questions or concerns.
You don’t need a sensory path or wall to make movement a bigger part of your student’s day! However, I hope you learned a little bit about the logistics of getting and utilizing one if you are able to do so! If not, start small! Simply Special Ed has a great movement break resource for FREE [click here!] that you can use to get movement centers/brain breaks up and running in your classroom!
How do/would you use a sensory path? Share your ideas and DIY tips and tricks with use in the comments or over in our Facebook Group! We’d love to hear all about it! I’m always looking for new ideas to better our sensory walls!
This blog is part of a 2 part Sensory Path Series:
- Part 1 – Preparation
- Part 2 – Implementation