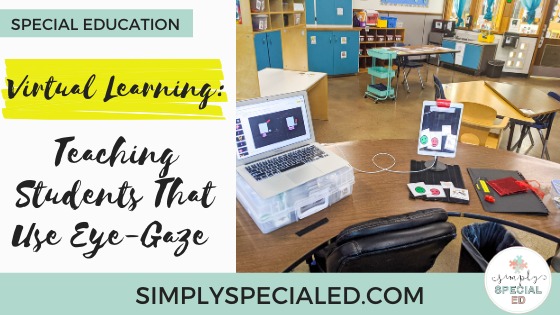
Hello! My name is Stephanie and I teach students with multiple disabilities at the elementary level. Are you in the same position? If so this post, Virtual Learning: Teaching Students That Use Eye-Gaze, is for you. For fall, my district is completely virtual for all students. Due to this I’ve had to get creative, especially when it comes to communication lessons. During a typical school year we focus heavily on communication in everything we do. Why should a virtual classroom be any different?
Nearly all of my students use eye-gaze to make selections for communication and for choices during work and play. Some of my students have visual impairments like cortical vision impairment. The big question is: How do we make virtual learning accessible for these students?
PROJECTING AND RECORDING WITH MANIPULATIVES
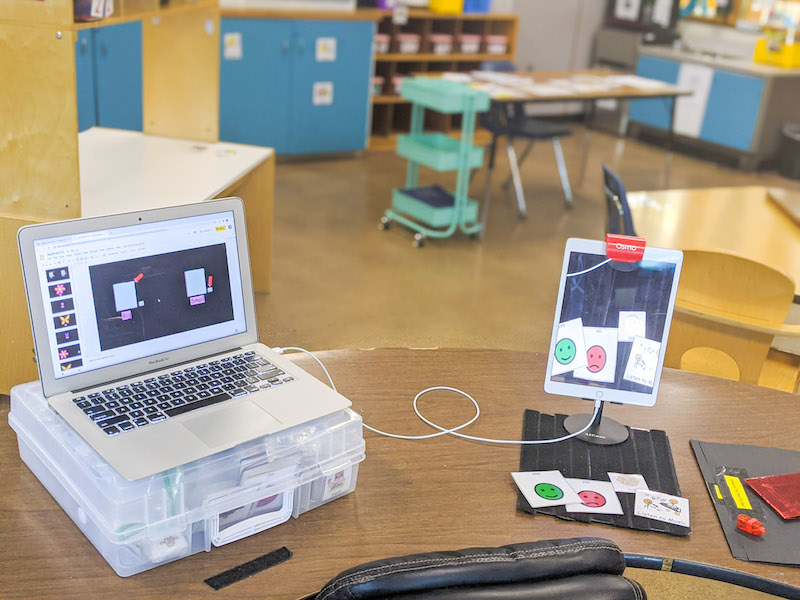
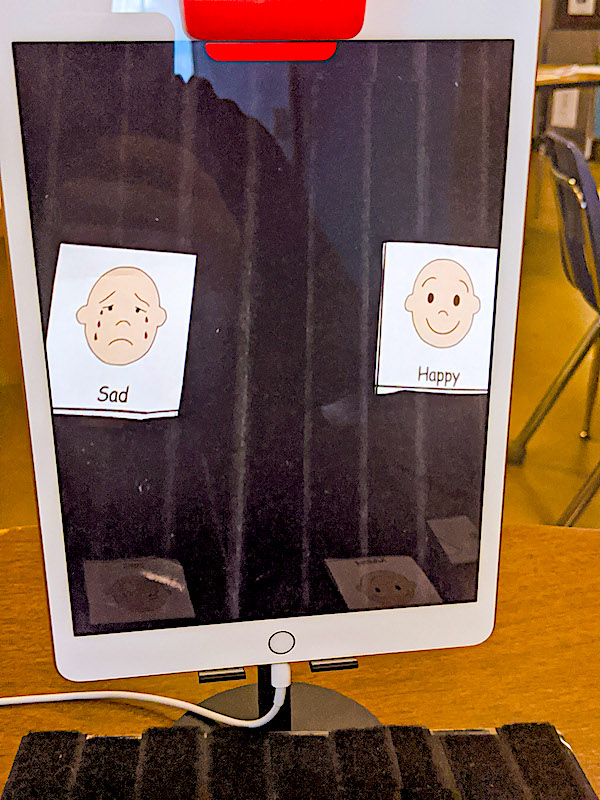
The image above is my typical set-up. I connect my iPad to my laptop so that I can display materials we have in class. One of our main curriculums is manipulative based and I still want to use that with my students. I use the Osmo camera attachment and app to record. If you do something like this, whether you have a document camera or an Osmo (affiliate link) or your smartphone, make sure you use a black background.
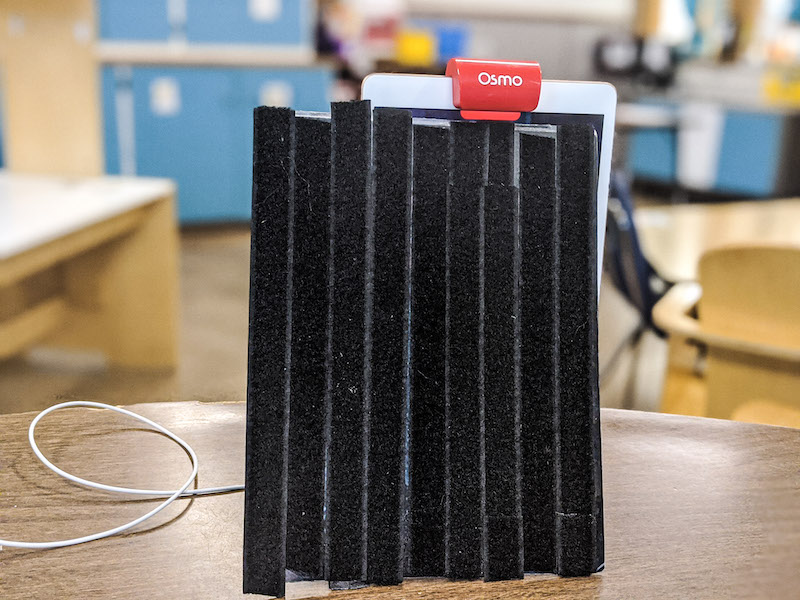
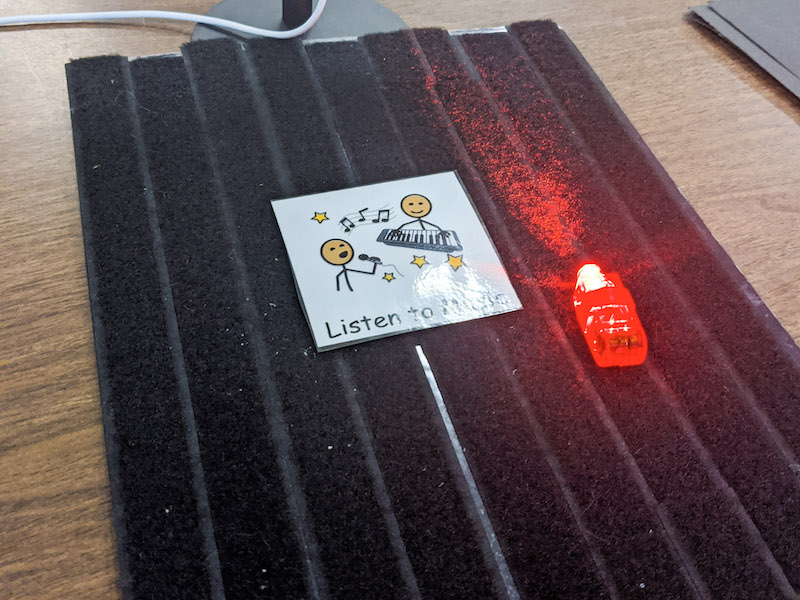
This is just a laminated piece of paper with black velcro covering the front and back. If you want to display something to students, just setting it on the table makes it hard to see.

VS.
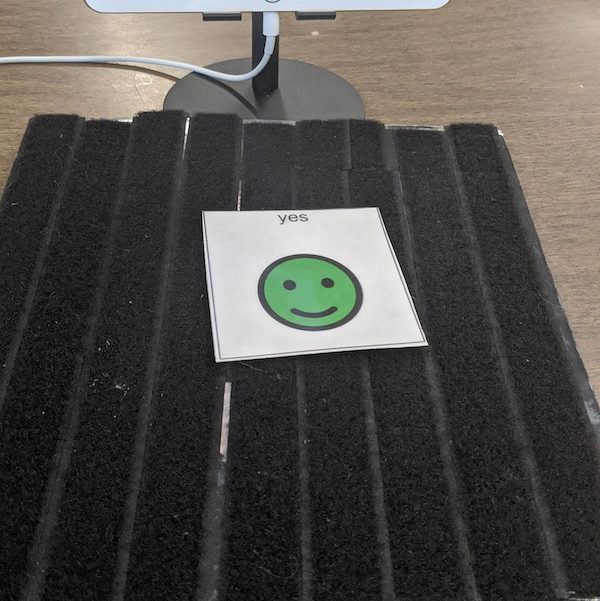
However, if you use a black background the icons or manipulatives are easier to see because it eliminates clutter. I will put my icons on the board when I record or share my ipad and make sure they are at the very edges of the screen so that I am giving students enough space to make selections with their eyes. My students need that space in the middle so that they can track both choices. I will repeat this same process with manipulatives.
The bonus of my black background also being a velcro board is that I can stick my icons to it and hold it up to my laptop camera for the same effect. Again, checking to make sure that my icons are spaced as far apart as possible.
USING GOOGLE SLIDES
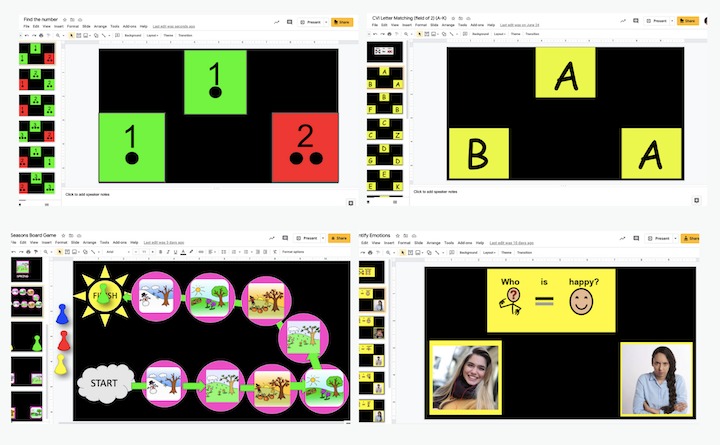
I also make several digital activities for my students. As a matter of fact, most of our activities are digital because it requires little set up for the caregiver that is assisting them with their work. You may be thinking, “Stephanie, how is this going to work if your student has a visual impairment and uses eye-gaze?” Good question! With a little prep and ingenuity we can create activities in google slides that we can easily pull into seesaw or just share from the slide itself.
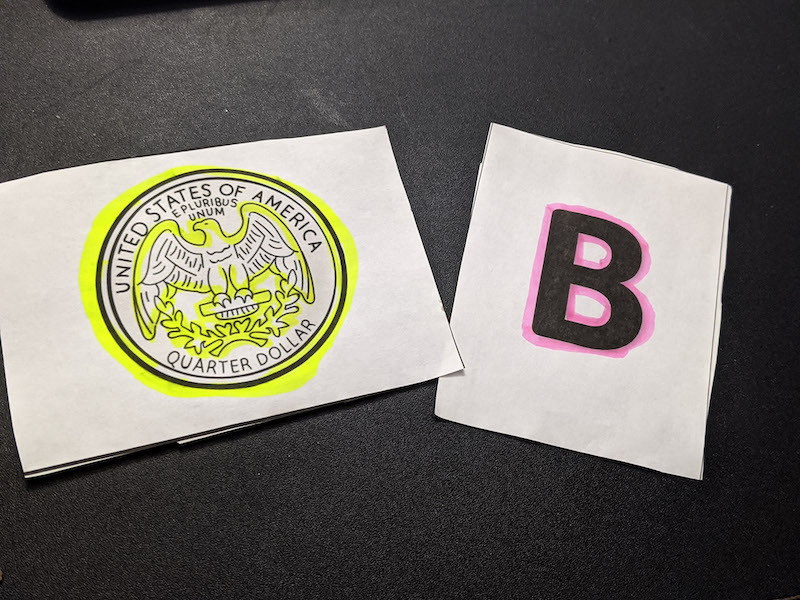
I want to stop and take a moment to explain how important it is to use highlight colors with students with visual impairments. Students with cortical vision impairment and similar vision issues have a difficult time seeing objects and picture cards. Having a black background AND using a color to draw attention to what you want the student to look at is really helpful. The most universal colors are red and yellow, but students can have other colors that draw their attention as well (these other colors will work even better). I have students that have highlight colors of purple, pink, and green.
In my district I work with a teacher of the visually impaired. She tests the students by using various colored objects and lights (red, blue, yellow, green). Whatever color draws the students attention to an object best is their highlight color. There is a wealth of information about CVI (Cortical Vision Impairment) online and you can consult with a teacher of the visually impaired to get more assistance.
I also make sure to reduce video clutter when I’m screen sharing activities. I will even turn my picture off when screen sharing so that I’m not a distraction to the student. I have purple hair and my students really like to find my hair! I also remember that what my students see on the screen is mirrored. So, if I’m watching their eyes to see if the student is selecting yes or no I have to remember that those symbols will be the opposite of what I see.
Here is a closer look at how I set things up. I also show you how to set up a slide for a student that is mostly working on visually tracking a single target:
Important things to remember when using eye gaze virtually:
- Use a black background and eliminate visual clutter.
- Use a highlight color (The most common are red and yellow).
- Remember that your screen is mirrored during screen share, this is important when watching a student’s eyes.
- Try different things and see what works best for your student!
Teaching virtually definitely has a learning curve, but together we can do amazing things! I hope this is helpful for you.


((This blog post contains affiliate links for your convenience. You don’t pay any more by clicking my link (and I actually find the best prices for you!) but I make a small commission off of sales. This helps me to test out more materials and bring you more quality content. Thanks for supporting my little blog!))


I viewed your creating google slide to be used with a eye gaze device. How is the slides delivered to student?
Hi Jodi! I use Google Meets and share my screen. You can also use zoom.