Let’s talk about creating and using tactile schedules in the classroom. If you have a Teacher of the Visually Impaired that works with you, they may provide you with a kit or schedule pieces from the library of the blind. Here is a link to my local library. Check with your state and see if you have local chapter as well.
Who needs a Tactile Schedule?
You might be wondering, who needs a tactile schedule? Any person with a visual impairment, cognitive impairment, or a person that needs concrete representation of the days events. For some of our students line art (like boardmaker, lessonpix, and symbolstix images) does not make sense to them. Real pictures may not work for them either, but an actual object from a daily routine makes perfect sense!

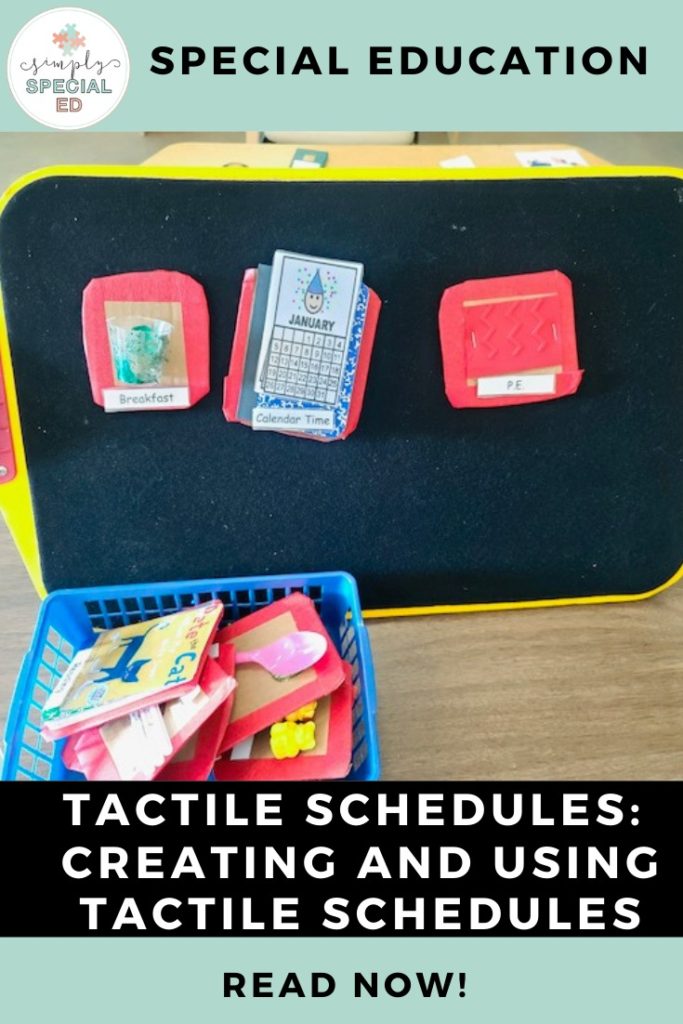
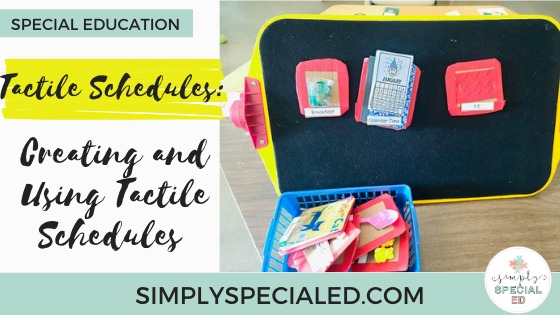
These are very sturdy tactile pieces you can use with your students. If you don’t have a TVI that consults with you and need a tactile schedule for a student that is visually impaired or needs more concrete representation, you can make your own!
Creating the schedule
When creating and using tactile schedules it is important to make sure you are choosing items that are meaningful to your student. For example: Don’t choose a spoon for lunch if your student doesn’t eat by mouth. That’s just not relevant to your students lunch time routine. You may use an extra syringe that you use to flush your students feeding tube instead. This is the most important part about creating and using tactile schedules in your classroom. Make sure ALL of the pieces are meaningful to that specific student.
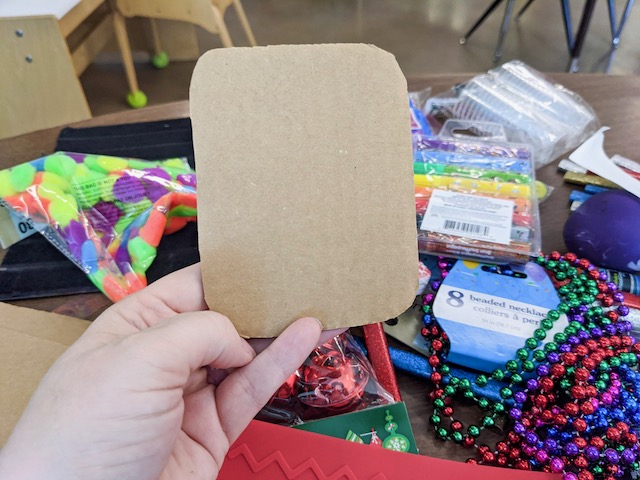
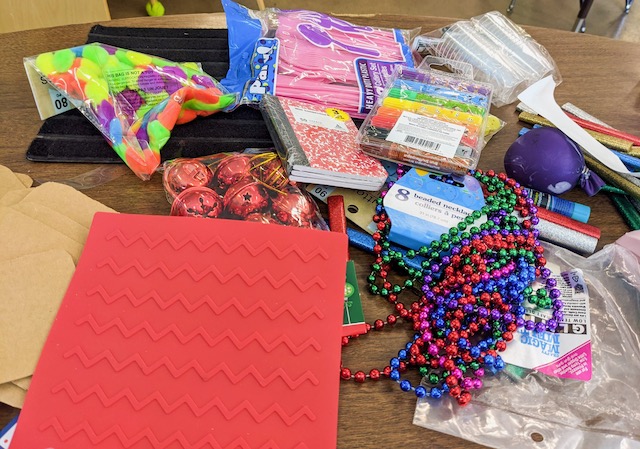
I used some extra cardboard to create the backing for my pieces and then I went to Dollar Tree. Everything I used, except the bear counters, I purchased at the Dollar Tree. After I had all of my supplies I began choosing items for each part of my students day. I knew my student needed items that were very tactile, so I made sure to include different textures throughout my process.
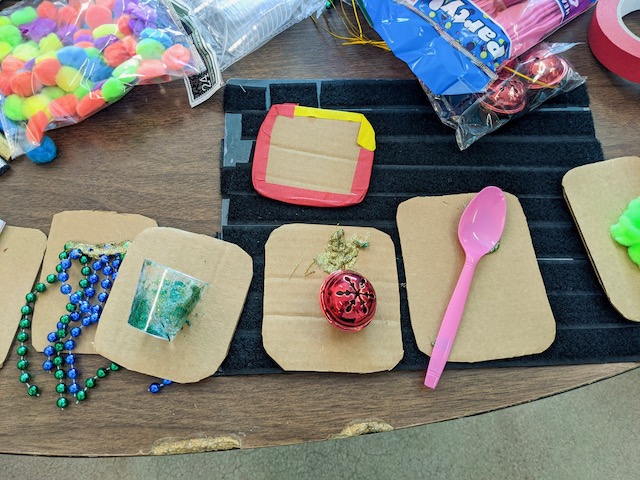
I used hot glue to glue each item to the cardboard. Then I let them sit and dry. After checking each item to make sure it was secure, I began to tape each piece with red tape on the edges. Red is a color that many students with Cortical Vision Impairment can see well. (I talk about this more in this blog post.) This extra step will help the pieces standout to my students.
Lastly, I make labels for each piece. The labels are not in braille. My student would be distracted by the texture of braille and is not learning to read braille at this time. However, exposing my student to written language is always a good thing.
Using tactile schedules in the classroom.
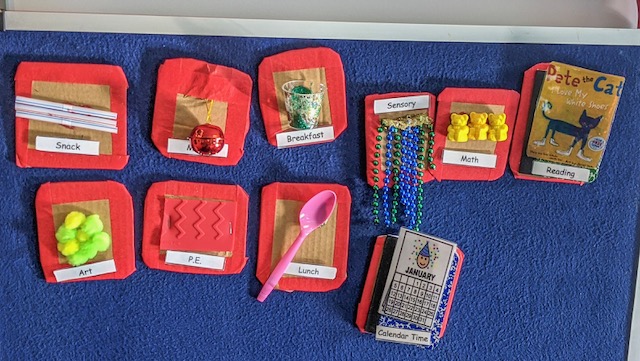
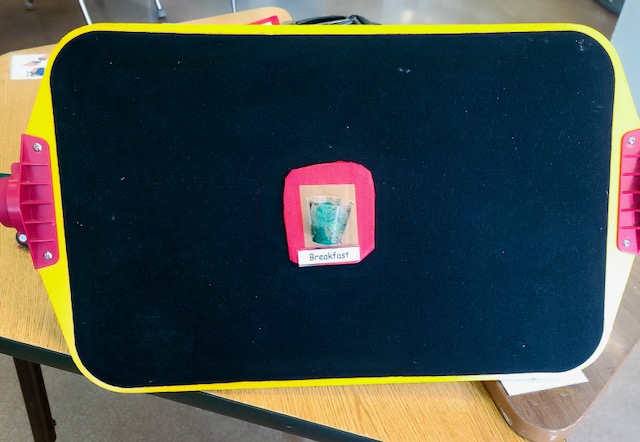
If your student has never used a tactile schedule before, start with just one piece at a time on a black background. I use an all-in-one board. You can purchase an all-in-one board at the APH website. If you don’t have access to an all-in-one board, you can make your own! Use a piece of cardboard and cover it in soft black velcro (also called veltex, affiliate link here). Alyssa has a tutorial for making a veltex board in this blog post.
Allow your student to explore the schedule pieces as you present them during the day. We want our students to feel the pieces and look at them. This way they become familiar and will eventually associate that piece with that activity. Eventually, your student will understand that they need to reach for the item and or feel the item. That’s when you will add more pieces.
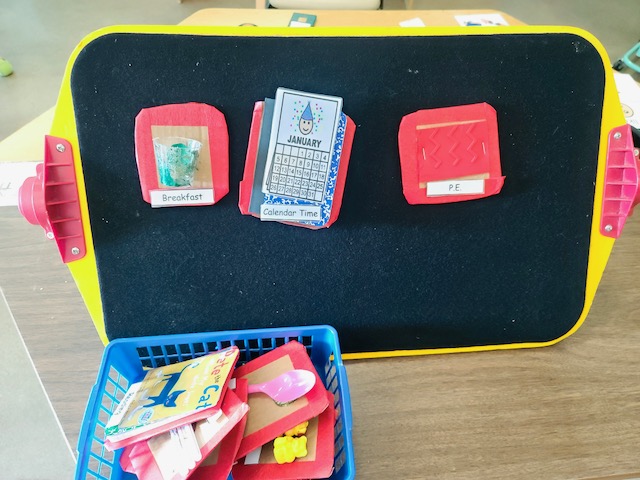
We want to introduce pieces in a left to right format. This is because we read from left to right. As you add more pieces make sure you are doing this. I have a basket that I help my student put her pieces in when we are taking a piece off of her schedule. It will take some time to build up to having several pieces on the board. You do not want to add more pieces until you are sure that your student is demonstrating that they know what each schedule piece means.
I hope this was helpful to you all! If you have a TVI, don’t be afraid to consult with them. With a little work you can create and use tactile schedules in your classroom easily.