Pre- Writing Skills: Where to Start
Pre-writing skills appear very textbook. We have all seen the charts on the timeframe when children should be making what type of stroke pattern. We use this as our guide. I think what we often forget is those developmental milestones, just as academic skills, aren’t linear. Children meet them at different points when they are ready. As educators, practitioners, and parents we can help guide children. Our job is to give them the tools they need to flourish.
Writing is actually very complex. There are 27 bones in the hand and the muscles and ligaments in the forearm, wrist, and hand are extensive and intricate.
We are doing the child a disservice by rushing and pushing writing. A child’s hand isn’t fully developed. Other foundational milestones, needed for prewriting skills, might not be established. So the million-dollar question is: where do you start?
Task Initiation
A child needs to be able to start a task independently. This means they are attending to a task and physically starting the task without maximum adult support (in the form of verbal, visual, and especially tactile prompts).
A great way to help task initiation along is to make the task fun!
- Utilize something that is interest-based: the physical task, the supplies for the task (markers with Paw Patrol, Stickers with the character, specific color), etc
- By interest-based I mean something that the child loves; this could be a TV show/movie, specific characters, animals, trains, etc.
- I personally try to avoid screens and technology such as an iPad, when working with young children and overall task initiation but that is just my preference.
- By interest-based I mean something that the child loves; this could be a TV show/movie, specific characters, animals, trains, etc.
- Different fun tools
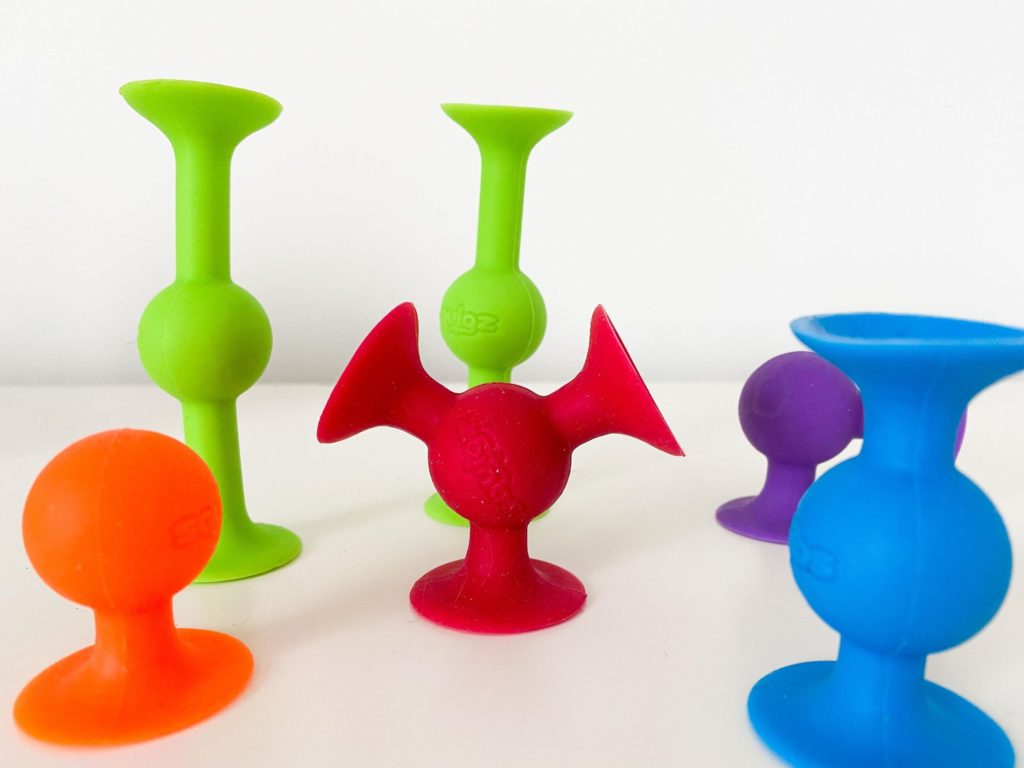
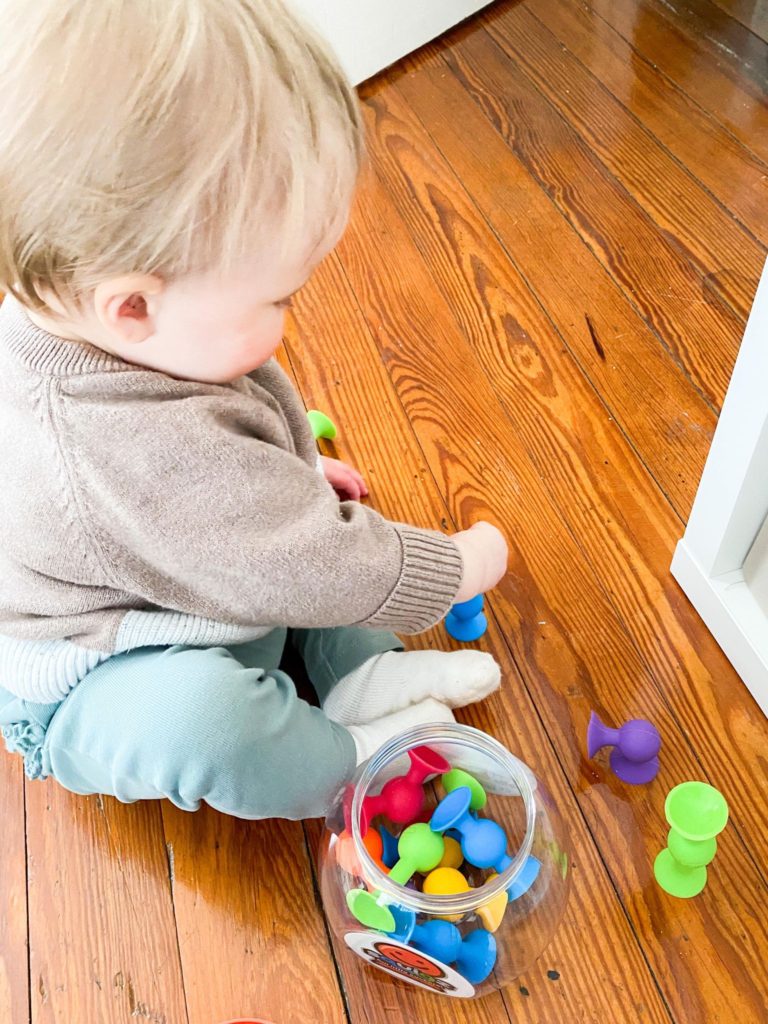
- Squigz and sensory bins are two of my favorite things to get students excited about activities
- Check out the Simply Special ed Blog post Sensory Bins on a Budget for some ideas!
- Toys on the tabletop
- If the child is having a lot of difficulty sitting at the table, bring their favorite toys and work on building that comfort
- 1:1 engagement – playing a fun activity with you as you give increased positive reinforcement and make it fun/silly
Grasp
When I use the term grasp, I am referring to the ability to hold a writing utensil. We want a functional grasp but sometimes get lost in what grasp pattern, should be utilized, at what age.
Grasp patterns are like developmental milestones; you have to achieve the bottom layers before advancing. Even though a child might be four, they aren’t going to jump from a palmer grasp to an adapted tripod. We need to meet children where they are at. Our job is to give them the tools to grow.
An initial grasp pattern for young learners will be a palmer grasp. This looks like a fisted grasp on a tool. The next pattern you might see is a pronate grasp, wrist turned in, hand more fisted near the top of the pencil. Sometimes we have the tendency to correct this grasp pattern because it does look funny but remember grasp patterns are a pyramid.
Grasp strength and grasp patterns are like peanut butter and jelly. They work together. When a student/child has more advanced hand strength, you will start to see more mature grasp patterns develop.
Low Muscle Tone
Low muscle tone is also known as hypotonia. A medical professional will diagnosis the condition. I feel like the term is over-utilized and also not always used correctly. Hypotonia is sometimes seen in children with Down Syndrome, Muscular dystrophy, Cerebral palsy, or Prader-Willi syndrome.
A child can have decreased grasp strength and not have low tone. They are not one in the same. Children with low tone often benefit from accommodations and modifications to increase their success. Such as building up the writing utensil or using a cuff. Certain upper extremity and full-body exercises are also utilized to work on hypotonia. Always reach out to your school’s OT or PT for some tricks or to trial different tools!
Here are some of my favorite writing accommodations:
- Egg grip (affiliate link)
- EZ cuff (affiliate link)
- Tube a grip (affiliate link)
Pre-Writing Skills: Tips and Tricks
- A few of my favorite activities to help increase grasp strength:
- Jazz up a yogurt container or small box to work on pincer grasps. I create different containers to integrate with themes
- Use pom-poms or a different manipulative to put in. If the student mouths non-edibles, try these two things:
- Make the hole of the container bigger so larger manipulatives can be placed in
- Use edibles: cereal, crackers, cooked pasta, fruit or veggies
- Tongs and small bug catchers are fun tools to utilize.
- When we work on ‘pinching’ motions we are building up some of those small muscles of the hand. These muscles are needed to help grasp patterns emerge
- Use pom-poms or a different manipulative to put in. If the student mouths non-edibles, try these two things:
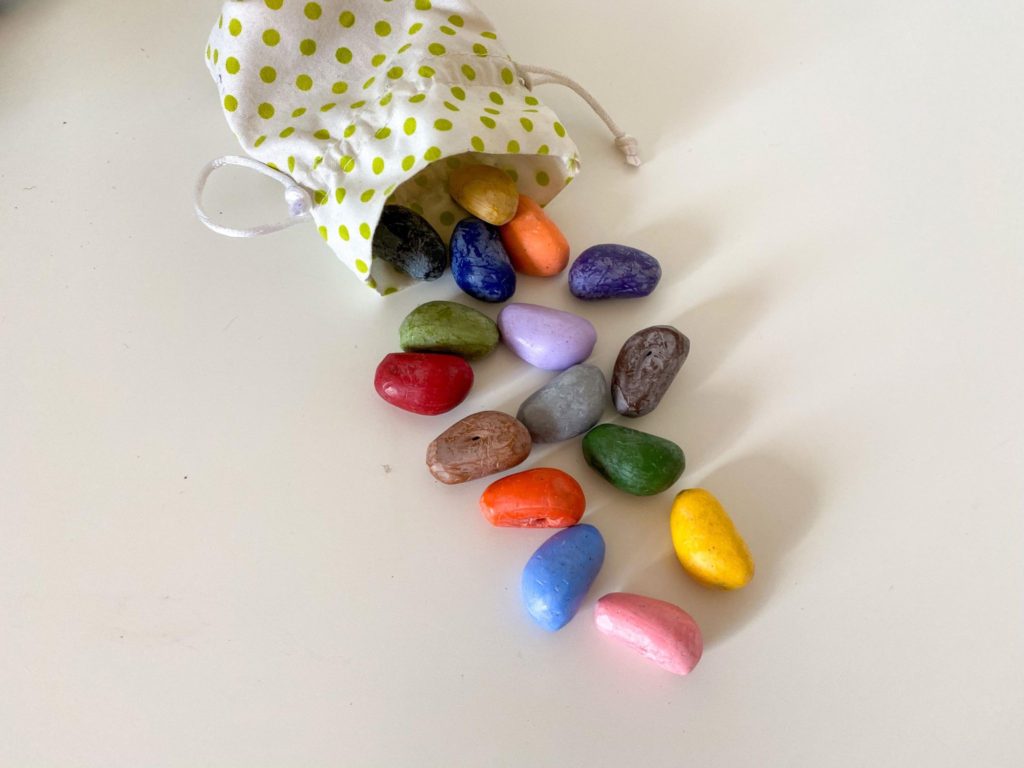
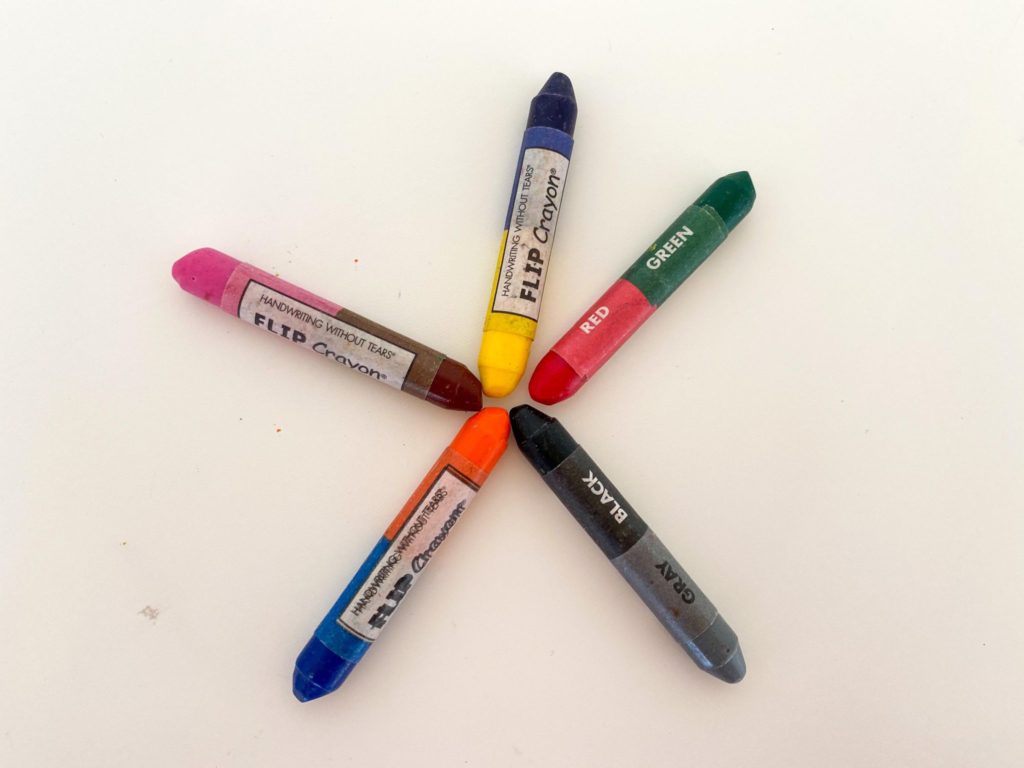
- Rock crayons!! (affiliate link) I have talked about this product in a previous blog; I just love them!! The way the crayon is shaped helps promote more functional patterns. You can’t fist the crayon. Also, the shape is fun and engaging.
- Snacks in an ice cube tray
- This trick makes racking and grasping snack items more difficult. Using a pincer grasp or three-jaw chunk (index, middle, and thumb) is really the only way to take them out. It also helps stretch out snacks. Easy and cheap way to work on the skill
- Activities on all four
- This position is great to work on UE strength and providing input to the joints. It also puts some pressure on the palm and surface of the hand and works on overall wrist strength.
- You can play games, color, or make obstacle courses
- Activities in prone-on your stomach
- Jazz up a yogurt container or small box to work on pincer grasps. I create different containers to integrate with themes

Large Marks: Linear and Circular
The next step that needs to be accomplished before addressing pre-writing strokes, is the ability to scribble and make large marks on paper; Those linear (back and forth lines) and circular rotations. I love practicing these skills through play and a ‘no pressure’ environment.
- Give the student paper or a color sheet with their favorite character (I usually go for coloring pages with less visual clutter/not as busy).
- Utilizing sensory bins/bags: practices finger isolation, increases tactile input to strengthen motor memory, and a fun way to practice
- I love pairing movements with funny phrases or words. ‘whoosh’ ‘buzz’ ‘zoom’ ‘vroom’
- Writing on an easel/vertical surface
Pre-Writing Skills: Imitation
The next step is imitation. This is when you make the mark and the student copies you. It’s instant; the student watches you and they get the opportunity to imitate. I do not use hand over hand in my practice and if you would like more information check out my blog, Why I Do Not Utilize Hand Over Hand!
If the child is not imitating the pattern, praise the effort, and grade the activity. Go back to multiple linear and circular rotations or try different art supplies. Make the pre-writing strokes and have them use stickers or do a dot marker over your mark. You can also use Playdoh mats with different stroke patterns. I guess my takeaway is, if they are not ready do not push it.
If after a few trials they aren’t imitating, utilize positive reinforcement. I love telling my students that I am proud of them and they did a great job. Try something and move on. When we push and push, it makes the activity something to avoid. We then see avoidance behaviors and the child not wanting to engage in fine motor activities.
Pre-Writing Skills: What to Remember
To me, this beginning stage of writing is so beautiful. It is a special and foundational time. Those vertical lines are the foundation for letters and perhaps those letters will be writing essays on advanced academic concepts and love letters to a special person in their life. This is also a special time because it is the child’s first exposure to writing and more ‘purposeful’ fine motor skills. We want to take off the pressure not only for the child but also for ourselves.
We need to:
- Keep an open mind
- Be patient
- Trial new things and strategies
- Starting over doesn’t mean we failed
- Take a step back
- Know when to stop for the day
As stated before, childhood development is not linear and just because a pre-writing chart on Google images or a textbook states a child should be making a circle at 3 doesn’t mean we have to panic if that skill is not presenting itself.
We meet children where they are at. As educators, practitioners, and/or parents lift them up and find that ‘just right challenge’. And always remember, we do not force skills that are not appropriate.


Taylor I enjoyed reading your piece on writing. I was amazed at how much a person’s hand must develop in order to write and how to nurture that development. Your closing statement was one of encouragement . When we open up possibilities for children, who knows where it will lead them. Thank you for sharing your thoughts
Hello Barb! Thank you so much for taking the time to read the blog! I am so glad you found some helpful tips 🙂
–Taylor